
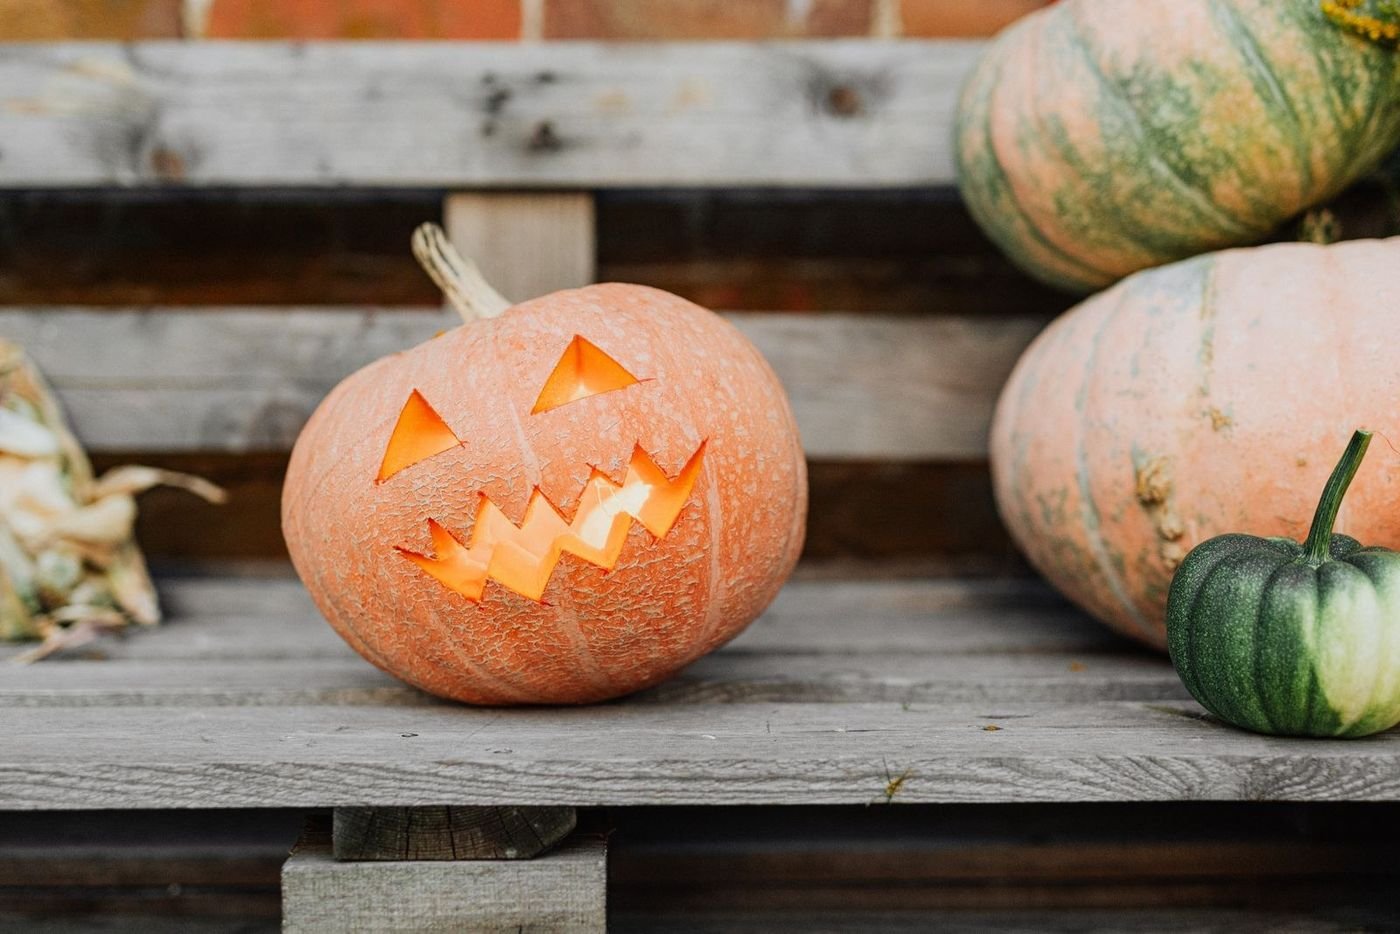
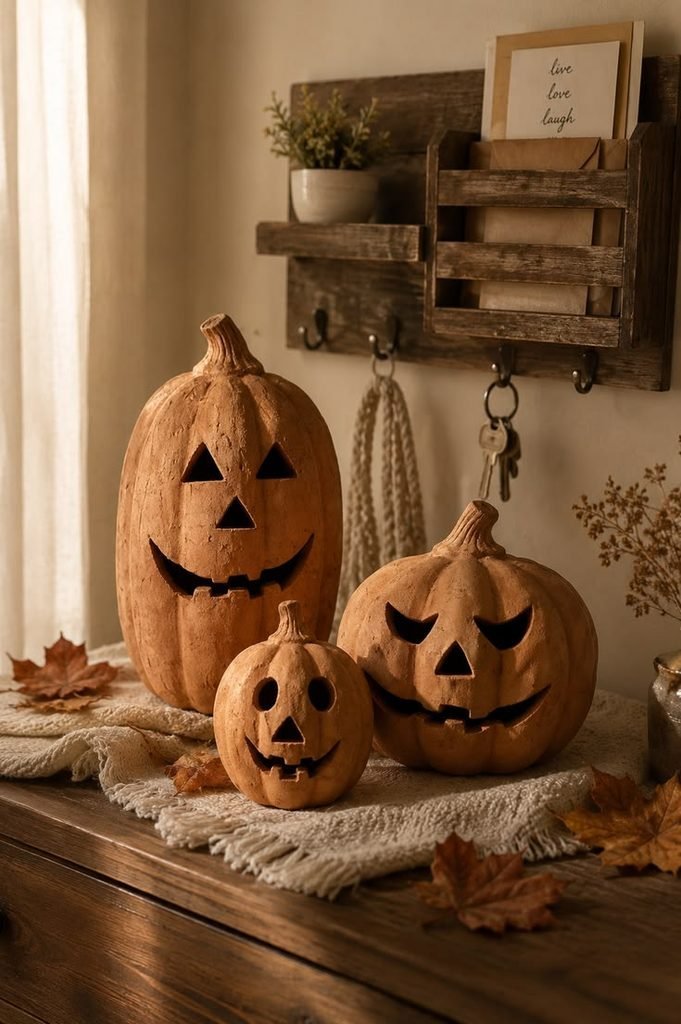
A cute pumpkin can completely change your Halloween porch. If you want something more charming than terrifying, these cute pumpkin carving ideas give you plenty of ways to create pumpkins that feel playful, cozy, and genuinely fun. I’ve always preferred carvings with a little personality over the same triangle eyes and jagged mouth we’ve all seen a thousand times.
And honestly, why settle for a pumpkin that looks like it just survived a horror movie when you can give it a tiny cat face, sweet smile, or adorable woodland character instead?
Before you grab the first pumpkin you see, though, let’s talk about choosing the right one and getting your carving setup right. A great design starts with a good pumpkin.
What Makes a Pumpkin Good for Carving?
Not every pumpkin deserves a spot on your porch. Some look gorgeous at the farm stand but turn into a frustrating mess the moment you bring out the carving knife.
For cute pumpkin carving ideas, I usually look for a pumpkin with a relatively smooth surface, a firm shell, and a shape that matches the design I want to create. A round pumpkin works beautifully for faces, while a taller pumpkin gives you more room for animals, characters, and vertical designs.
Thomas Andres, a cucurbit expert who spoke with Smithsonian Magazine, recommends choosing a pumpkin that feels hard and has no obvious blemishes or frost damage.
“Pick a pumpkin that is hard.”
That simple advice from pumpkin expert Thomas Andres makes a huge difference when you want a carving to hold its shape.
I also recommend checking the stem. A sturdy green stem makes the pumpkin easier to handle and usually gives it a fresher appearance.
Should You Choose a Big or Small Pumpkin?
That depends entirely on your design.
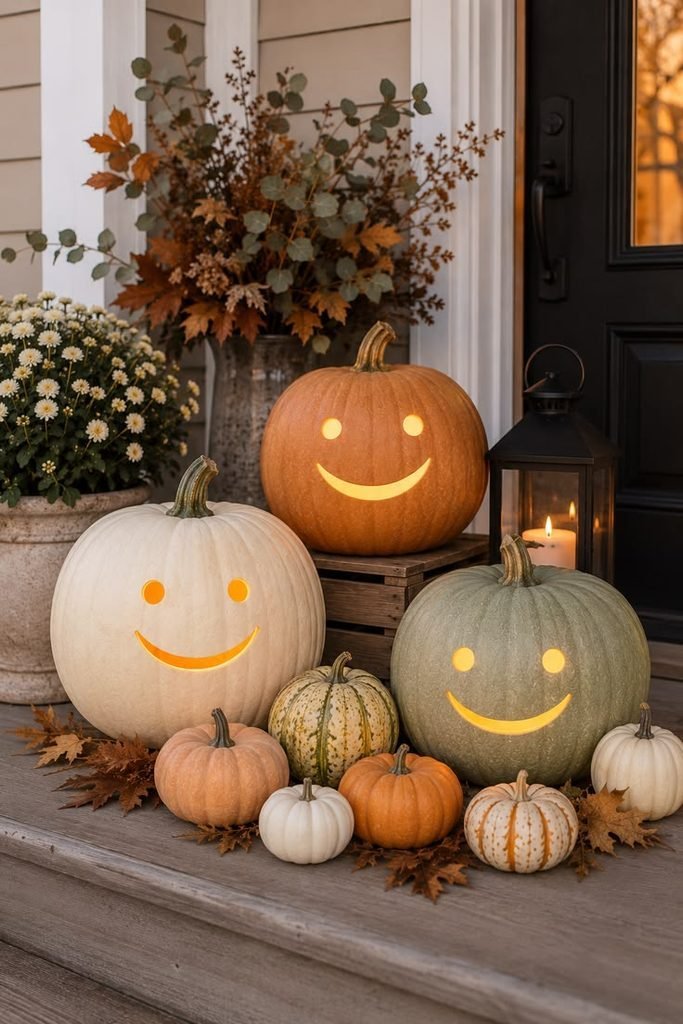
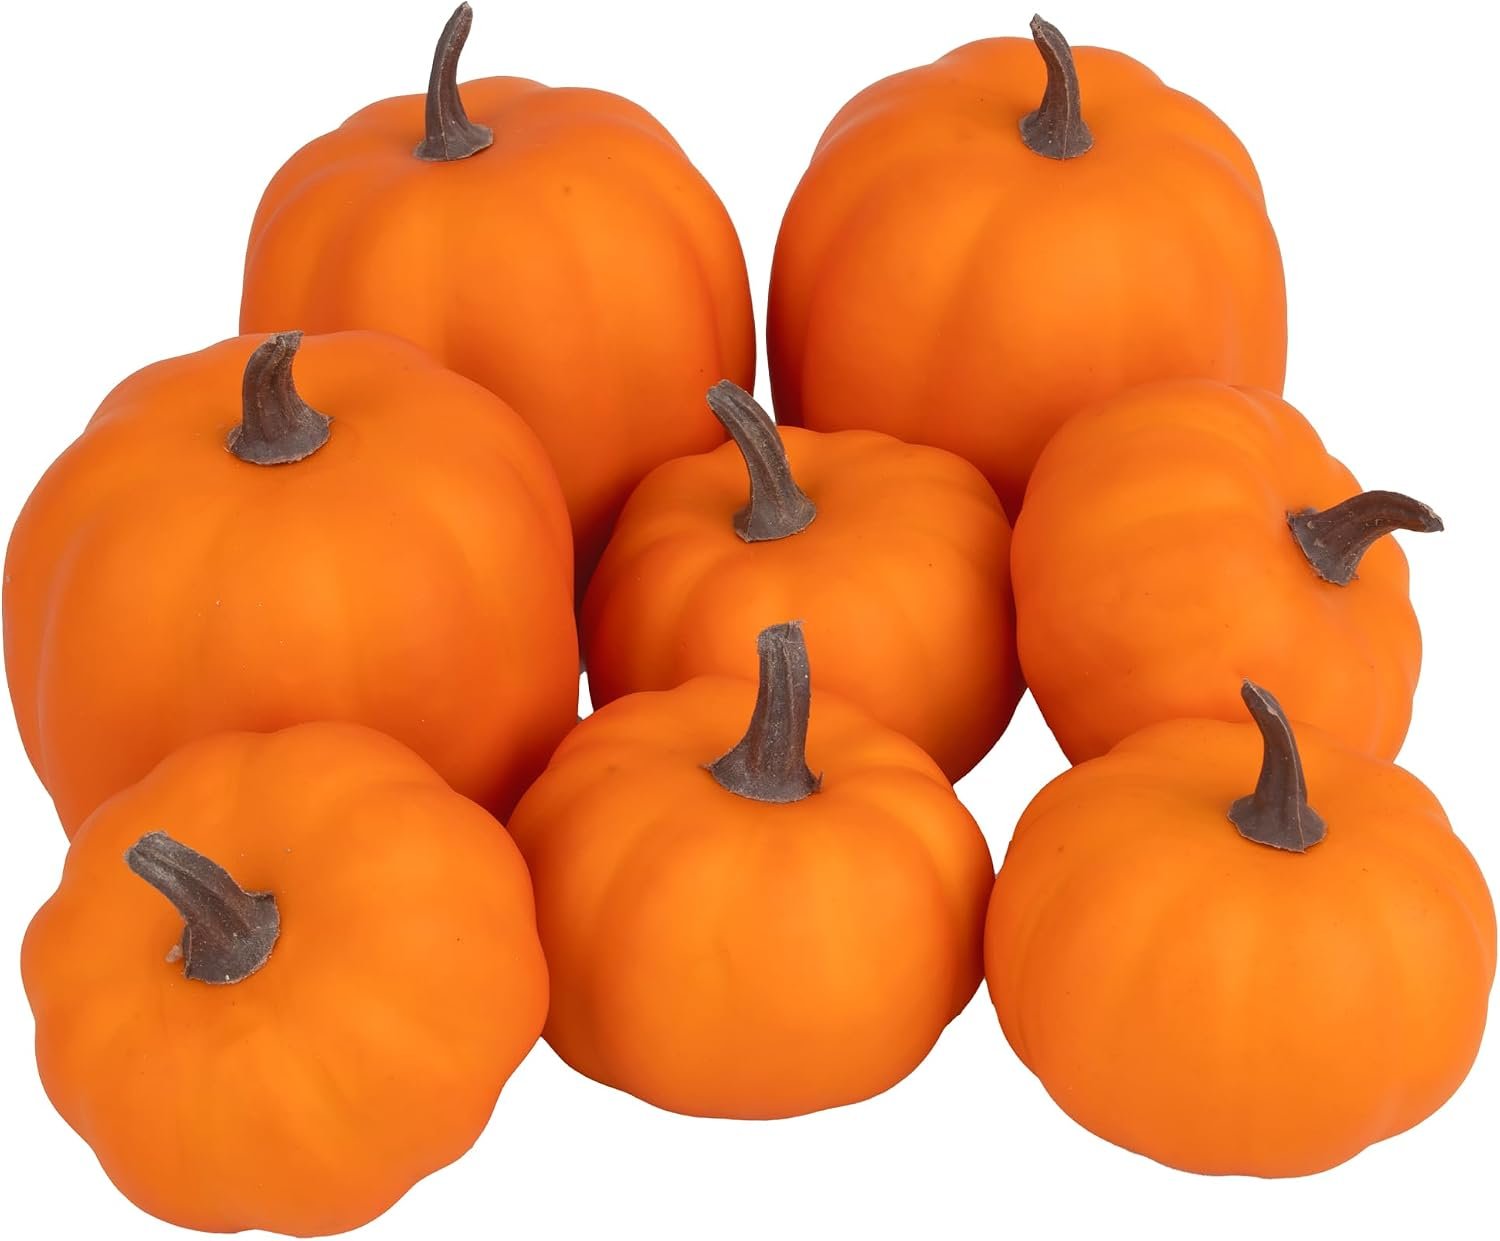
A small pumpkin works beautifully for simple faces, tiny animals, hearts, stars, and minimalist designs. A large pumpkin gives you more room for detailed patterns and larger facial features.
If you’re carving with children, I’d choose medium-sized pumpkins. They give you enough surface area without turning the project into an exhausting afternoon.
How Do You Prepare a Pumpkin for Cute Carving Ideas?
Before you start carving, wash the outside of the pumpkin and dry it thoroughly. Then decide where you want the main design to sit.
Here’s the part I never skip: plan the design before cutting anything.
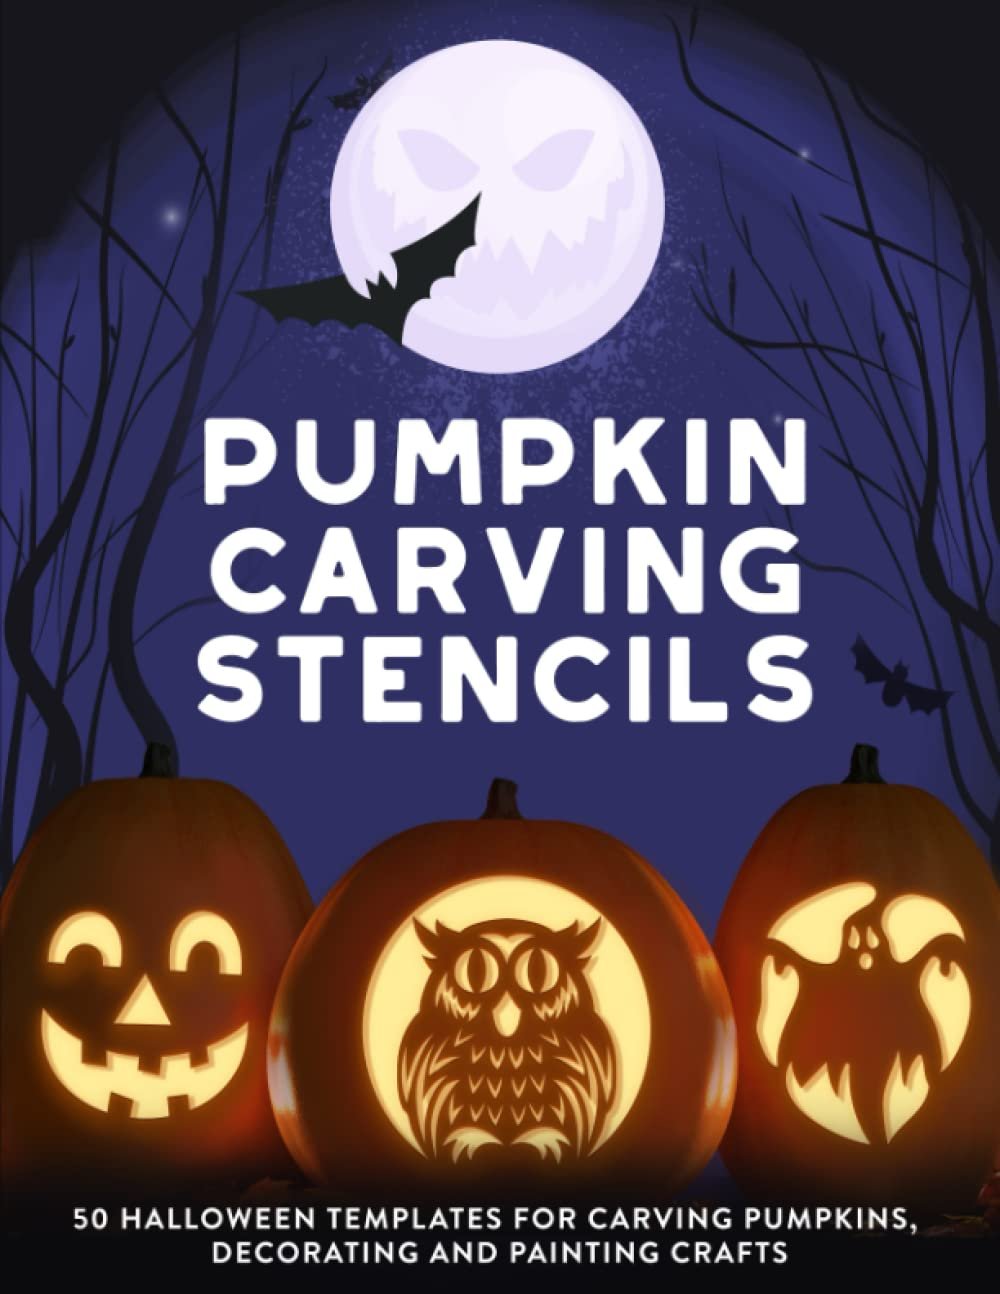
You can sketch directly onto the pumpkin with a washable marker or use a printable stencil. A stencil can save you from the classic “I started with a cute cat and somehow created a potato with eyebrows” situation.
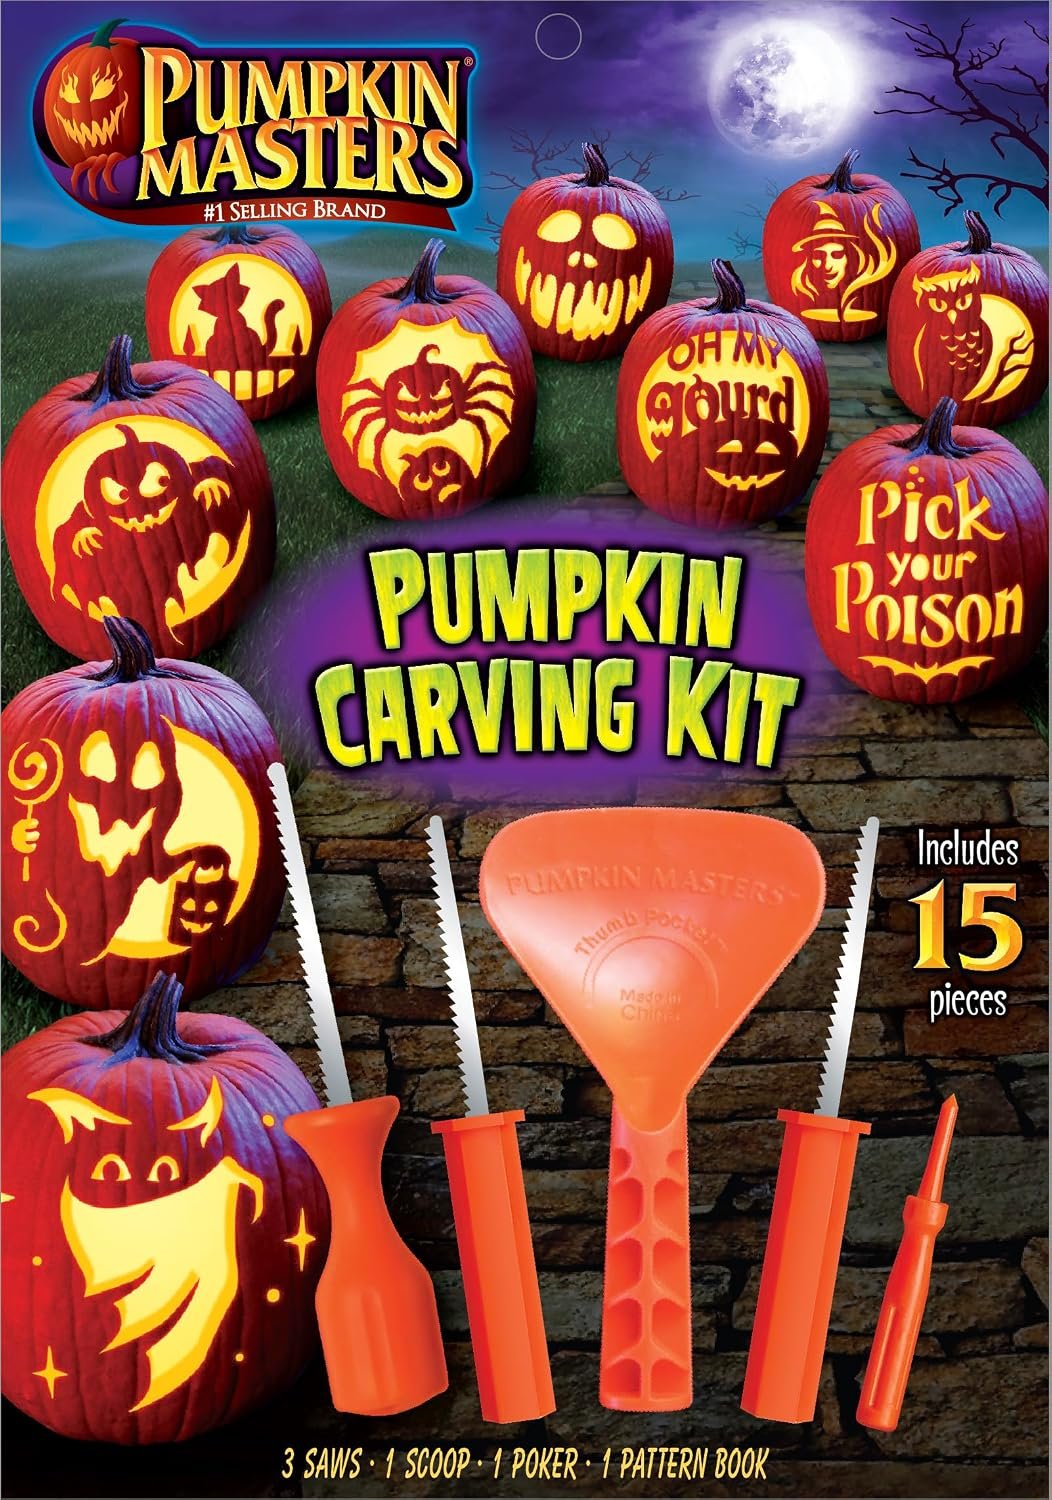
Professional pumpkin carving has also become much more accessible thanks to pattern sheets and specialized carving tools. Smithsonian notes that modern pumpkin carving kits helped people move beyond simple faces toward much more intricate designs.
A Simple Pumpkin Carving Setup
Keep these supplies nearby:
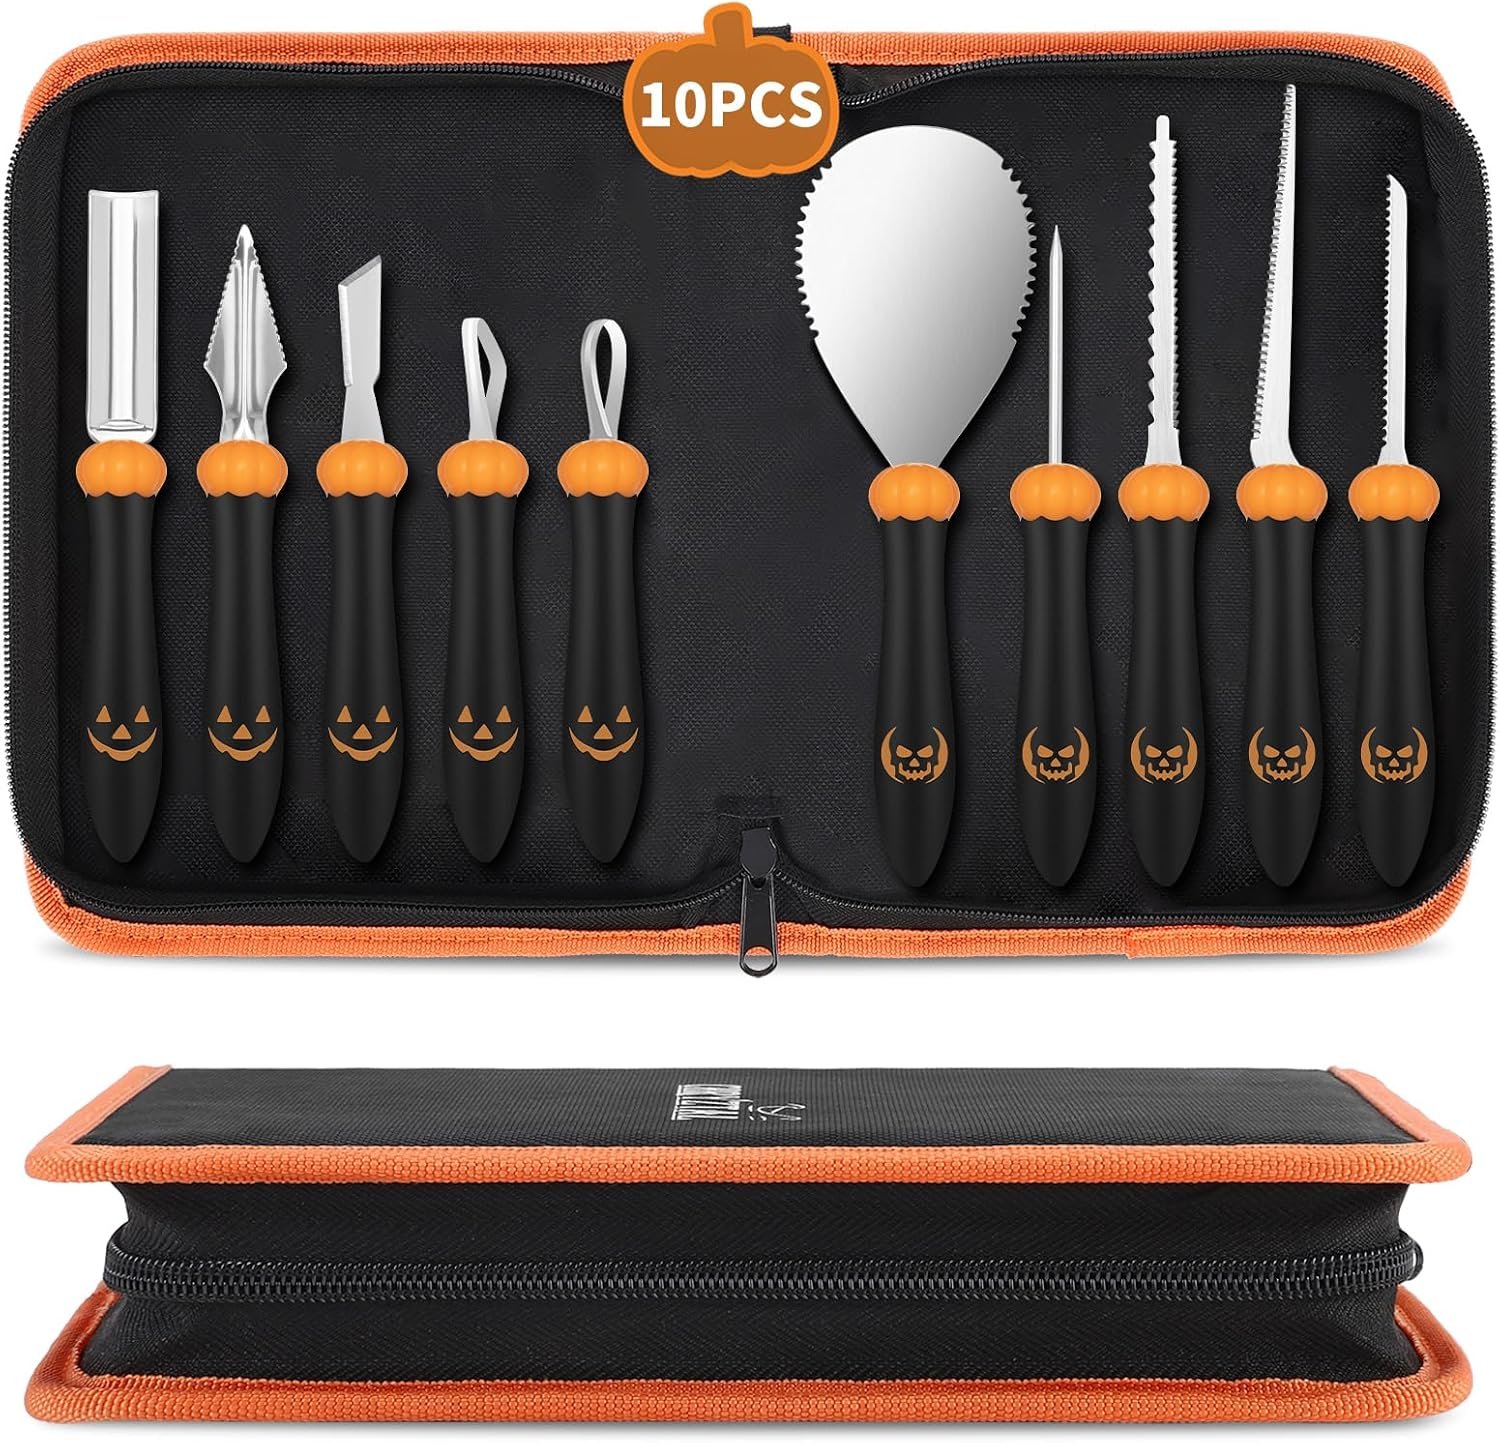
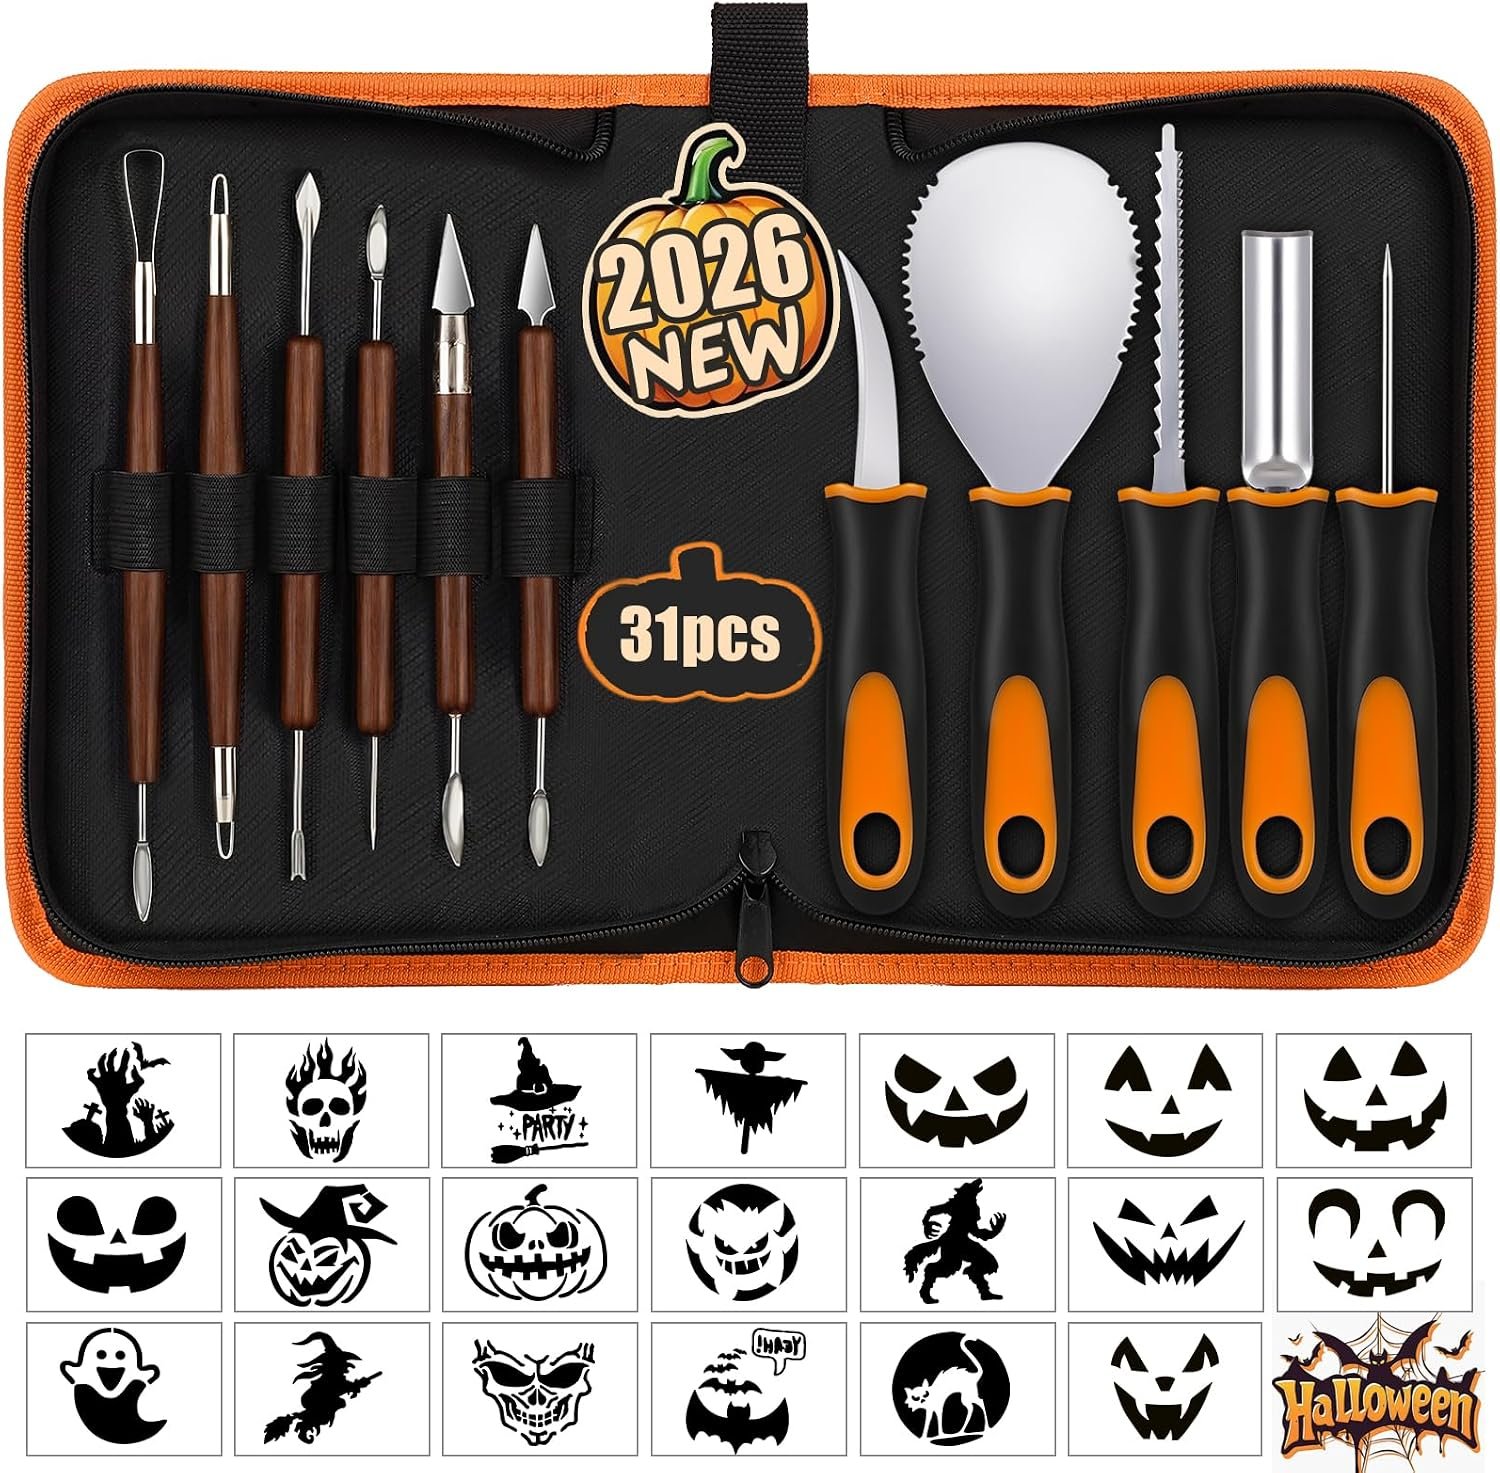
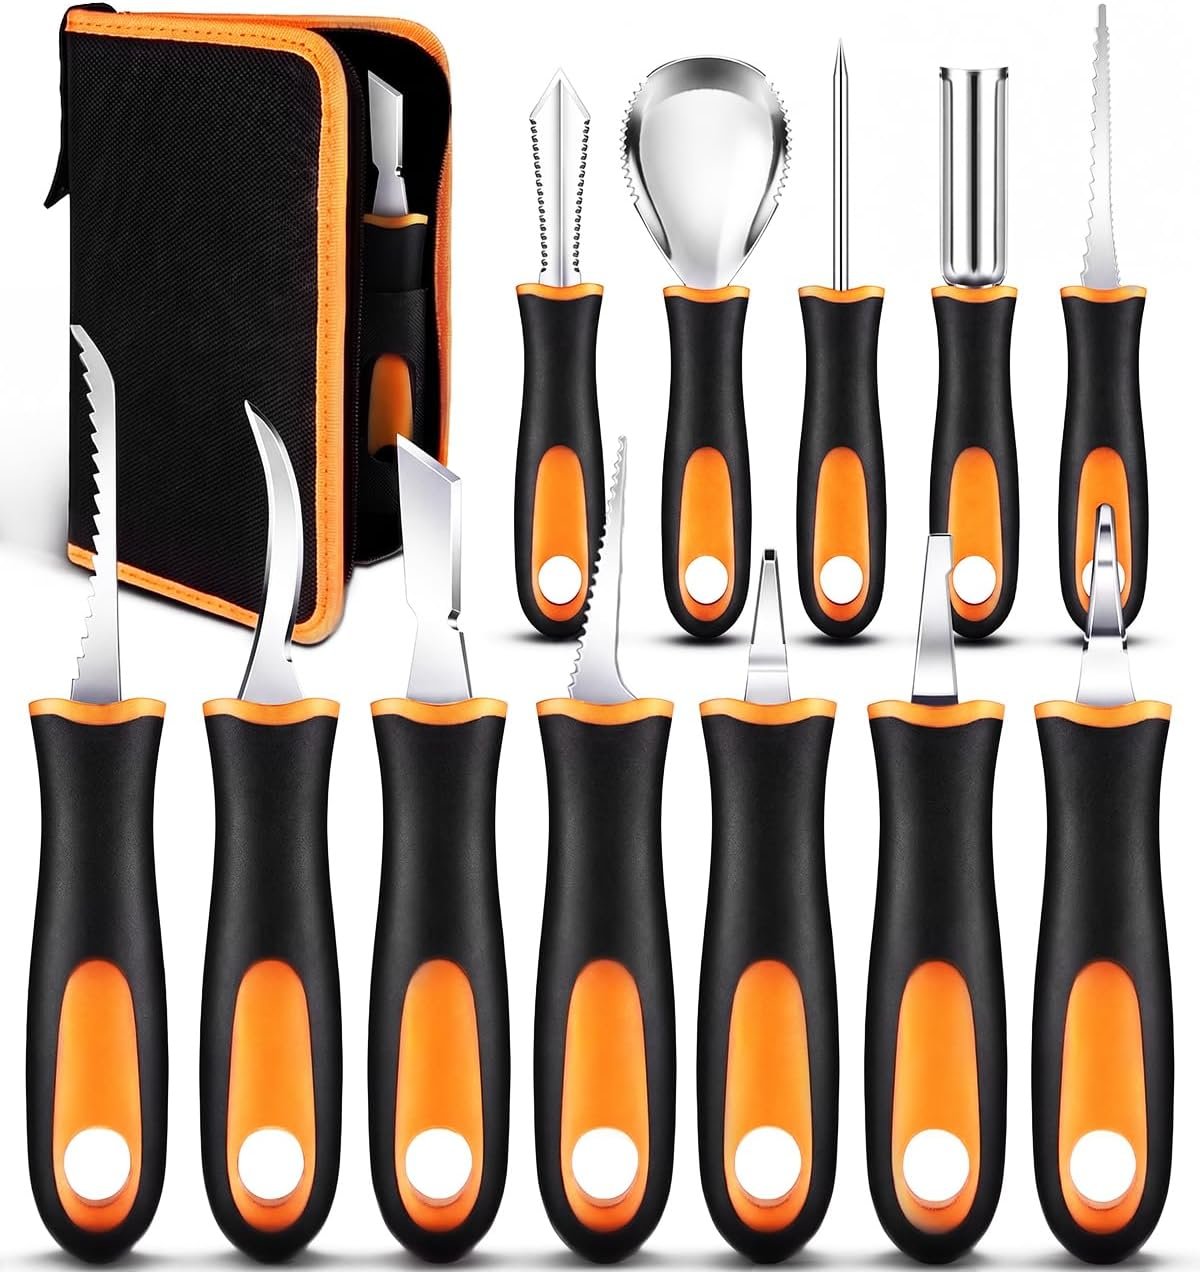
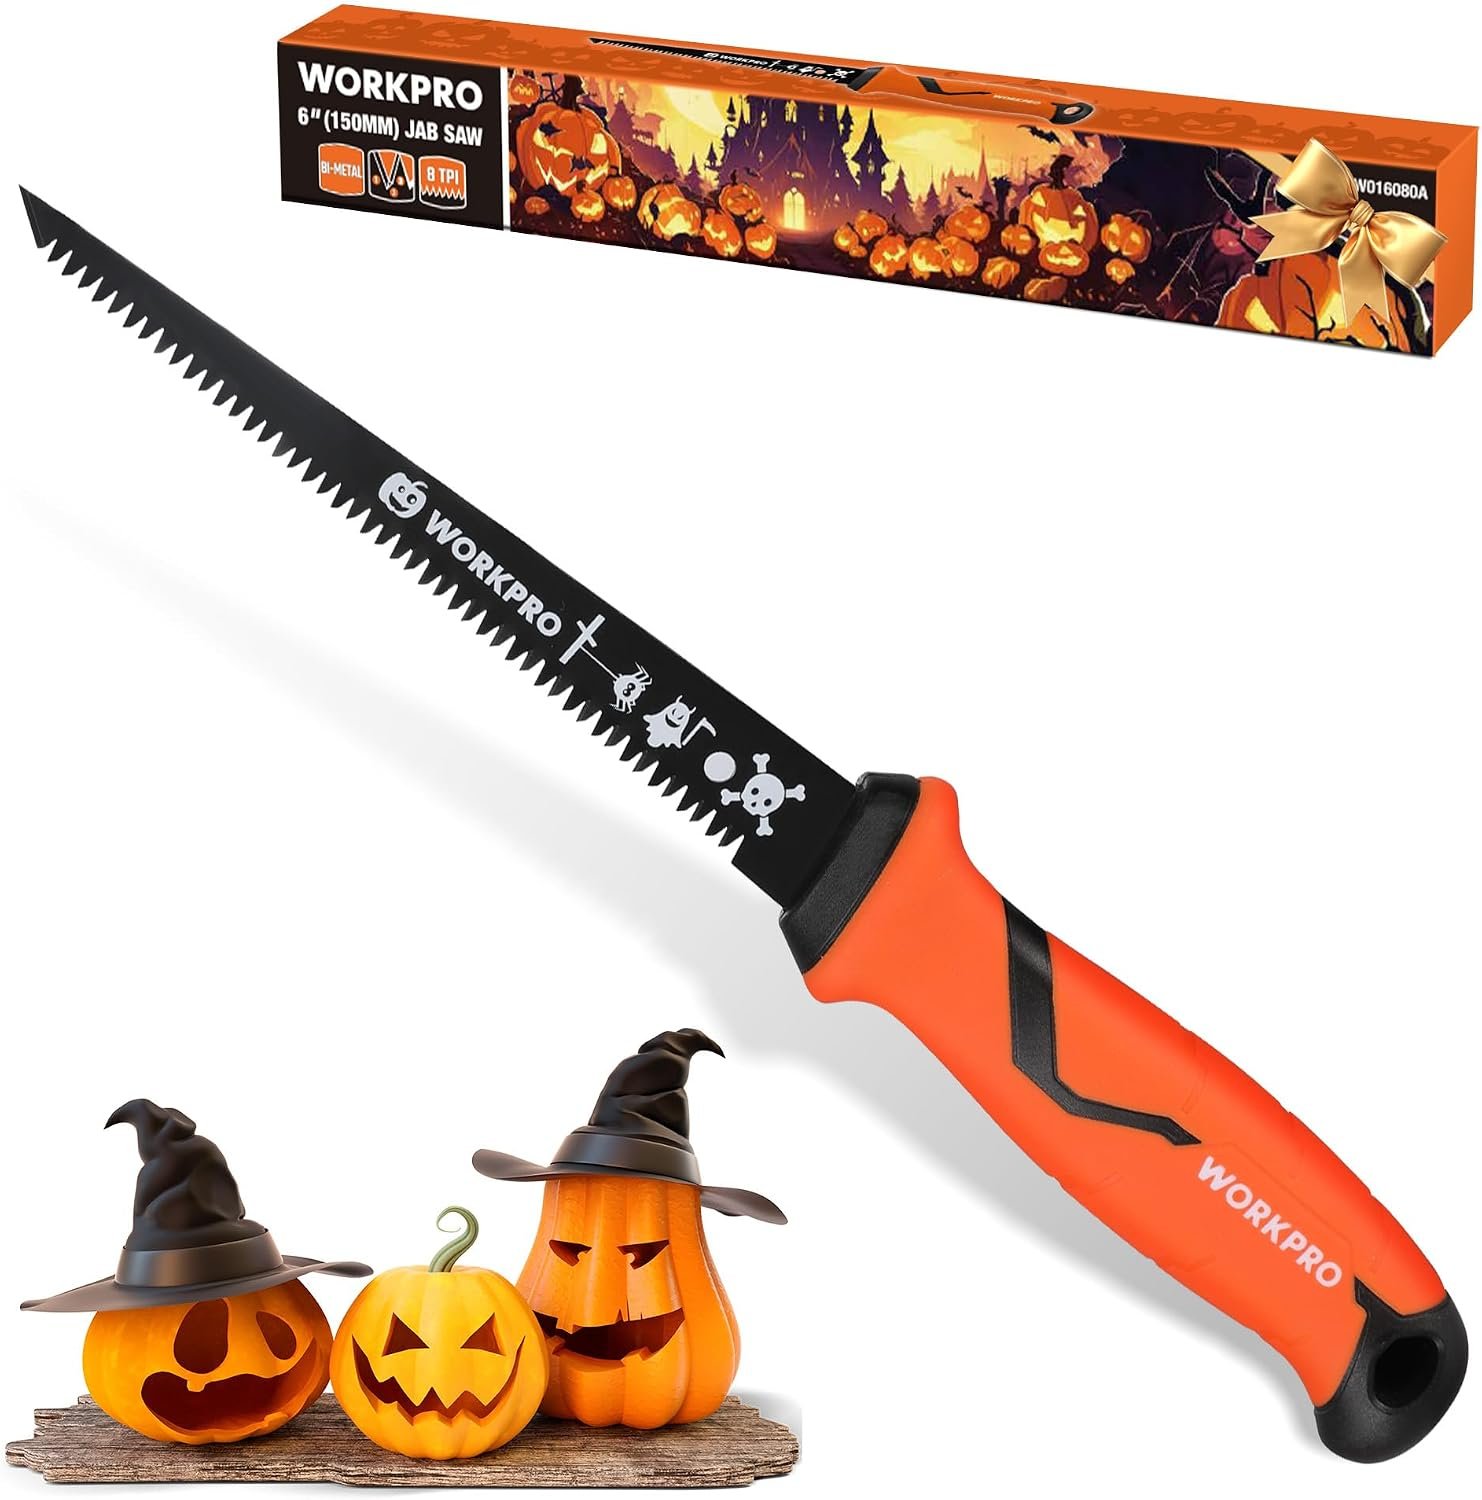
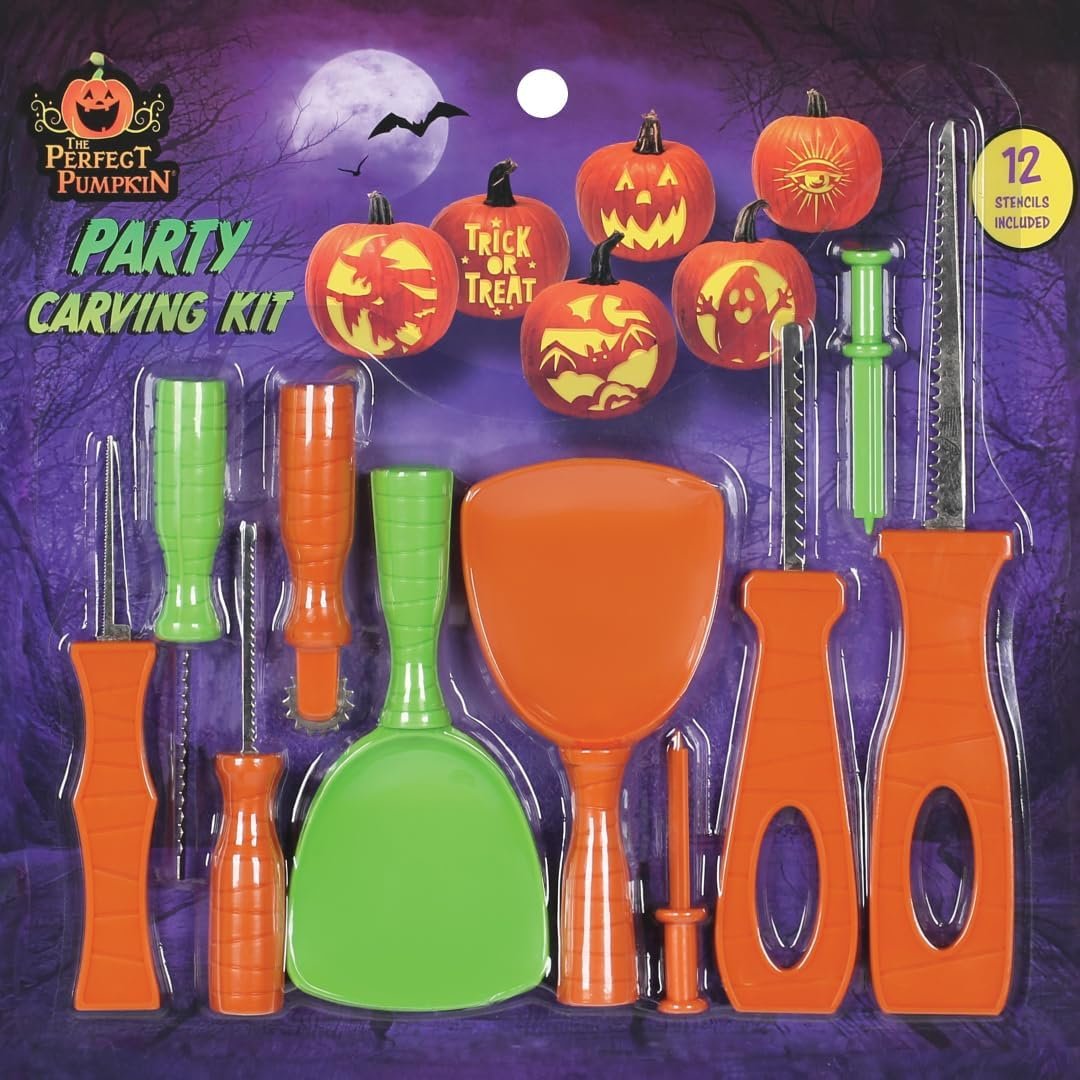
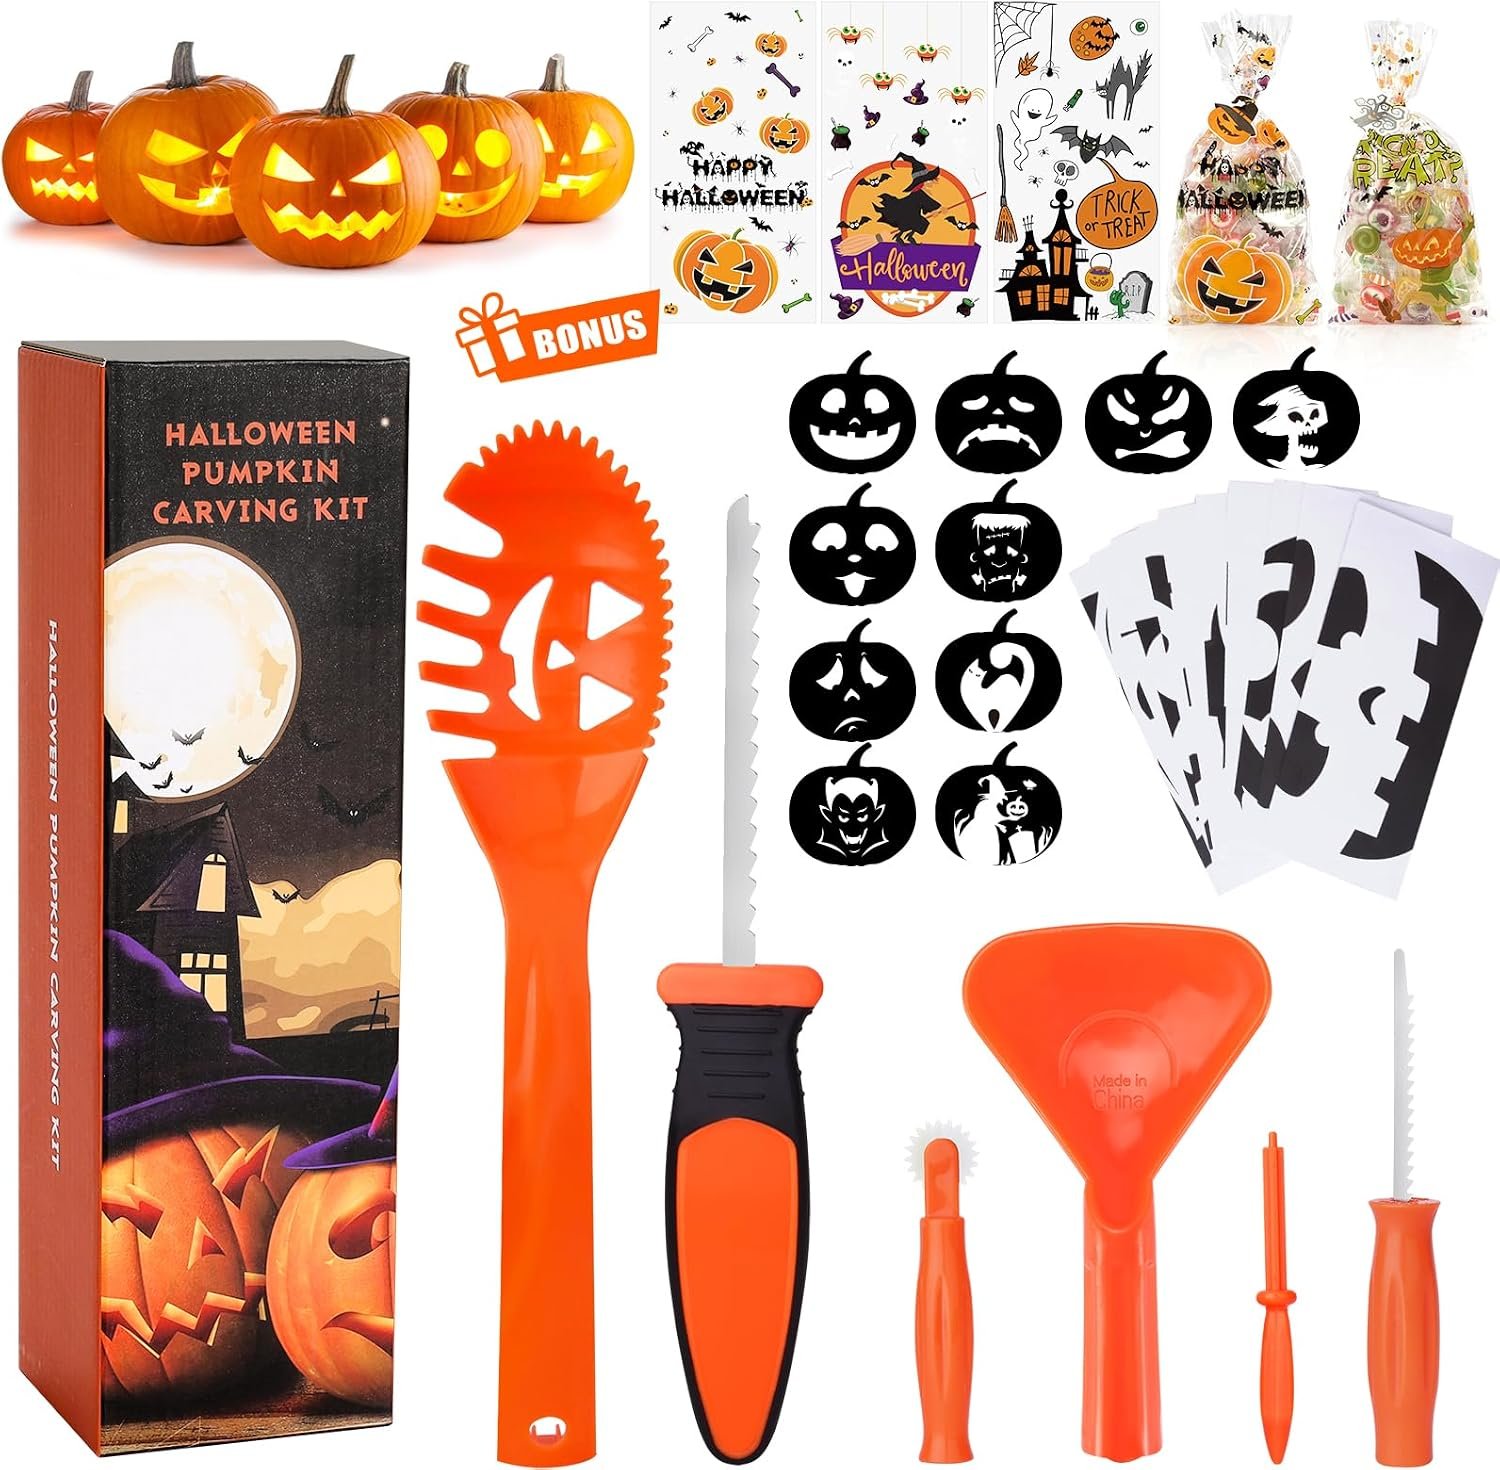
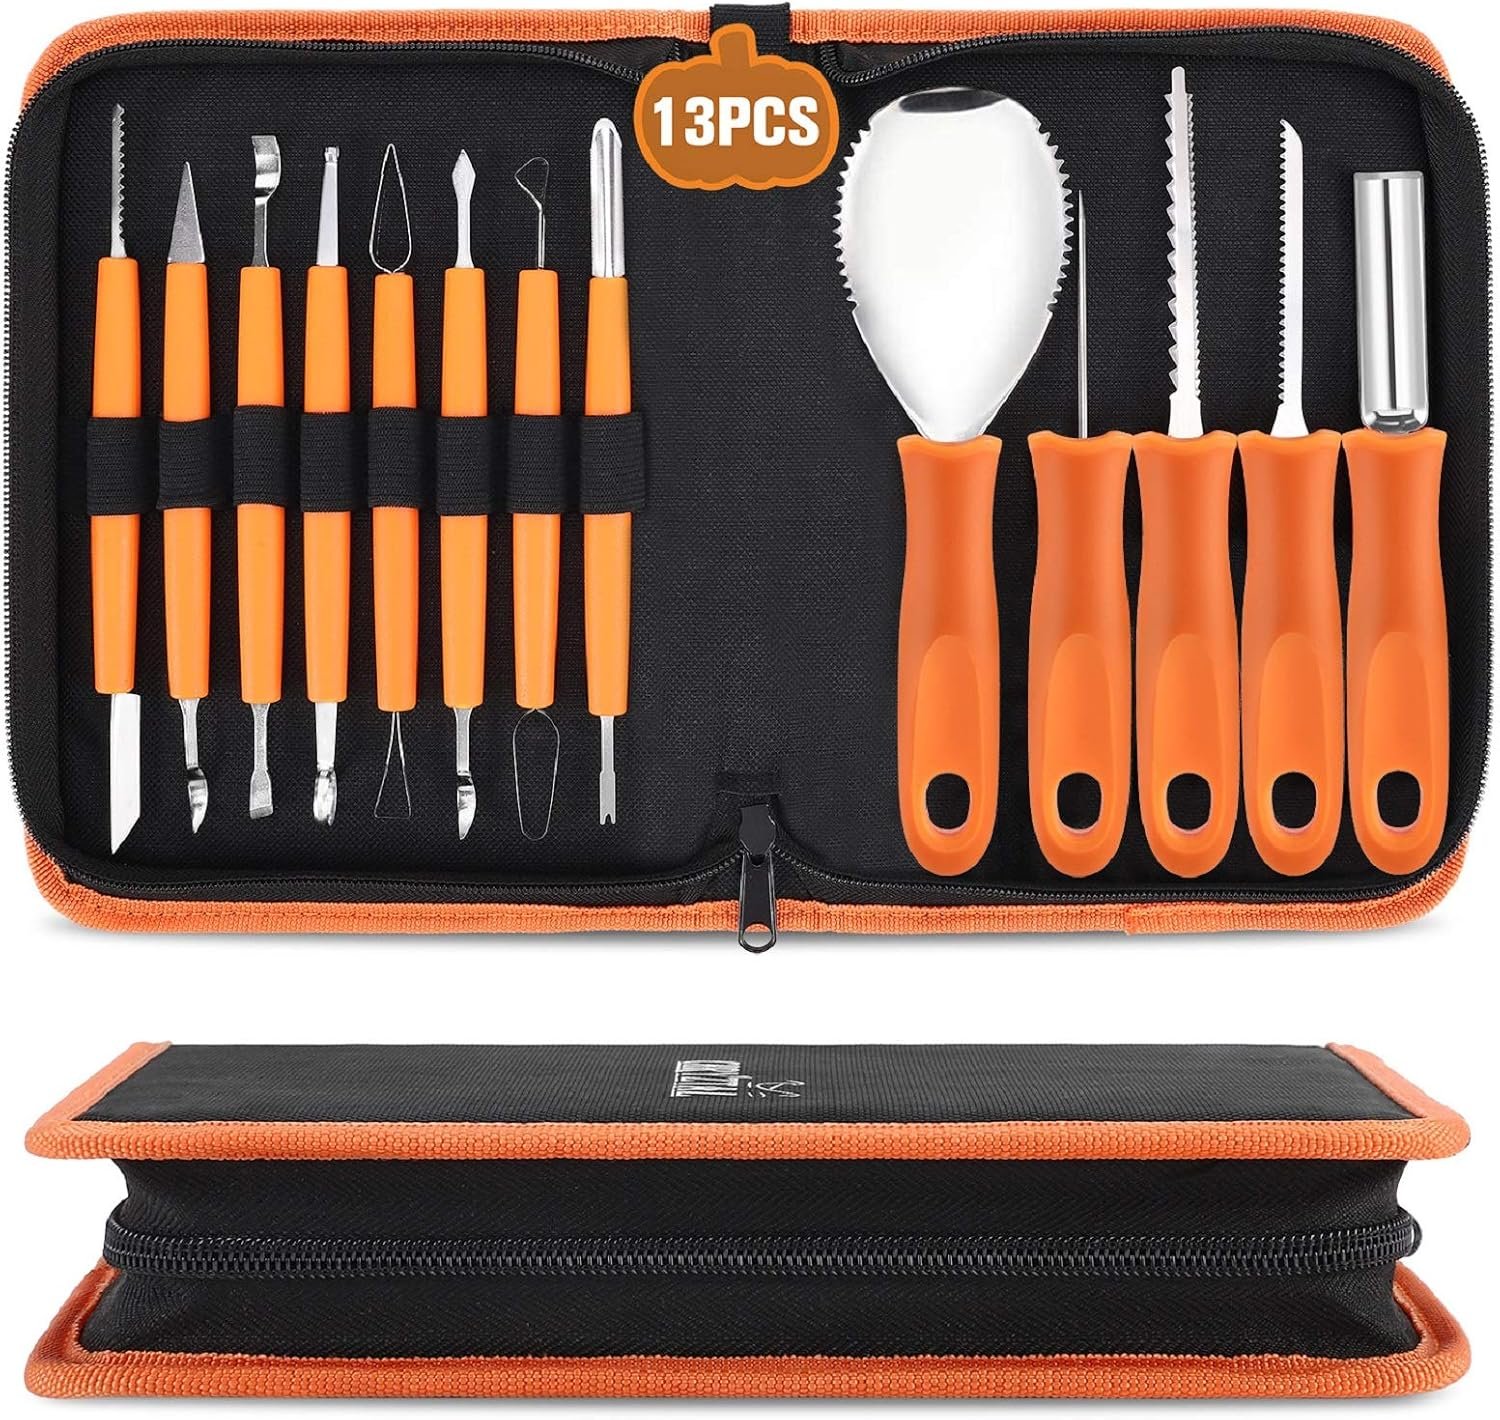
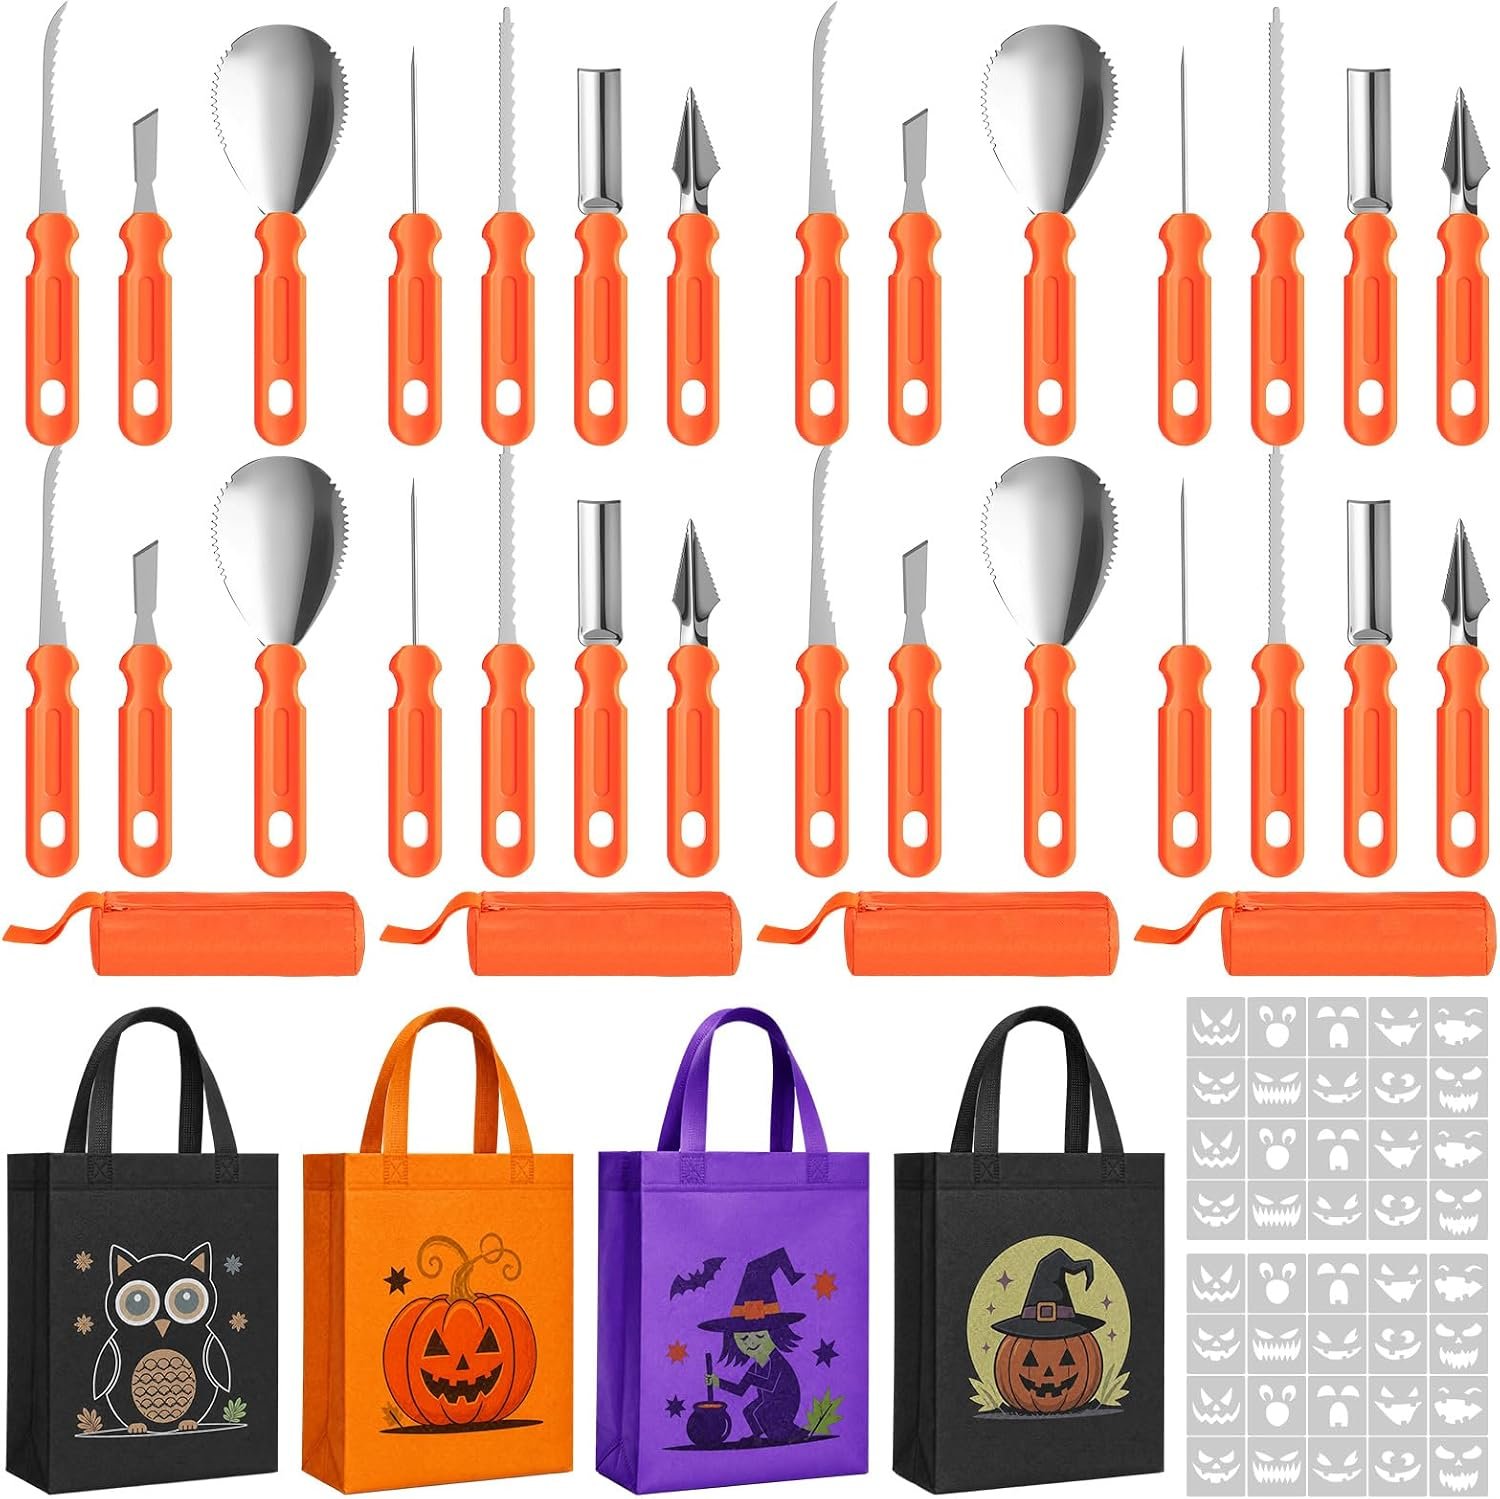
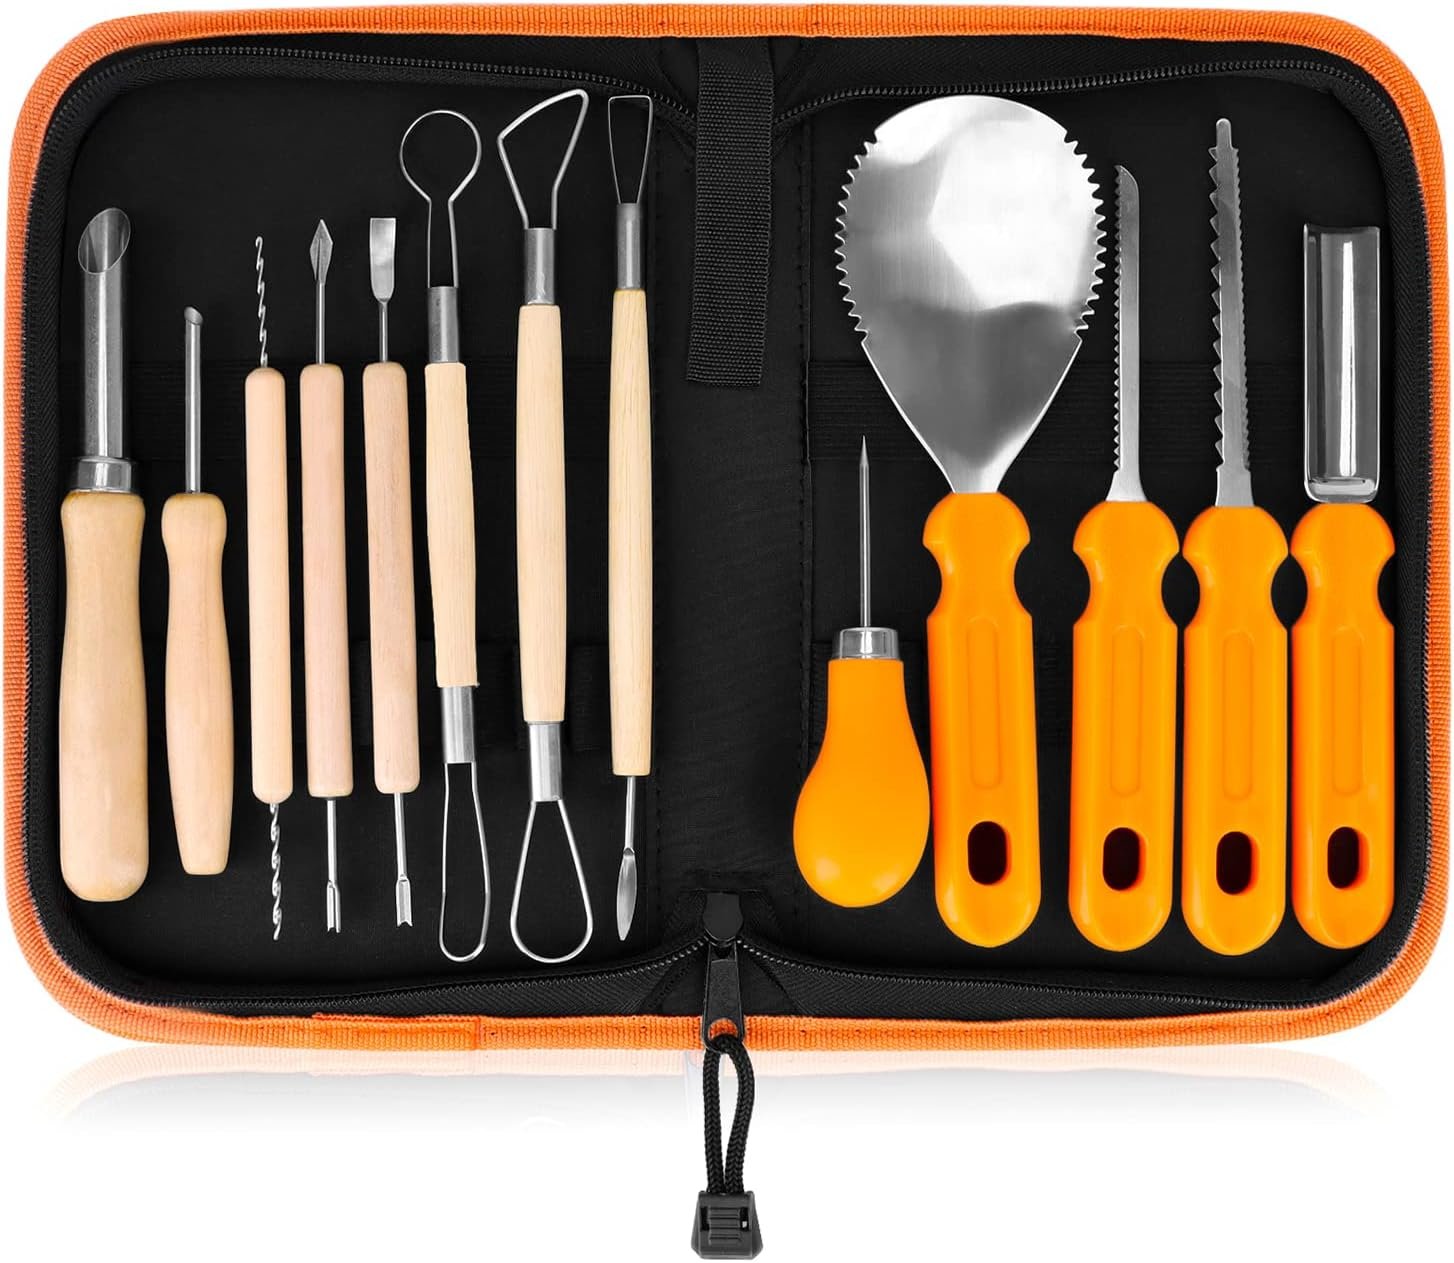
- A small serrated pumpkin saw
- A sturdy spoon or pumpkin scraper
- A washable marker
- A printed stencil if you need one
- Newspaper or a large tray for the pumpkin seeds and pulp
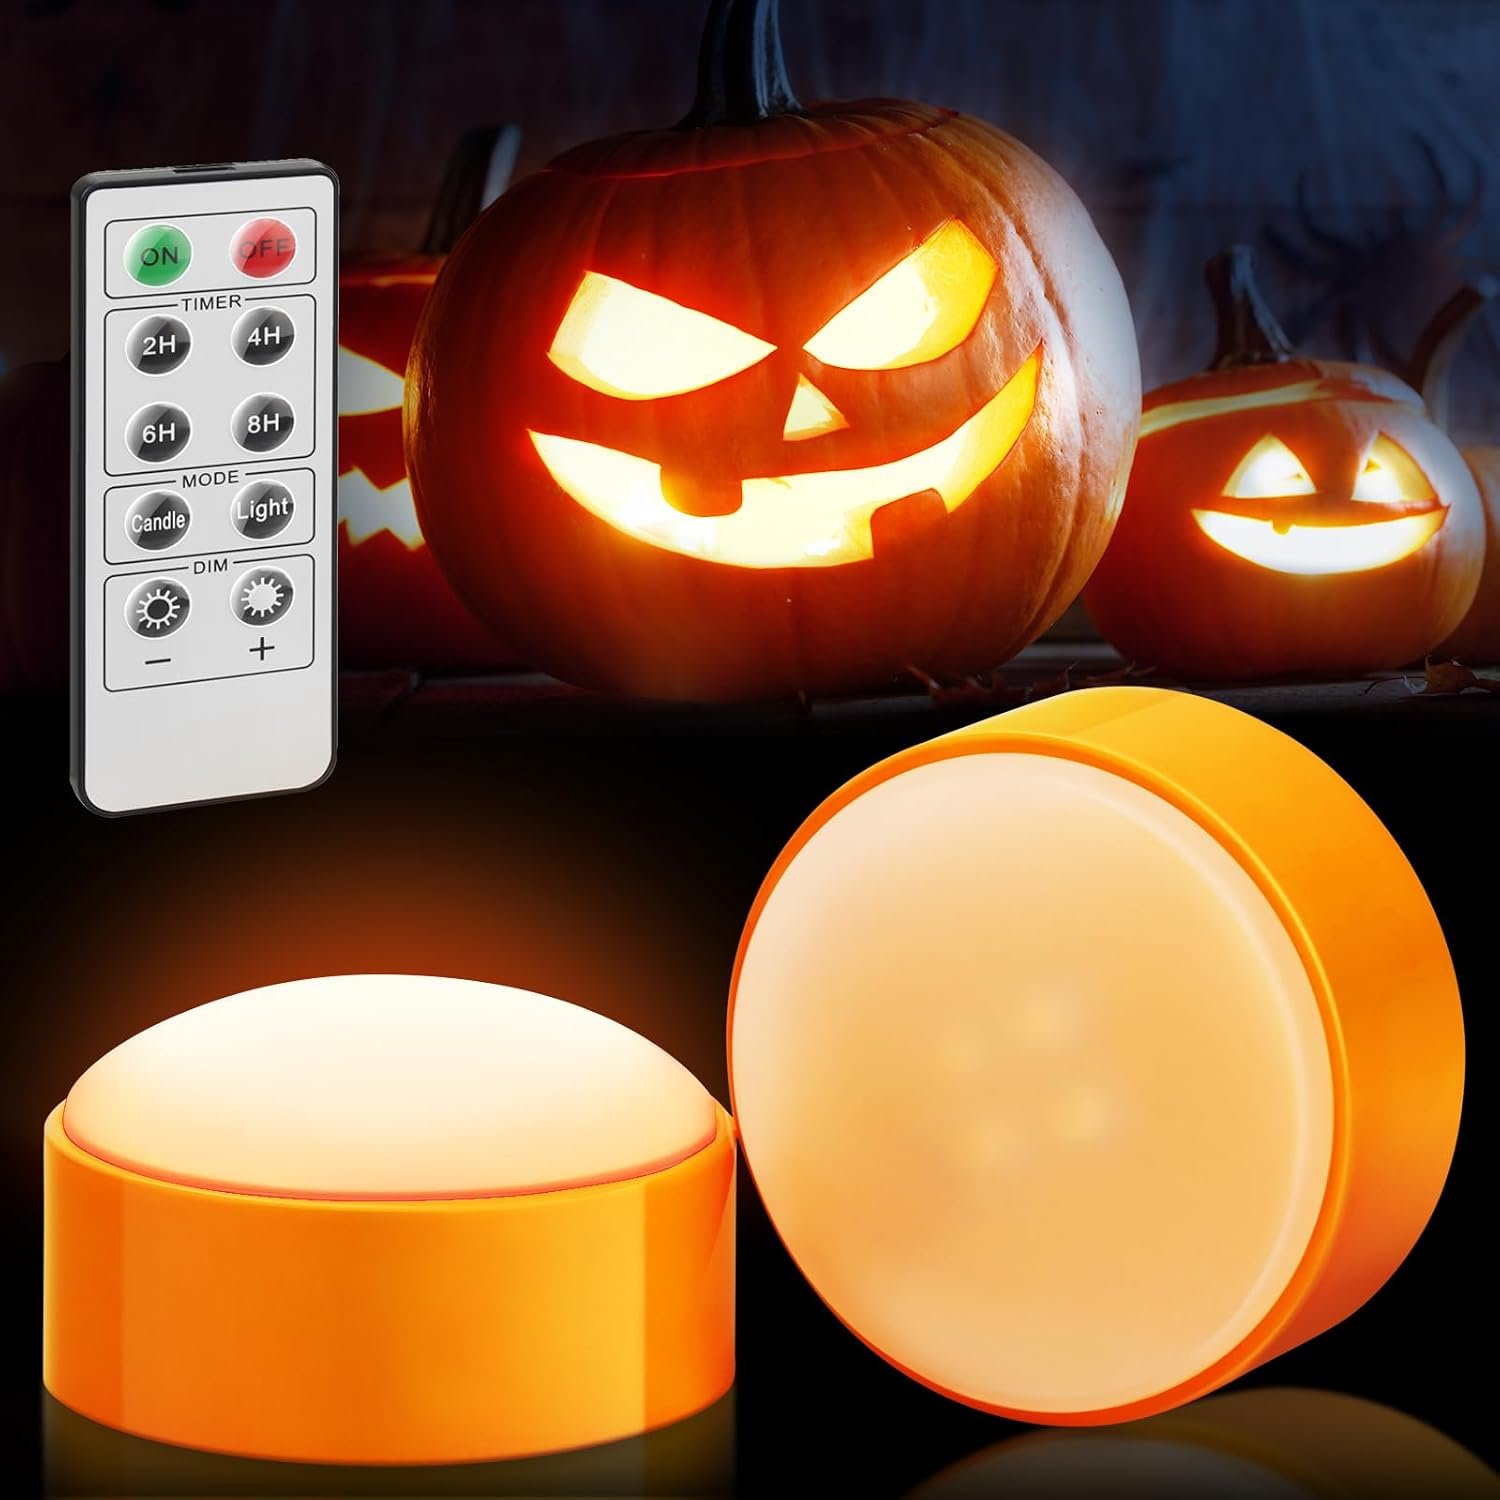
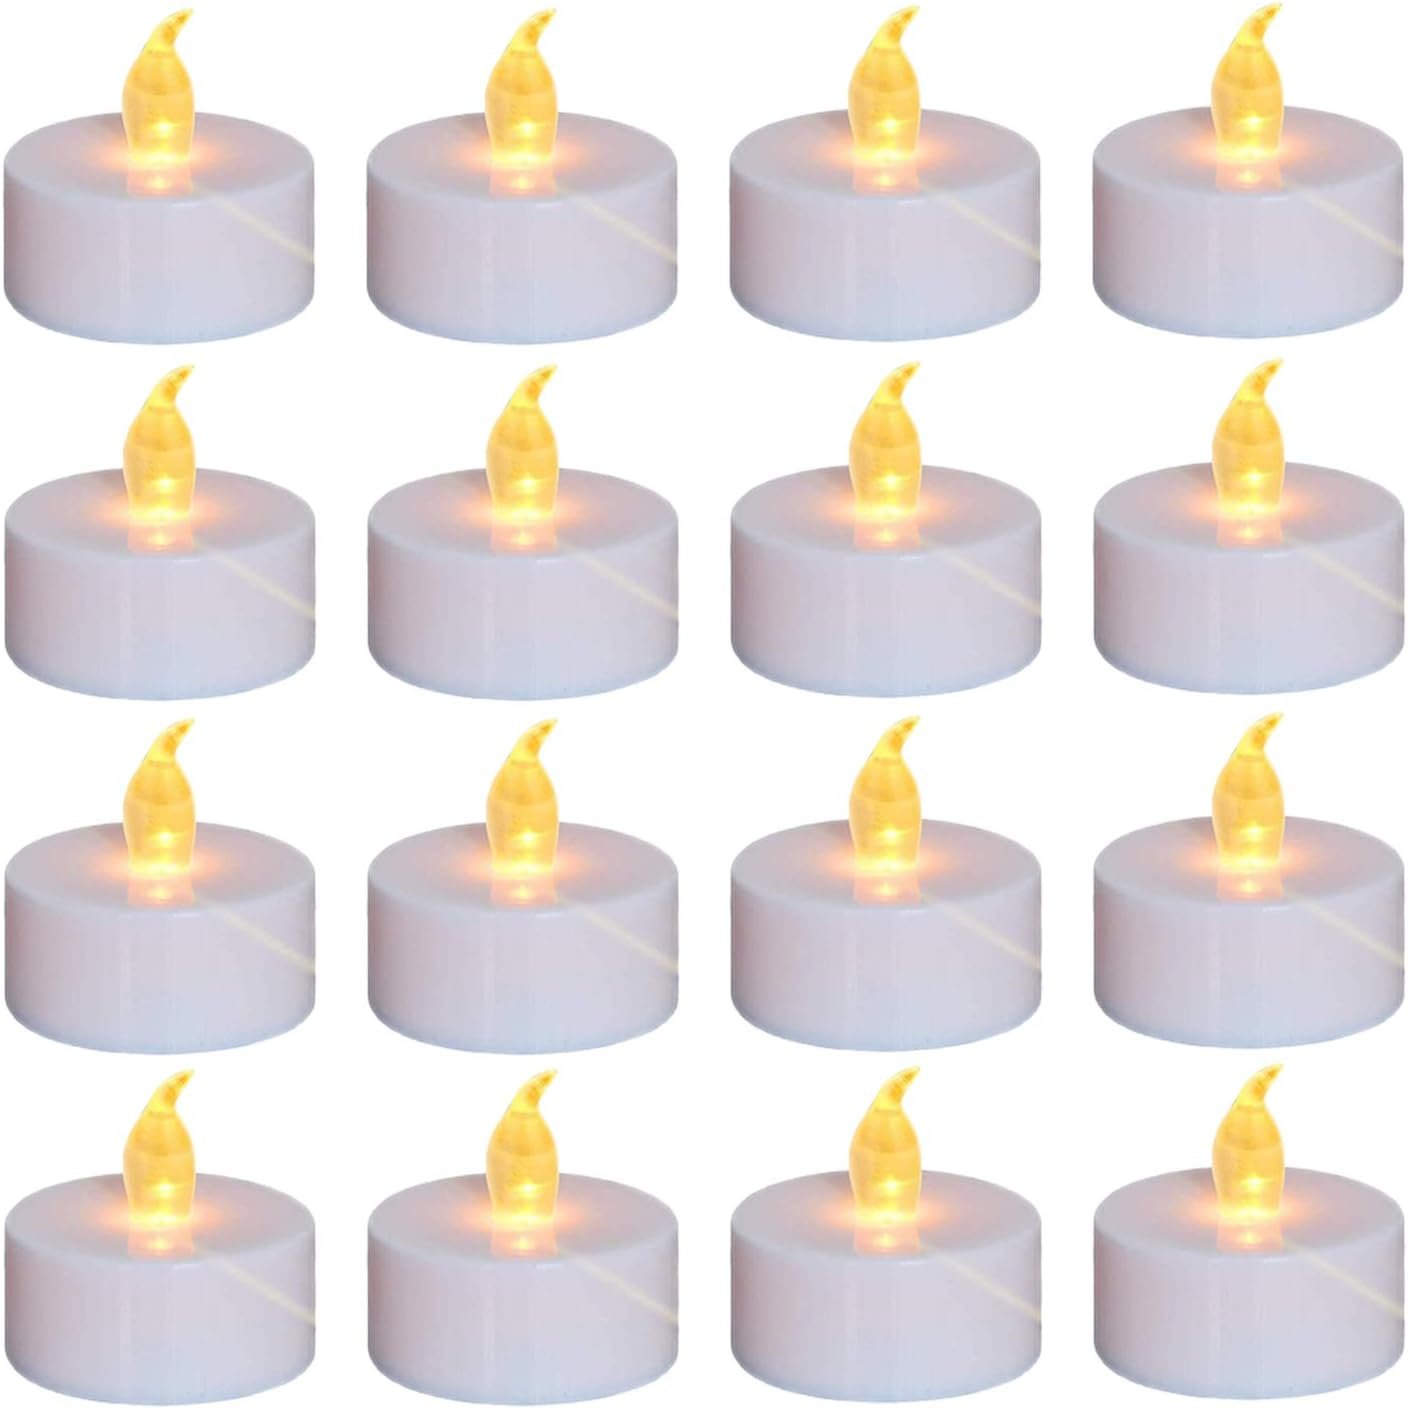
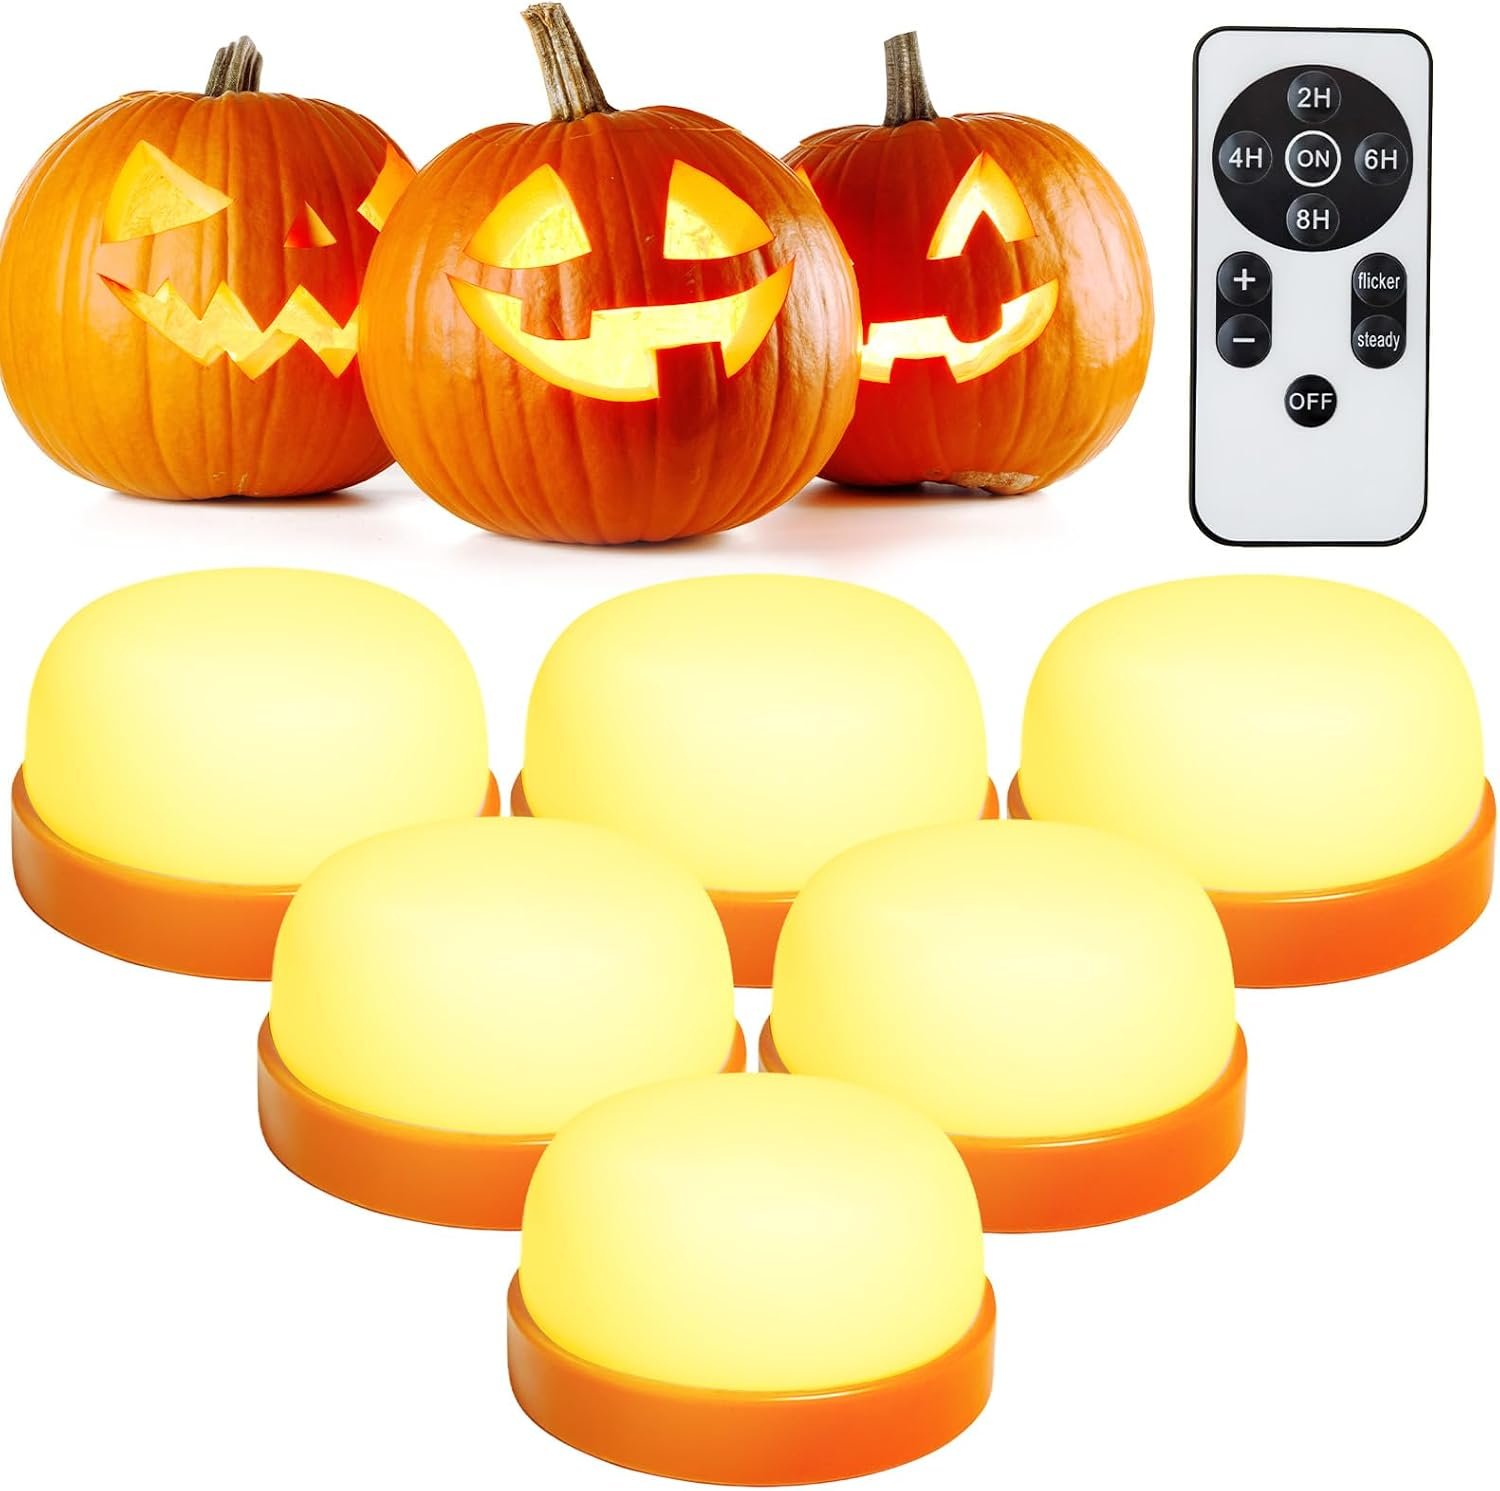
- A battery-powered LED light for the finished pumpkin
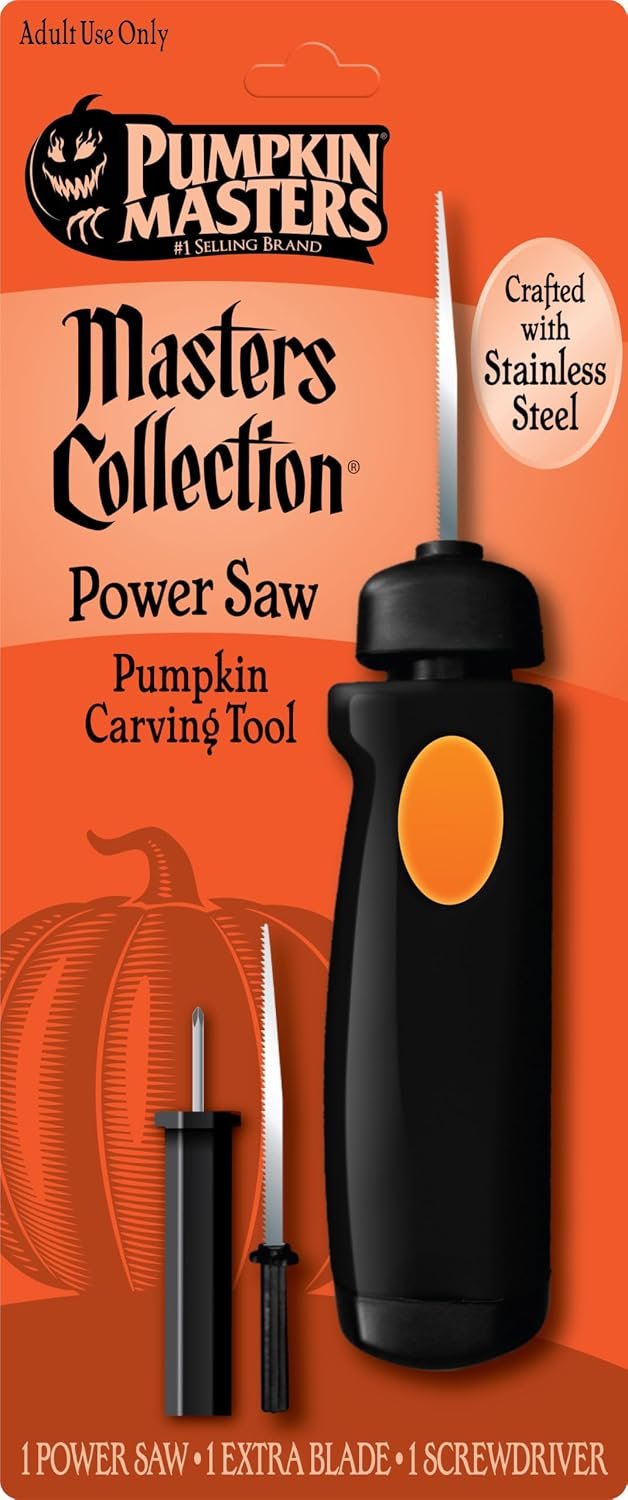
I prefer a small carving saw over a large kitchen knife because it gives me better control around curves and small details.
And please don’t rush the cutting. Cute designs often rely on tiny details, so one careless slice can turn a sweet expression into an accidental horror movie.
How Long Should You Wait Before Carving a Pumpkin?
Timing matters more than people think.
If you carve your pumpkin too early, you may end up with a saggy, moldy decoration before Halloween even arrives. Thomas Andres told Smithsonian Magazine that pumpkins can start to deteriorate within about a week, although proper care can help extend their display life.
“Wait as long as possible before carving.”
Andres recommends delaying the carving because an intact pumpkin generally lasts longer than a carved one.
For that reason, I like to buy my pumpkins early but save the actual carving for closer to Halloween.
Want the pumpkin to last even longer? Keep it somewhere cool and protect it from extreme temperatures. Smithsonian’s expert advice also recommends avoiding freezing conditions and using a flickering LED light instead of a candle.
18 Cute Pumpkin Carving Ideas to Try
Now for the fun part.
I’ve picked these cute pumpkin carving ideas with different skill levels in mind. Some take only a few simple cuts, while others let you get a little more creative.
The goal isn’t to create a competition-worthy pumpkin sculpture. The goal is to create something you actually enjoy displaying.
01Cute Cat Pumpkin
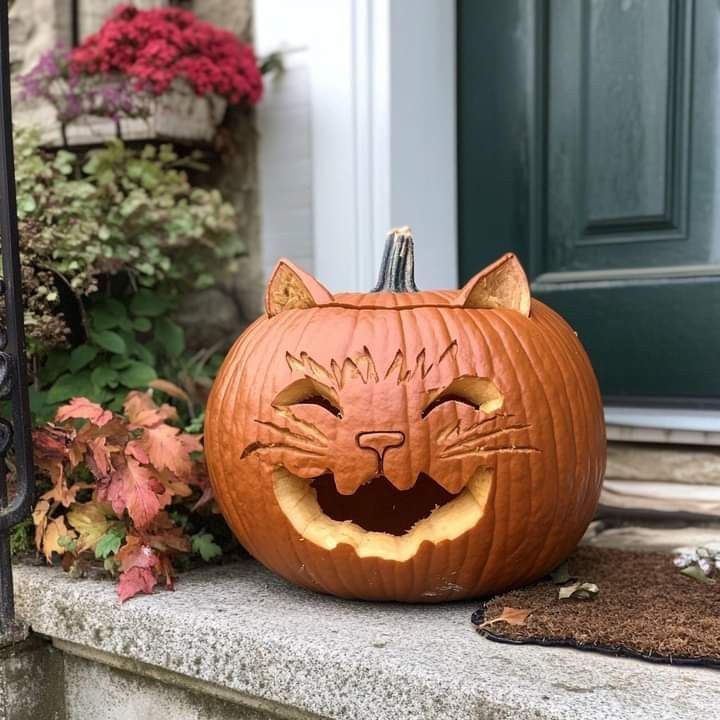
A little cat face might be one of my favorite cute pumpkin carving ideas because you can make it as simple or detailed as you want.
Start with two pointed ears near the top and carve large rounded eyes beneath them. Add a tiny triangular nose, small mouth, and a few whisker lines.
For an extra adorable look, give the cat oversized eyes. Large eyes instantly make the expression feel sweeter and more playful.
You could even place a tiny pumpkin beside it and create a whole little Halloween cat scene.
02Smiling Ghost Pumpkin
Who says ghosts have to look terrifying?
For this design, carve two large oval eyes and a small rounded mouth. Keep the features simple and evenly spaced.
The trick here involves expression rather than detail. A slightly curved mouth can make the entire pumpkin look cheerful instead of spooky.
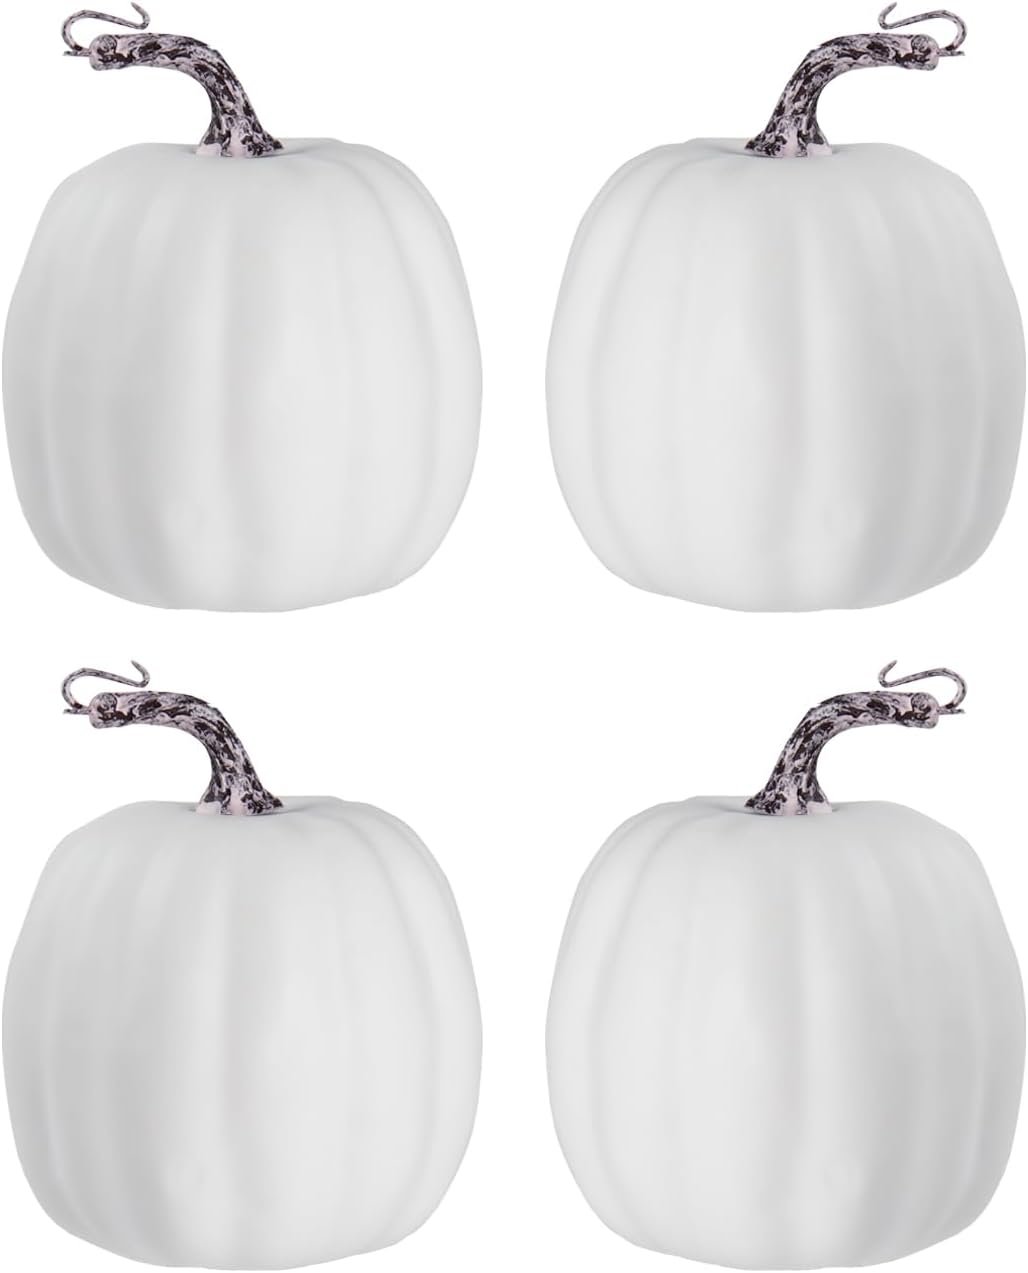
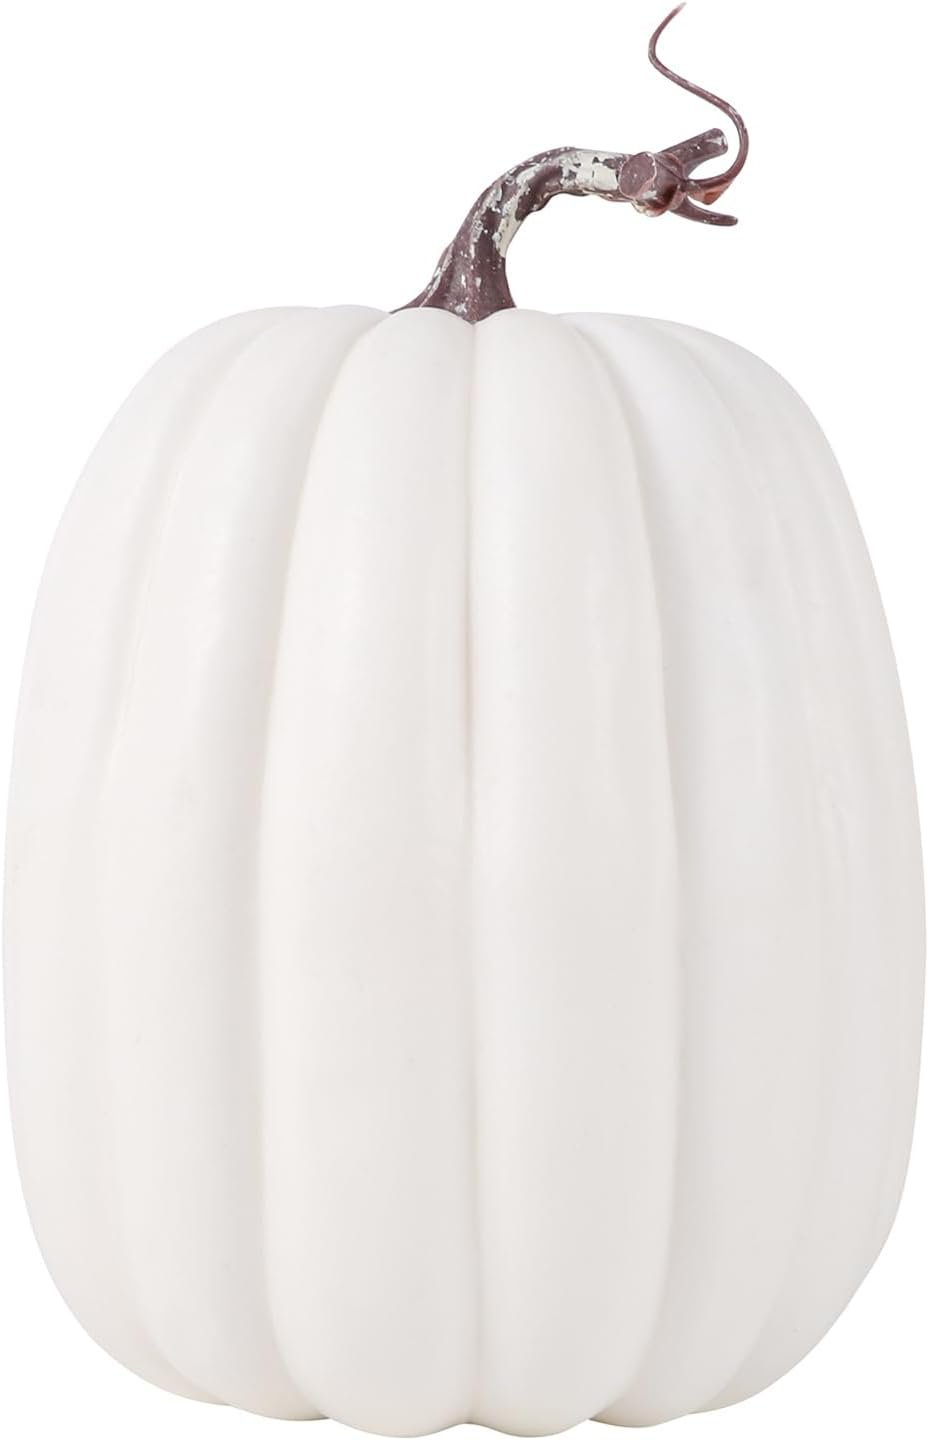
I’d use a white or pale pumpkin if you want to push the ghost theme even further. The soft color paired with glowing eyes looks surprisingly charming at night.
03Pumpkin With Heart-Shaped Eyes
Want something cute without spending an hour carving?
Try heart-shaped eyes.
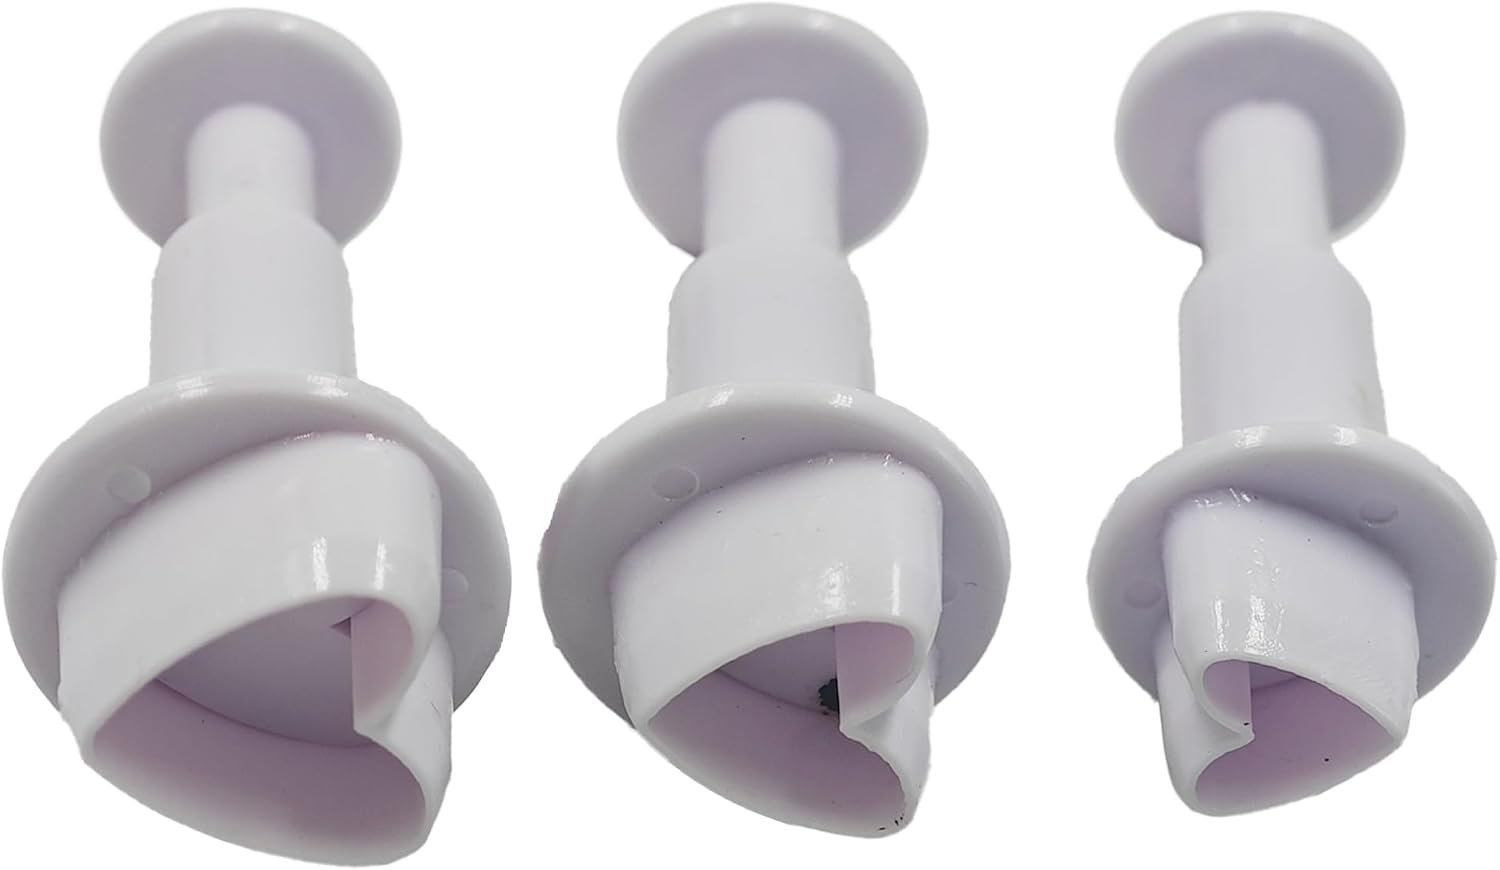
Draw two small hearts on the front of the pumpkin and add a tiny smiling mouth underneath. You can make the hearts symmetrical or deliberately give them slightly different sizes for a handmade look.
This idea works especially well for couples, families, or anyone who wants a softer Halloween decoration.
And yes, it also makes a ridiculously cute porch photo.

04Adorable Pumpkin Bunny
A bunny pumpkin gives you a chance to play with the actual shape of the pumpkin.
Choose a taller pumpkin and carve two long ears near the top. Then add large rounded eyes, a small nose, and a tiny mouth.
You can keep the ears attached to the pumpkin itself or carve around their outlines so the shapes stand out when you illuminate the pumpkin.
For a softer look, keep the facial features rounded rather than sharp.

05Sweet Little Bear Pumpkin
A bear face makes another excellent choice for cute pumpkin carving ideas, especially if you want something that feels cozy rather than Halloween-scary.
Carve two rounded ears, large circular eyes, and a small muzzle. A tiny heart-shaped nose gives the bear an extra dose of personality.
I’d choose a wide pumpkin for this design because the broader surface gives you more room to space the facial features naturally.
You could also place a small scarf around the pumpkin for a cozy fall display without adding complicated carving.
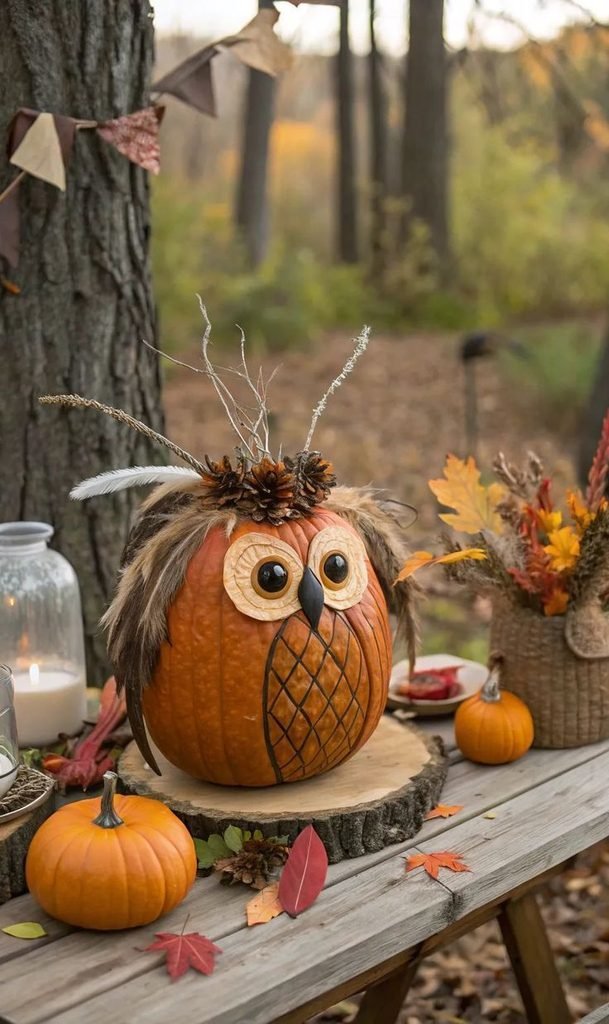
06Cute Owl Pumpkin
An owl design looks surprisingly impressive once you turn the light on.
Start with two large circular eyes and surround them with simple feather-inspired cuts. Add a small triangular beak between the eyes.
You don’t need to carve every feather. In fact, simple shapes usually create a stronger design at night because the light makes the main features stand out.
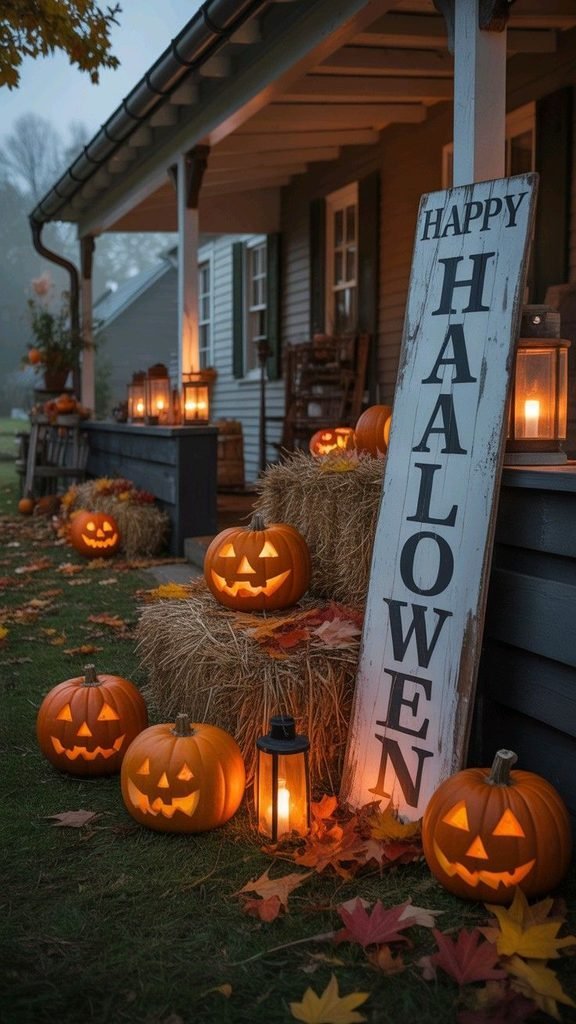
Try placing the owl beside a few mini pumpkins, pinecones, and autumn leaves for a woodland-inspired porch display.
07Happy Pumpkin Face
Sometimes the classic idea still wins.
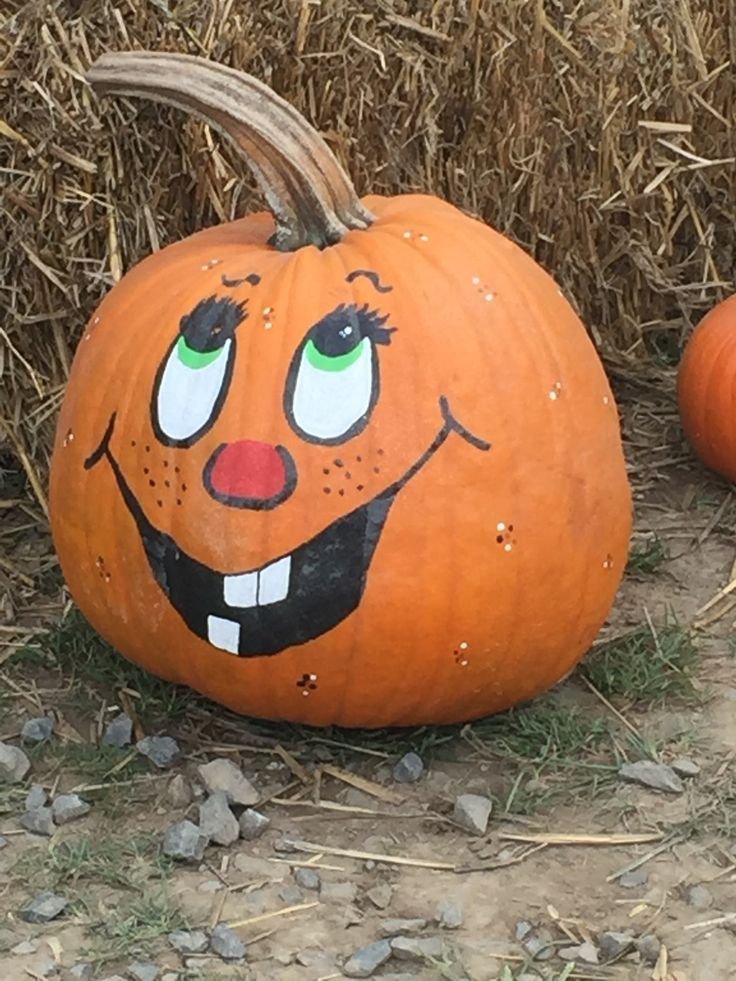
Instead of carving the traditional scary Jack-o’-lantern, create an exaggerated happy face with oversized eyes and a wide smile.
Think cartoon character rather than haunted house.
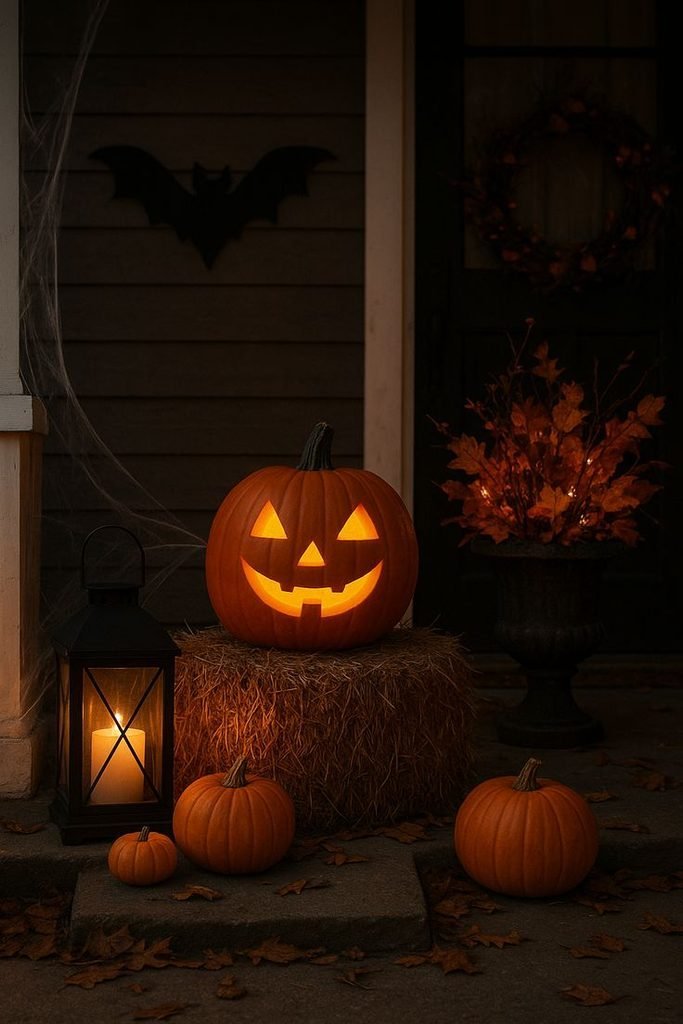
This design works especially well if you’re carving with kids because you can keep the shapes large and forgiving. You also don’t need a stencil if you feel comfortable sketching basic shapes.
“The pumpkin is a work of art, even before you get to the carving.”
Pumpkin expert Thomas Andres shared that perspective with Smithsonian Magazine, and I think it captures the whole appeal of carving.
08Little Puppy Pumpkin
If you’re a dog person, skip the scary face and turn your pumpkin into a puppy.
Create floppy ears on either side, large round eyes, a little nose, and a happy mouth. You can change the ear shape depending on the breed you want to suggest.
A tiny tongue sticking out makes the design even more playful.
I especially like this idea for families with dogs because you can loosely match the pumpkin’s face to your actual pet. Just imagine your porch with a carved pumpkin version of your dog sitting next to the real one.
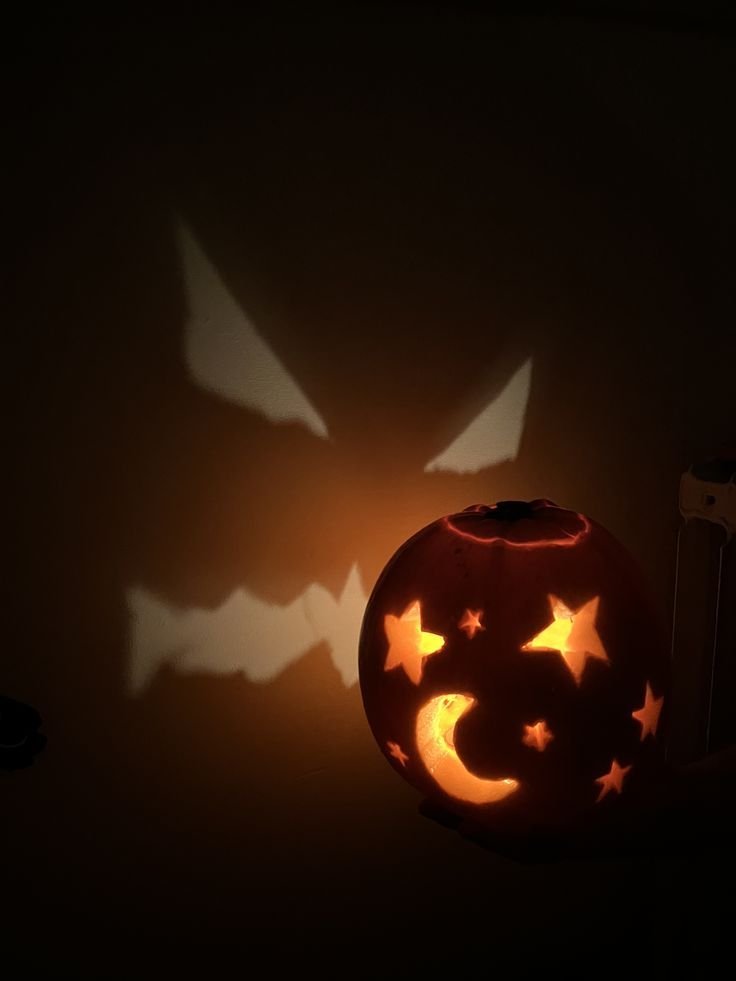
09Starry Night Pumpkin
Not every cute pumpkin needs a face.
For something a little more elegant, carve small stars across the surface of your pumpkin. Add a few moons, dots, and tiny shooting stars to create a miniature night sky.
This design works beautifully with a deep orange pumpkin and warm LED light because the small cutouts glow like tiny stars.
You can make the pattern random or create a deliberate constellation-inspired arrangement.
And unlike a detailed character, this design doesn’t require perfect symmetry. That makes it a great choice when you want something pretty without stressing over every single cut.
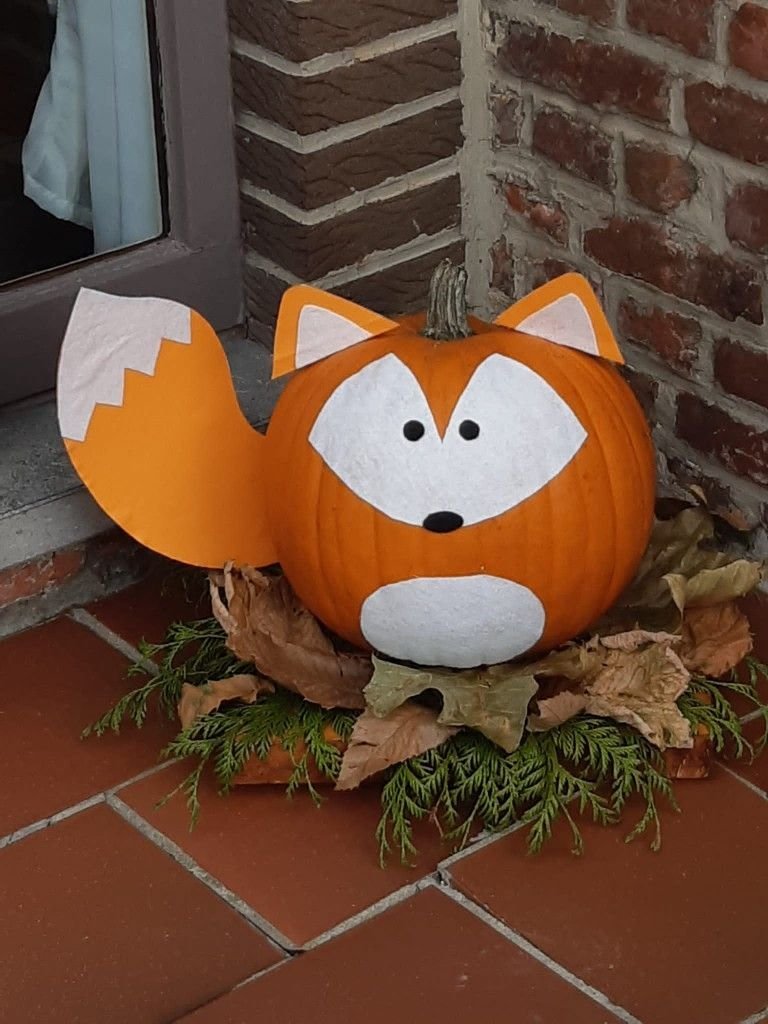
10. Cute Fox Pumpkin
If you want a pumpkin that feels a little more autumnal, try a cute fox pumpkin. The warm orange color already gives you half the look, so the carving can stay surprisingly simple.
Carve two pointed ears, large almond-shaped eyes, a small triangular nose, and a gentle smile. Add a few curved lines around the cheeks to suggest fluffy fur.
I especially like this design because it looks adorable during the day and almost magical once you add a warm LED light inside. Pair it with dried leaves and a few mini pumpkins, and you have a full fall display without making your porch look like a Halloween aisle at a discount store.
11Sleepy Moon Pumpkin
A sleepy face can turn an ordinary pumpkin into one of the cutest pumpkin carving ideas on the list.
Carve two closed eyes with small curved lashes and add a tiny smiling mouth. Then carve a few stars around the face to create a dreamy nighttime theme.
Want to make it even sweeter? Add a small crescent moon beside the face or carve tiny stars across the pumpkin.
I’d choose this design if you prefer cozy Halloween decor instead of spooky Halloween decor. It feels playful without screaming Halloween from three streets away.
12Cute Mushroom Pumpkin
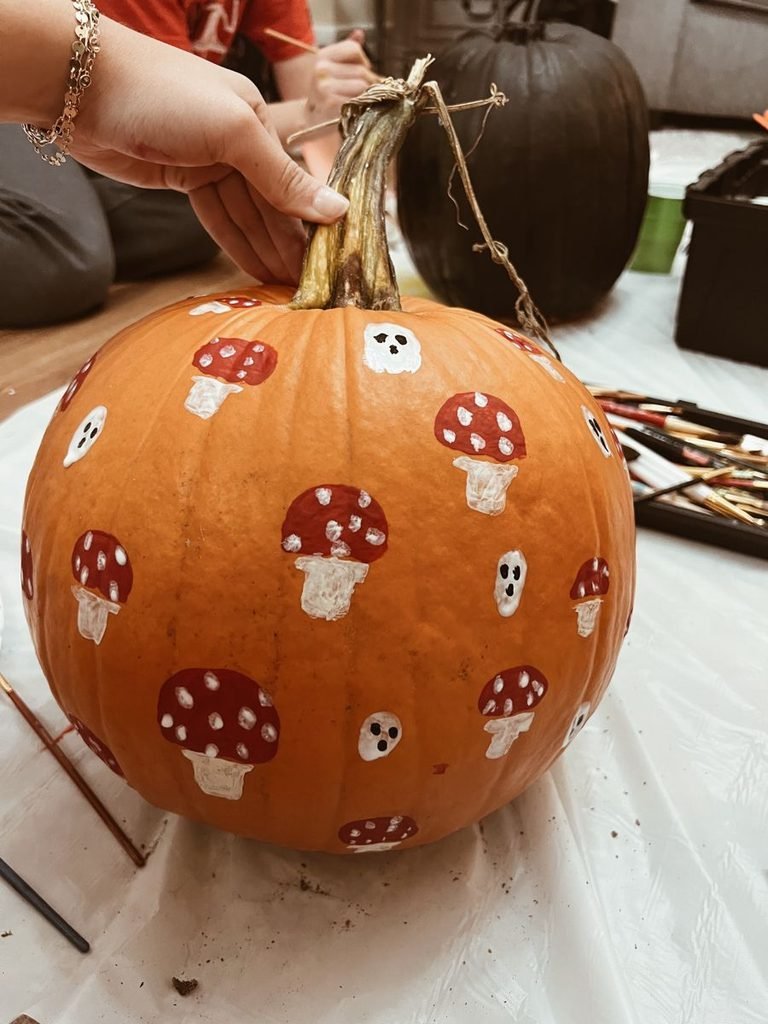
Mushroom designs have a charming woodland feel, and pumpkins give you plenty of space to experiment with the shape.
Carve a few rounded mushroom caps across the front of the pumpkin. Add simple stems underneath and tiny dots across the caps.
You can keep the design completely abstract or add a tiny smiling face to one mushroom. Why stop at one cute element when you can create an entire little forest?
This idea also works beautifully with natural fall decorations such as acorns, pinecones, moss, and dried leaves.
13Smiling Bat Pumpkin
Bats normally get a spooky reputation, but you can easily turn one into an adorable Halloween character.
Start with two pointed ears and large circular eyes. Add tiny fangs and a small smile instead of creating an intimidating expression.
The oversized eyes make the biggest difference. Large eyes instantly give the pumpkin a cartoon-like personality, which works perfectly for a cute Halloween display.
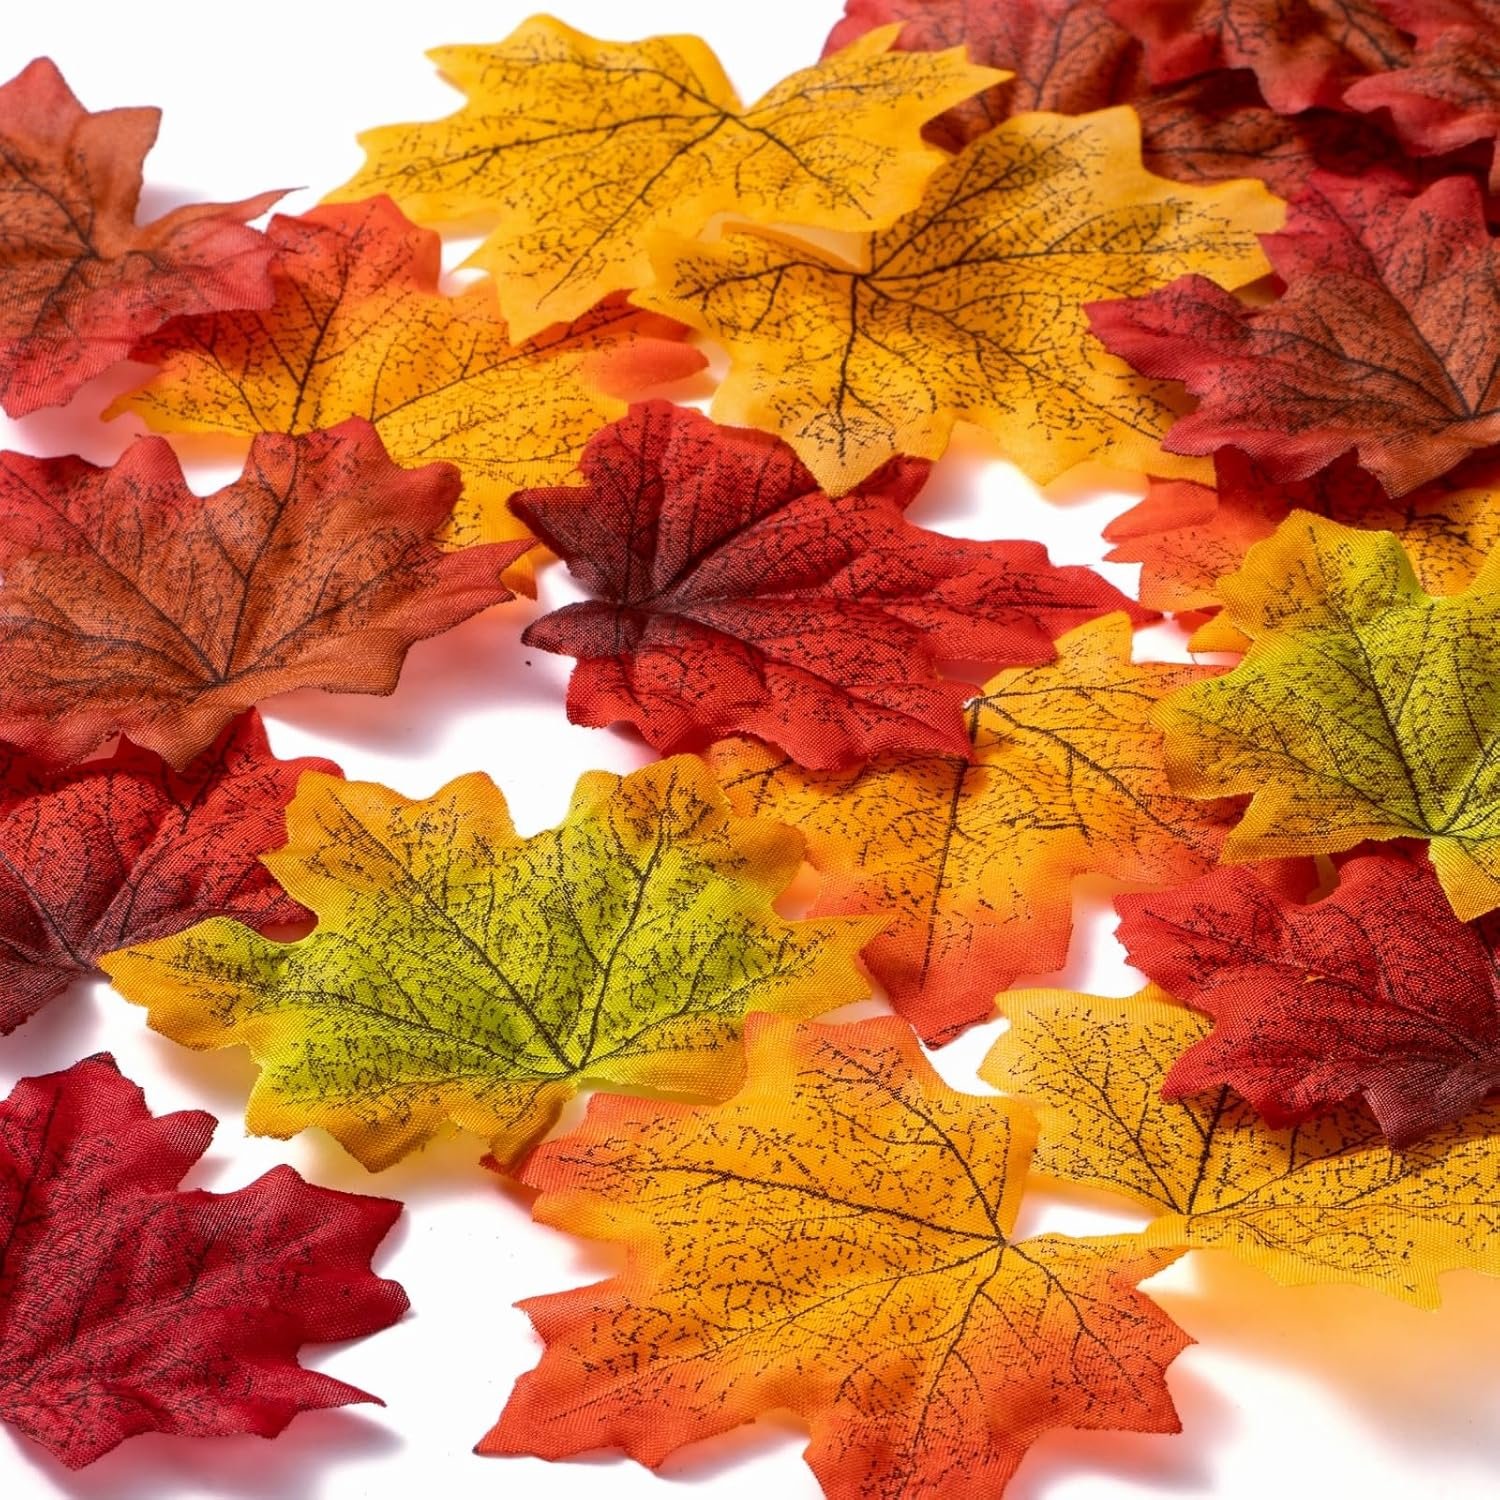
For a fun porch arrangement, place your bat pumpkin between two smaller pumpkins and scatter a few artificial leaves around the base.
14Cute Witch Pumpkin
A witch pumpkin gives you plenty of room to get creative without making the carving complicated.
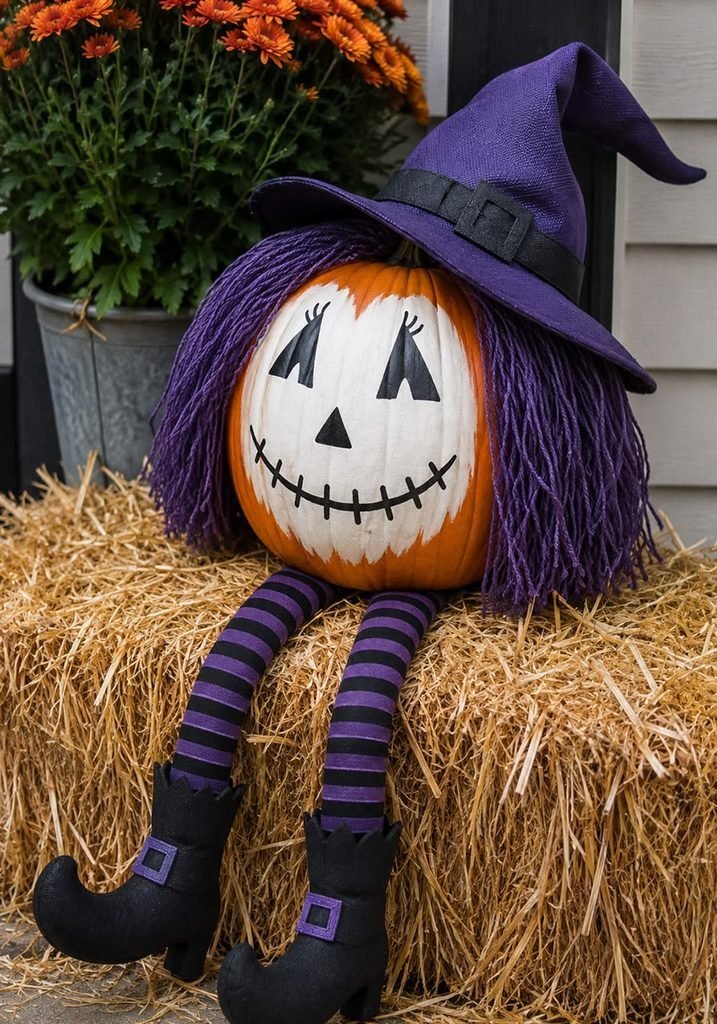
Start with a simple face featuring large eyes, a small nose, and a smiling mouth. Then add a few lines suggesting a witch hat around the top.
You can also skip complicated hat carving and simply place a miniature witch hat over the pumpkin.
I actually prefer that approach because you can change the decoration later. Plus, trying to carve an entire hat into a round pumpkin can turn a relaxing afternoon into an unnecessarily competitive battle with a vegetable.
15Pumpkin With Flower Carving
Who says Halloween pumpkins need faces?
For a softer design, carve flowers across the surface. Use simple petals and circular centers rather than extremely detailed floral patterns.
You can create one large flower in the center or surround the pumpkin with several smaller blooms.
Floral pumpkin carving works especially well for fall porches because it connects Halloween with the rest of your seasonal decor. Add mums, dried flowers, and warm-toned foliage around the pumpkin, and the whole arrangement feels intentional.
16Adorable Strawberry Pumpkin
This one feels unexpected, which makes it fun.
Choose a smaller pumpkin and carve a strawberry-inspired pattern with simple seeds and leaf shapes near the stem. You can even add a tiny smiling face in the center.
The design works particularly well when you use several small pumpkins together. Create one strawberry pumpkin, one plain pumpkin, and one tiny flower pumpkin for a playful little arrangement.
Would I choose this for a traditional spooky Halloween porch? Probably not. But for a whimsical display? Absolutely.
17Cute Ghost Cat Pumpkin
Why choose between a cat and a ghost when you can combine both?
Create a cat face with pointed ears, but carve a few flowing lines around the lower part of the pumpkin to make it look like the cat floats like a ghost.
Keep the eyes large and expressive. A tiny triangular nose and small mouth finish the face.
This idea gives you the Halloween theme without relying on scary expressions. It also makes a great choice for a family-friendly Halloween display.
18Tiny Smile Pumpkin Family
For the final idea, create a whole family of mini pumpkins.
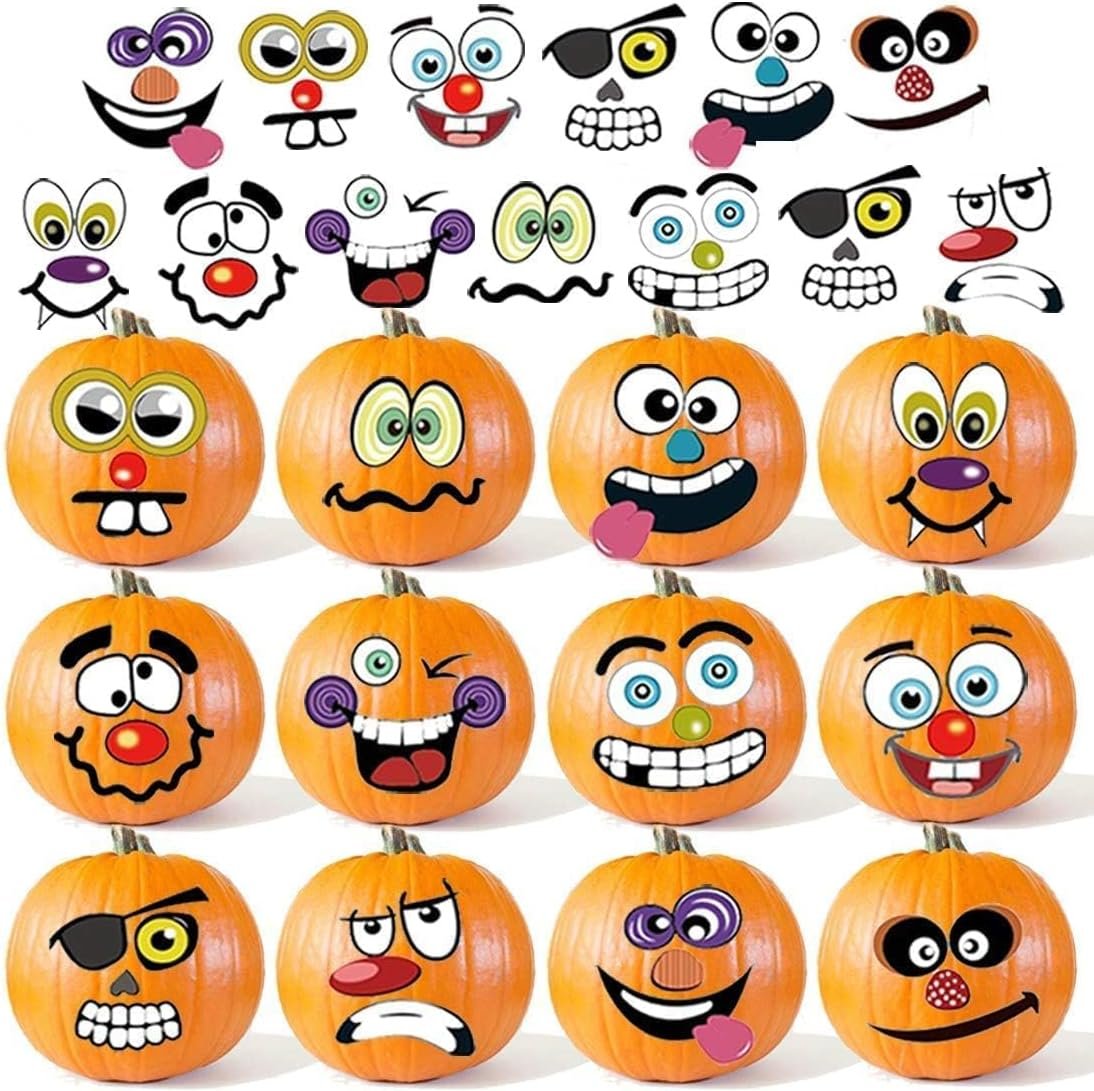
Instead of putting all your creativity into one large pumpkin, give several small pumpkins different expressions. One can smile, another can wink, and another can have heart-shaped eyes.
I love this approach because the variety makes the display more interesting than one oversized pumpkin.
You can also give each pumpkin a different personality. Add tiny hats, bows, scarves, or glasses around them to create a miniature pumpkin family.
And honestly, watching several little pumpkins stare at your front door with completely different expressions might be the most wholesome Halloween decoration imaginable.
How Can You Make Cute Pumpkin Carvings Last Longer?
You’ve put all that effort into your design, so naturally you want it to survive Halloween night.
The biggest enemy involves moisture and heat. Keep carved pumpkins somewhere cool and dry whenever possible, and bring them inside if temperatures become extreme.
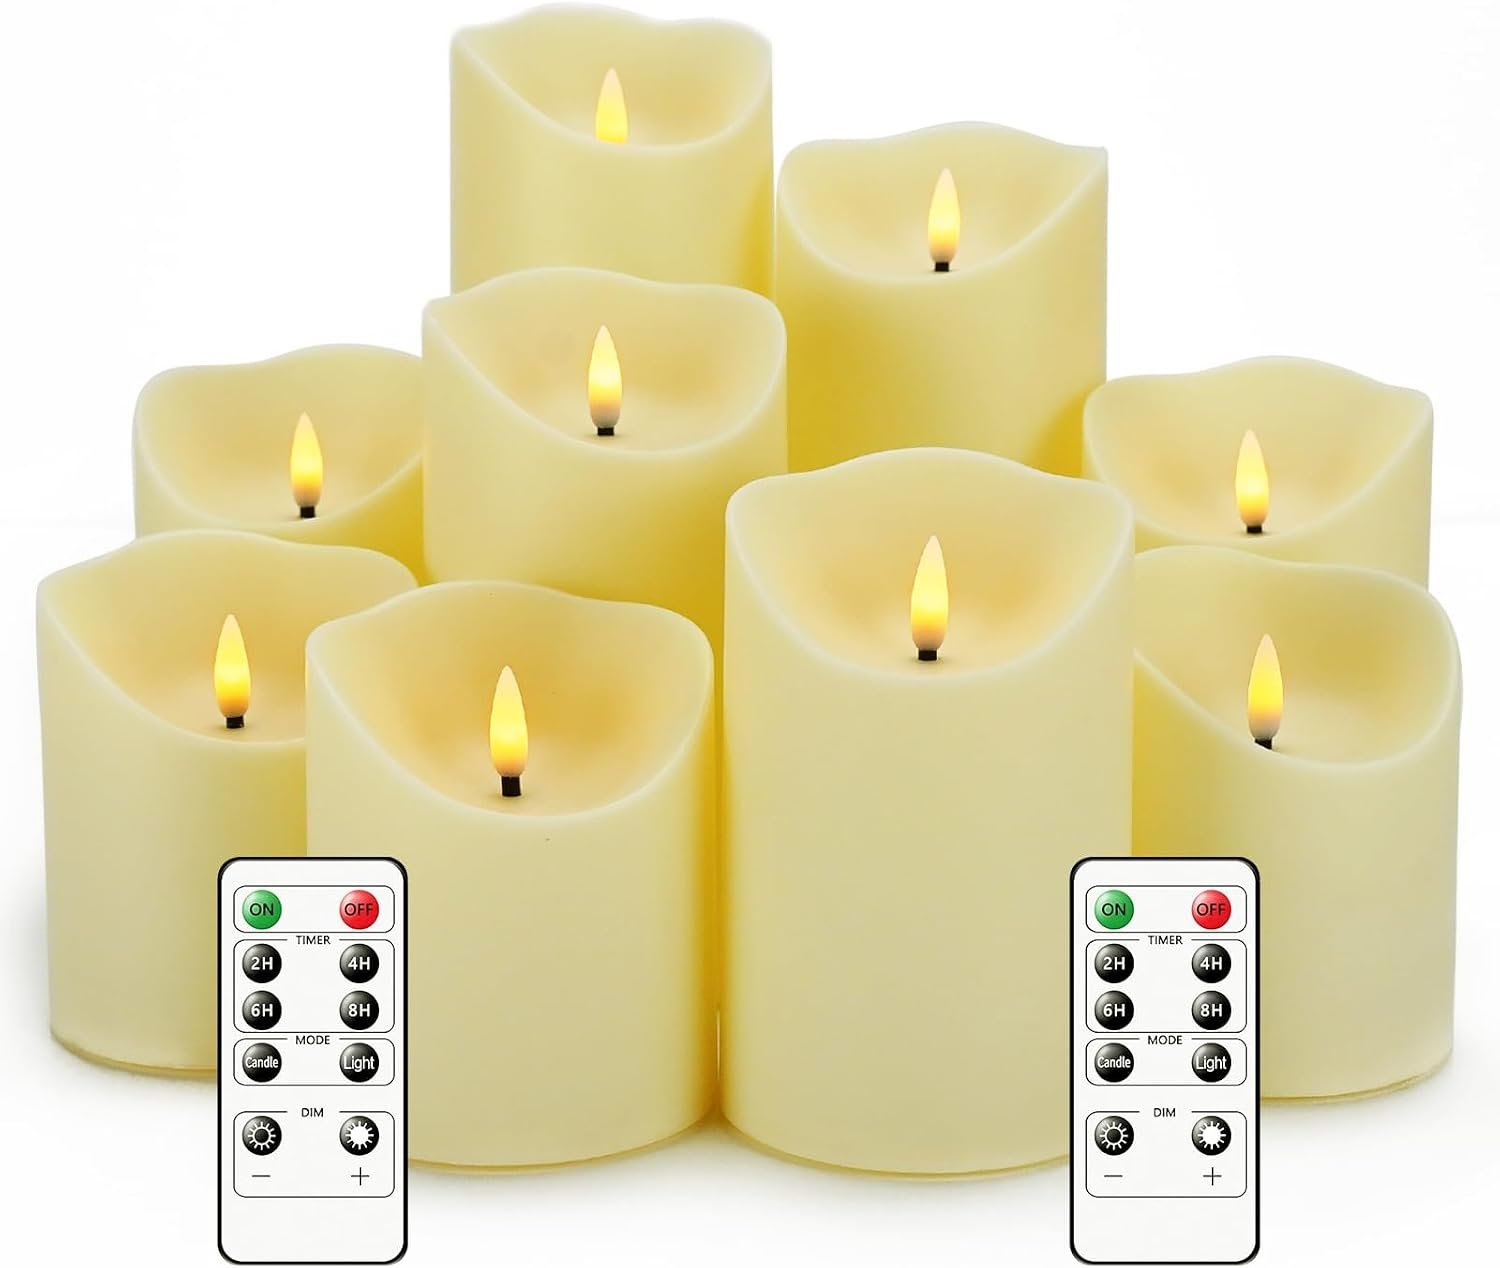
For lighting, I strongly recommend battery-powered LED lights instead of real candles. They produce less heat and eliminate the obvious fire risk.
The National Fire Protection Association also recommends using battery-operated candles or glow sticks as safer alternatives to traditional candles inside jack-o’-lanterns.
A Few Simple Pumpkin Care Tips
- Carve as close to Halloween as practical.
- Keep the pumpkin away from direct sunlight.
- Avoid placing it somewhere that collects rain.
- Use an LED light rather than an open flame.
- Check the pumpkin daily for soft spots or mold.
- Remove damaged pumpkins from your display quickly.
One trick I particularly like involves keeping the pumpkin somewhere cool overnight. You don’t need to turn your home into a pumpkin refrigerator, though. A cool sheltered area usually does the job.
What Tools Work Best for Cute Pumpkin Carving?
You don’t need a giant professional carving kit.
For most of these cute pumpkin carving ideas, a small serrated pumpkin saw, scraper, marker, and LED light will handle the job.
A small saw gives you more control around curves and small facial details. A scraper helps thin the inside wall, which can make detailed designs glow more clearly.
My Basic Pumpkin Carving Kit
- Pumpkin carving saw: For controlled cuts
- Scoop or scraper: For removing pulp
- Washable marker: For drawing your design
- Small detail tool: For tiny features
- LED candle: For safe illumination
- Tray or newspaper: For containing the inevitable pumpkin mess
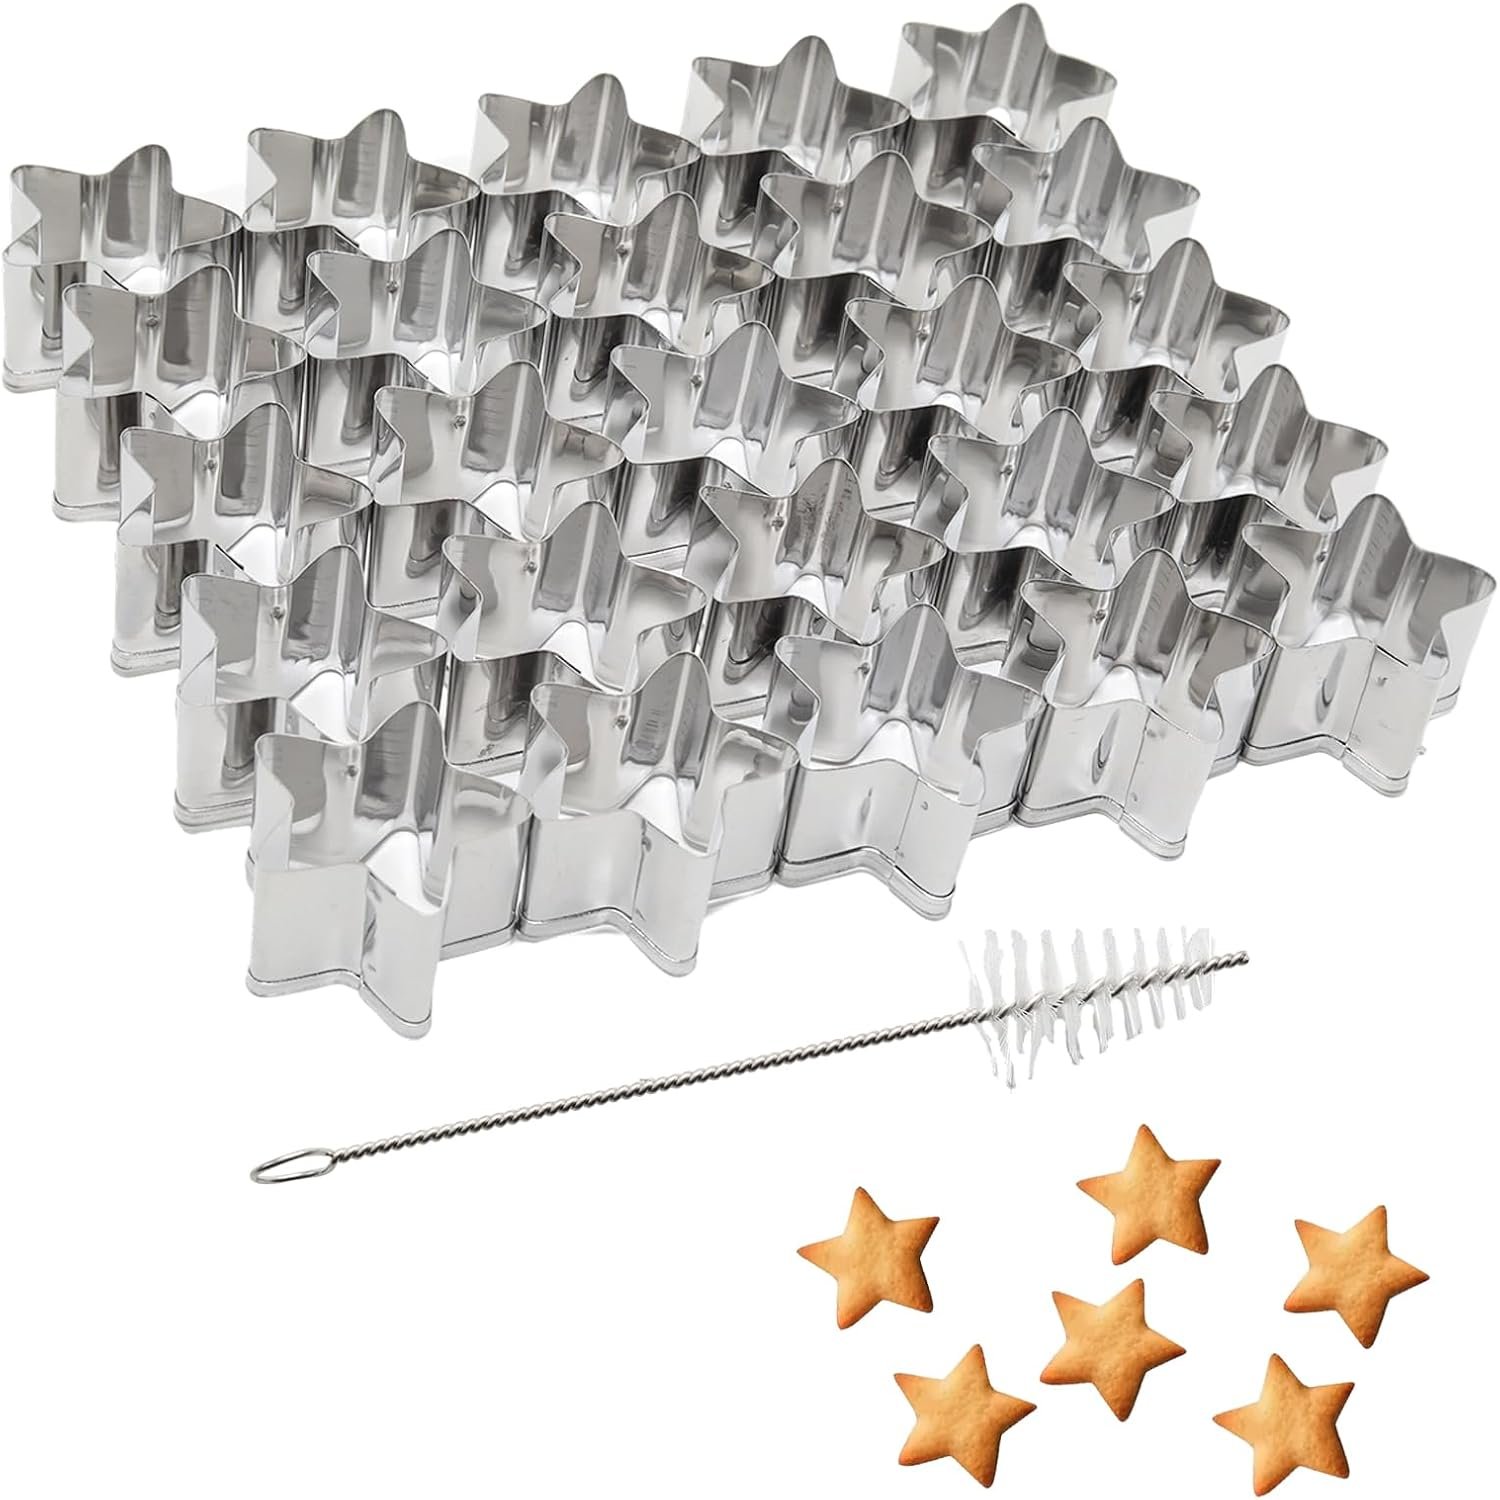
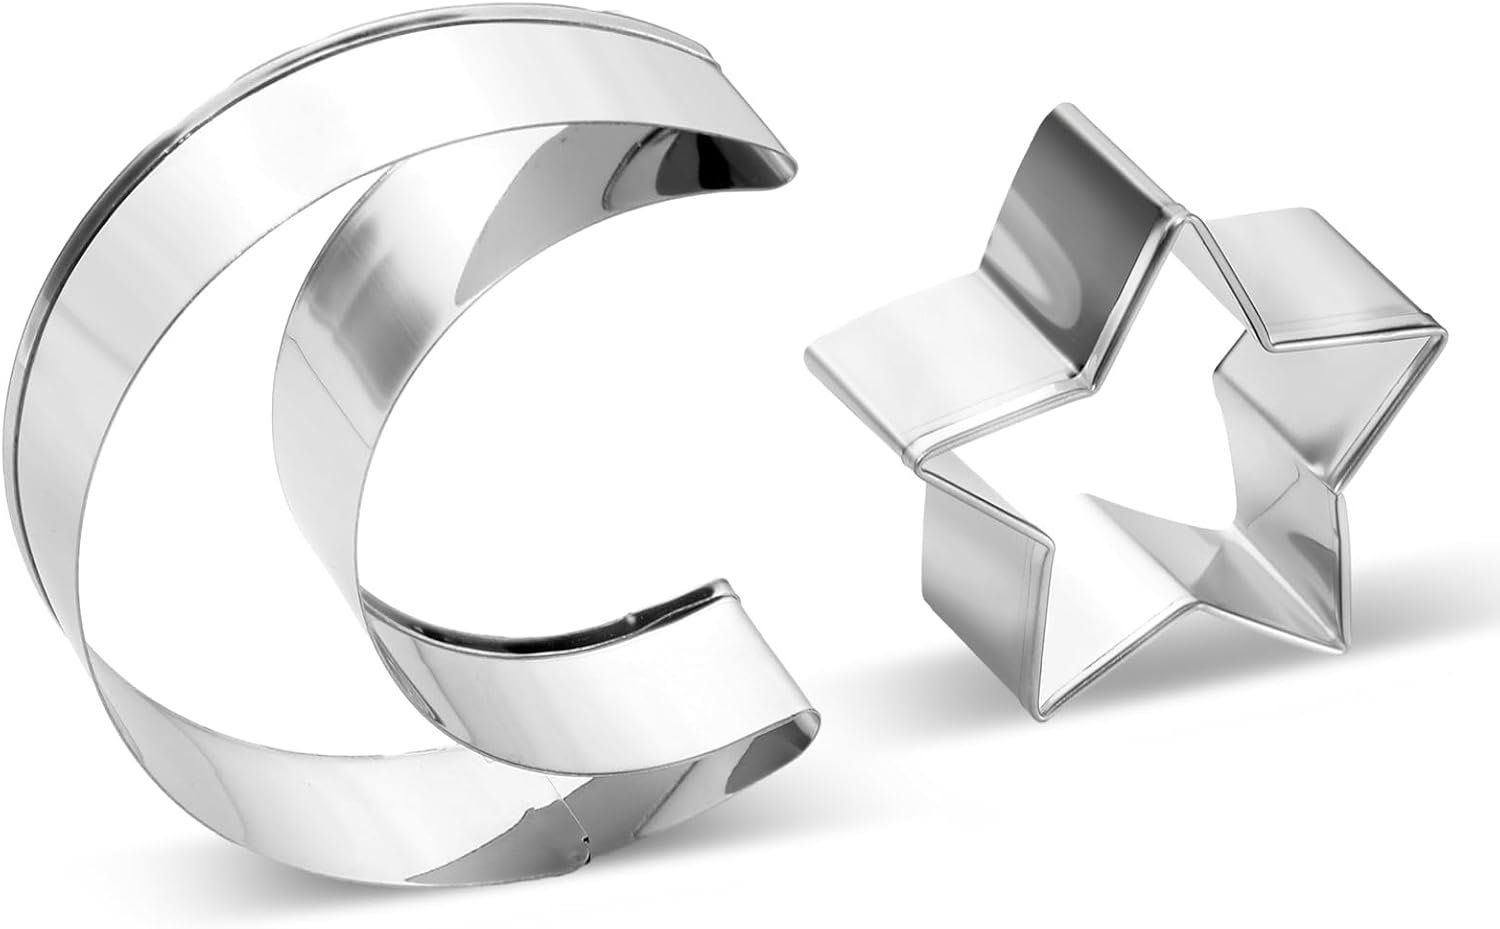
You can also use cookie cutters for simple shapes such as hearts and stars. Just press them into the pumpkin carefully and finish the cut with a carving tool.
Should You Use a Pumpkin Carving Stencil?
Absolutely, especially if you want symmetrical designs.
A stencil takes some of the guesswork out of the process. Tape your pattern onto the pumpkin, transfer the design with small pokes or careful tracing, and then follow those marks while carving.
For simple faces, I usually skip stencils. For animals, flowers, or detailed patterns, however, a stencil can make the finished pumpkin look much cleaner.
The important thing involves choosing a design that matches your skill level. Nobody needs to start with a hyper-detailed portrait of a black cat wearing a Victorian collar.
Start simple. You can always get more ambitious next year.
How Do You Make Cute Pumpkin Carving Ideas Look Better at Night?
Lighting changes everything.
During the day, you mainly see the pumpkin’s orange surface and carved details. At night, the light reveals the shapes from inside, so even a simple design can look dramatically different.
Place your LED light toward the center of the pumpkin rather than directly beneath one feature.
If your carving contains small details, thin the pumpkin wall behind those areas. More light will pass through and make those details easier to see.
You can also experiment with the placement of the light. Move it slightly forward or backward until the face looks balanced.
Ever noticed how some pumpkins look amazing in photographs while others look almost invisible? Lighting usually makes the difference.
Common Mistakes to Avoid When Carving Pumpkins
A little planning can save you a lot of frustration.
Cutting the Top Too Early
Many people immediately cut a huge circle around the stem. That works, but I prefer cutting an opening toward the back or bottom when the design allows it.
A bottom opening can help the pumpkin sit securely over its light, while a rear opening keeps the front looking cleaner.
Making the Features Too Small
Tiny eyes and mouths might look cute on paper but disappear once you light the pumpkin.
Make important facial features slightly larger than you think you need.
The light will soften the edges, especially outdoors.
Removing Too Much Pumpkin
Don’t scrape the walls paper-thin unless your design requires it.
You need enough structure to keep the pumpkin sturdy. Thin only the areas where you want extra light to shine.
Carving Too Early
This one sounds obvious, but Halloween enthusiasm gets people every year.
If Halloween still sits two weeks away, admire your pumpkin for a while. Let it remain whole.
Final Thoughts on Cute Pumpkin Carving Ideas
Halloween decor doesn’t always need sharp teeth, angry faces, and enough fake blood to concern the neighbors. Sometimes a cute pumpkin with a giant smile or tiny cat ears creates a much more welcoming display.
These 18 cute pumpkin carving ideas give you plenty of directions to explore, from simple heart-shaped eyes and smiling ghosts to woodland animals, flowers, mushrooms, and an entire pumpkin family.
My biggest advice? Choose a design you’ll actually enjoy carving. Sketch it first, use the right tools, take your time, and save the carving for closer to Halloween.
After all, the slightly wonky pumpkin you made yourself will probably have far more personality than the perfectly manufactured decoration you could buy at a store.
And if one eye ends up slightly higher than the other?
Just call it character. No one needs to know.