
A Christmas centerpiece has two jobs. It has to look good, and it has to stay out of the way of the people eating around it.
Most fail at the second one. They're too tall to see across, too wide for the serving dishes, or too crowded to look like anything.
I rounded up 28 centerpieces, sorted by what they're built from. Start with the rules, then pick the one that suits your table.
Five Rules for a Centerpiece That Works at Dinner
- Go under 12 inches or over 30. Anything in between blocks eye contact across the table.
- Take up no more than a third of the table's width. Platters and place settings need the rest.
- Group in odd numbers. Three candles, five ornaments or three vases look arranged. Pairs look stiff.
- Mix three heights. One tall piece, one medium and one low keeps the eye moving.
- Keep flames 12 inches from greenery. Dry pine and paper catch quickly, so use flameless candles near anything natural.
Candles and Glass: Start With the Light
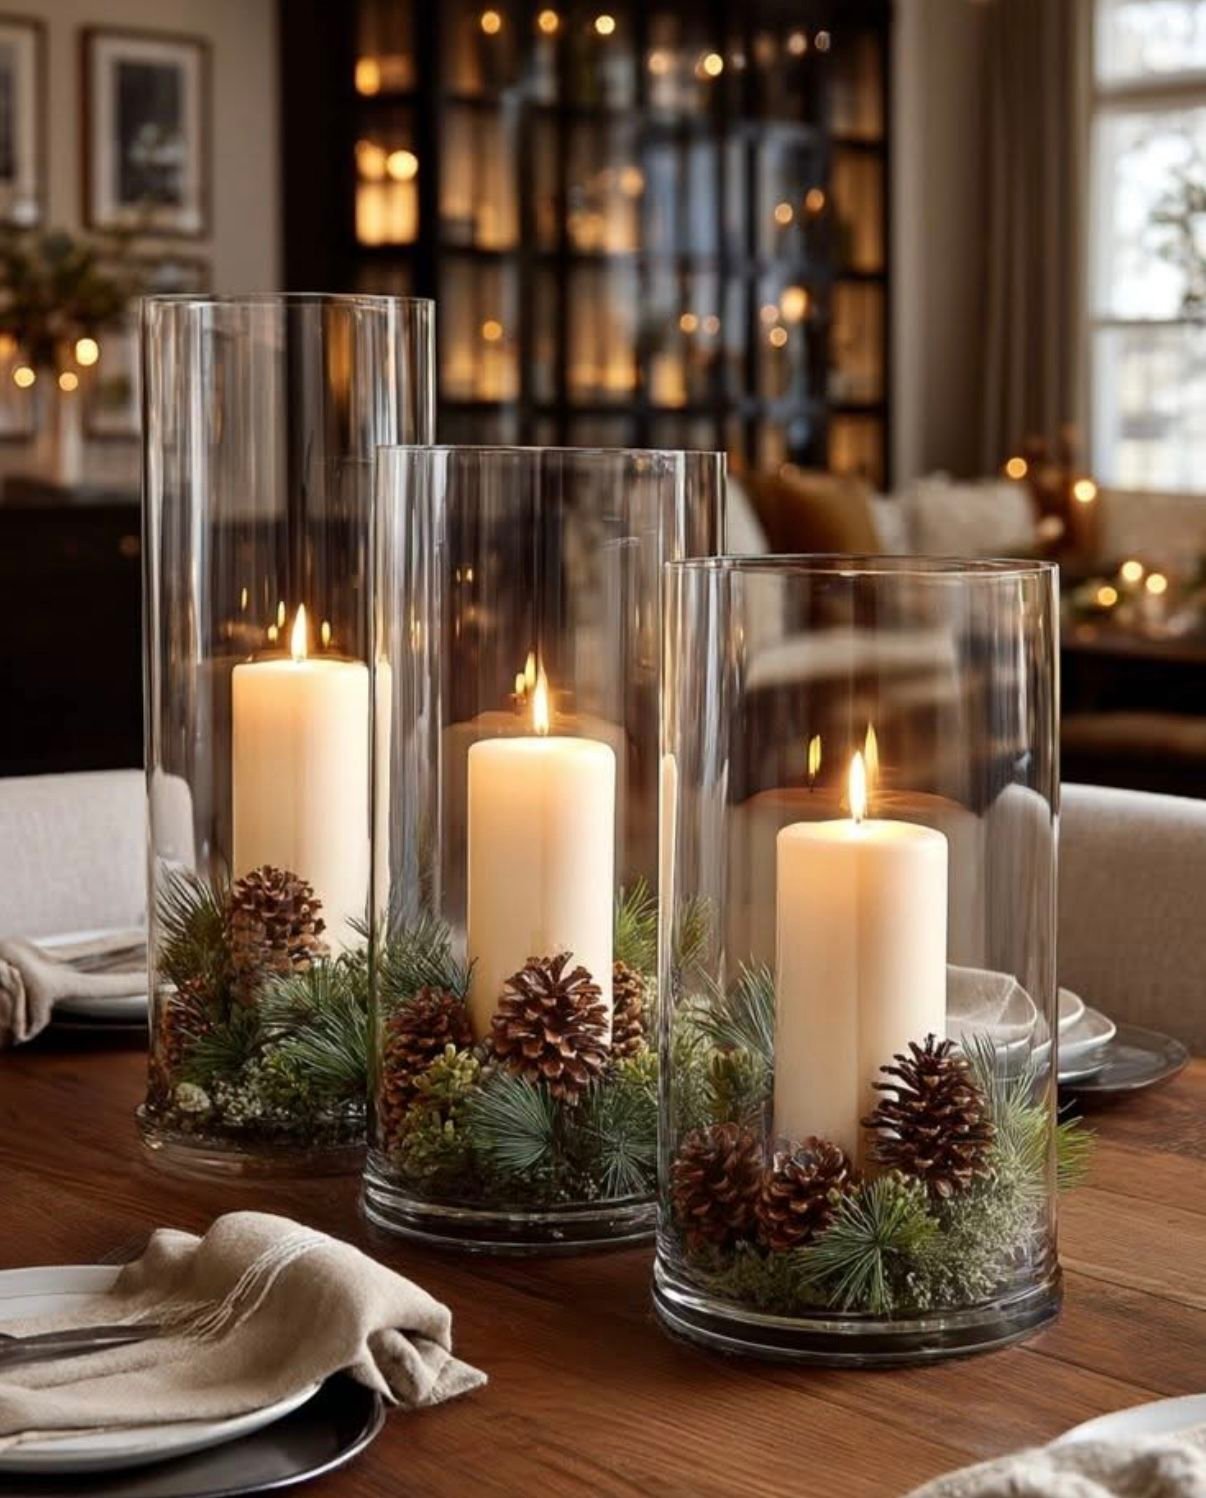
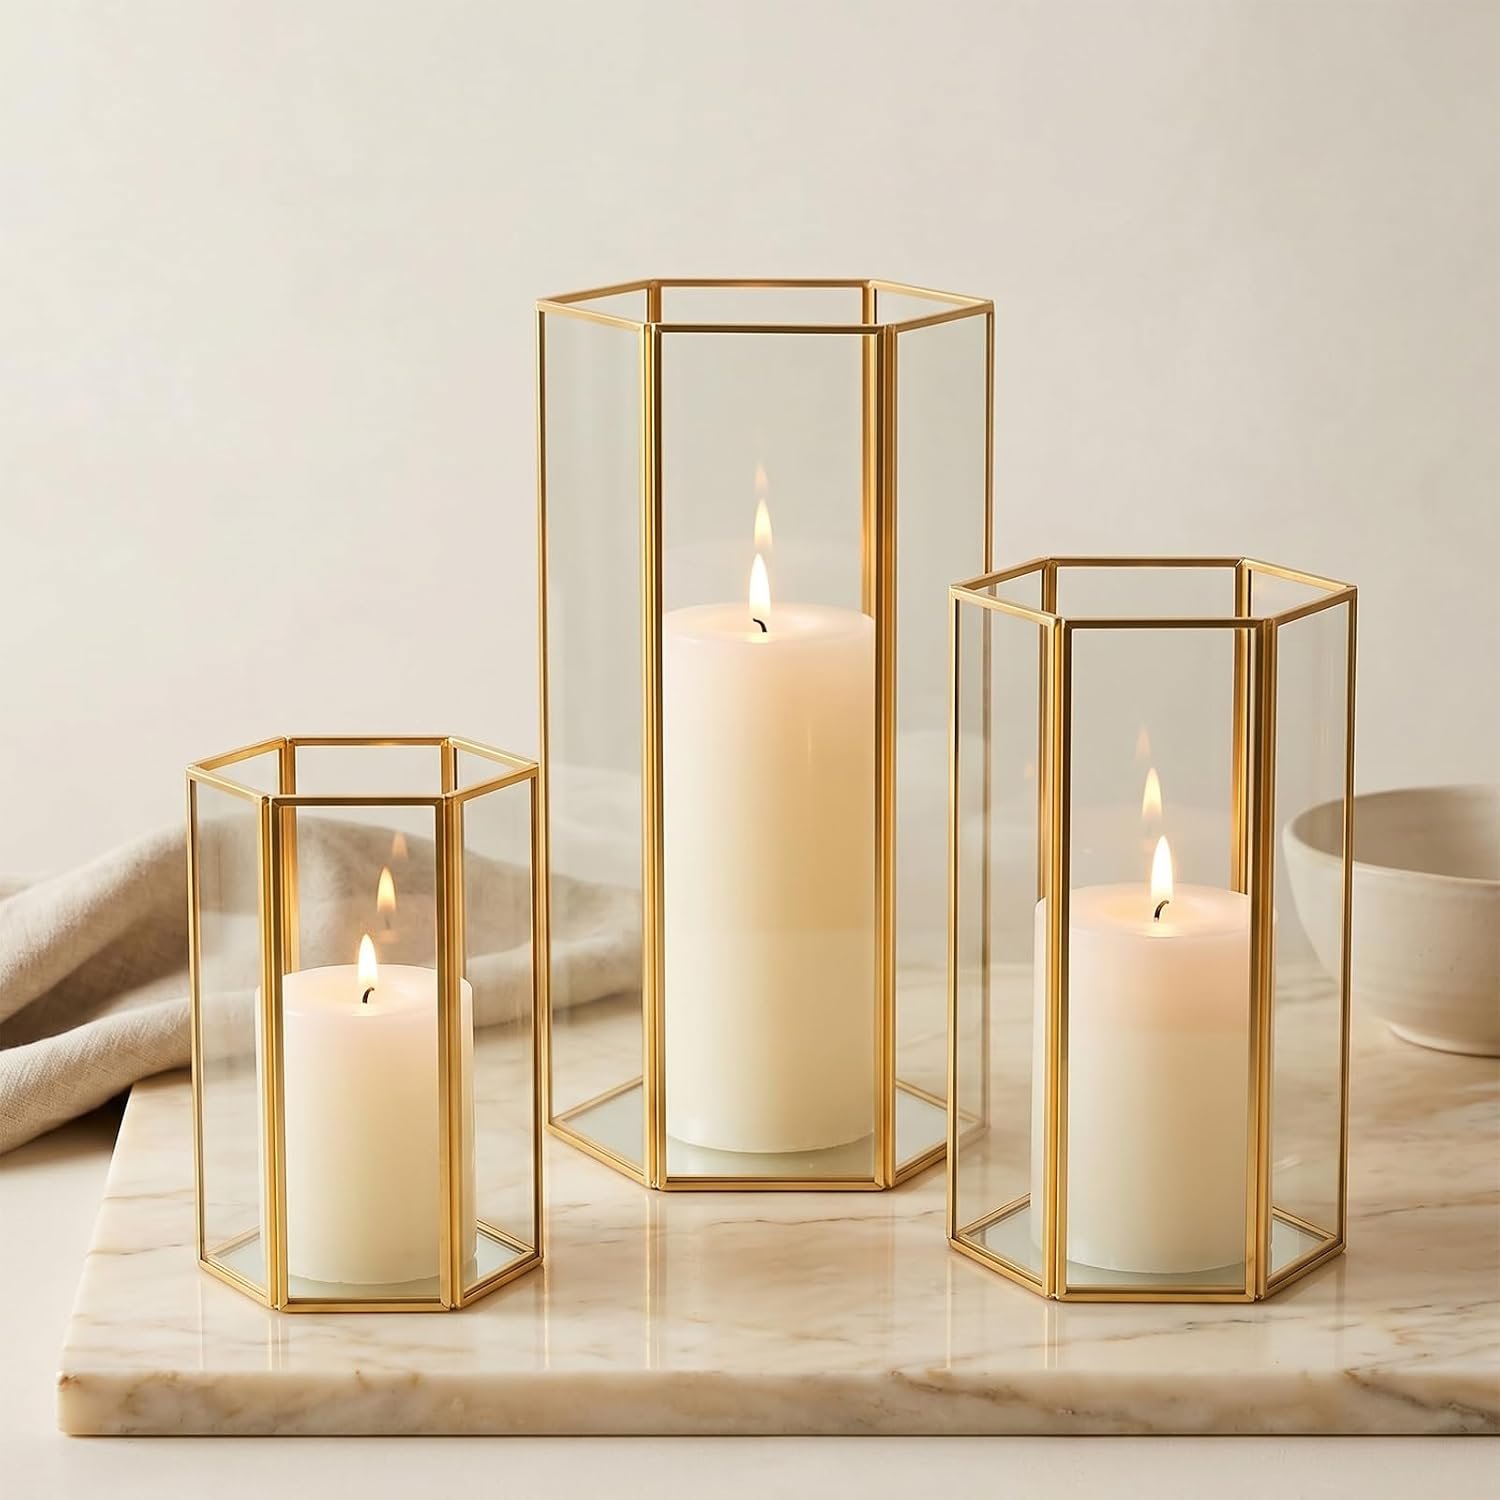
01Hurricane Candle Holders in Three Heights
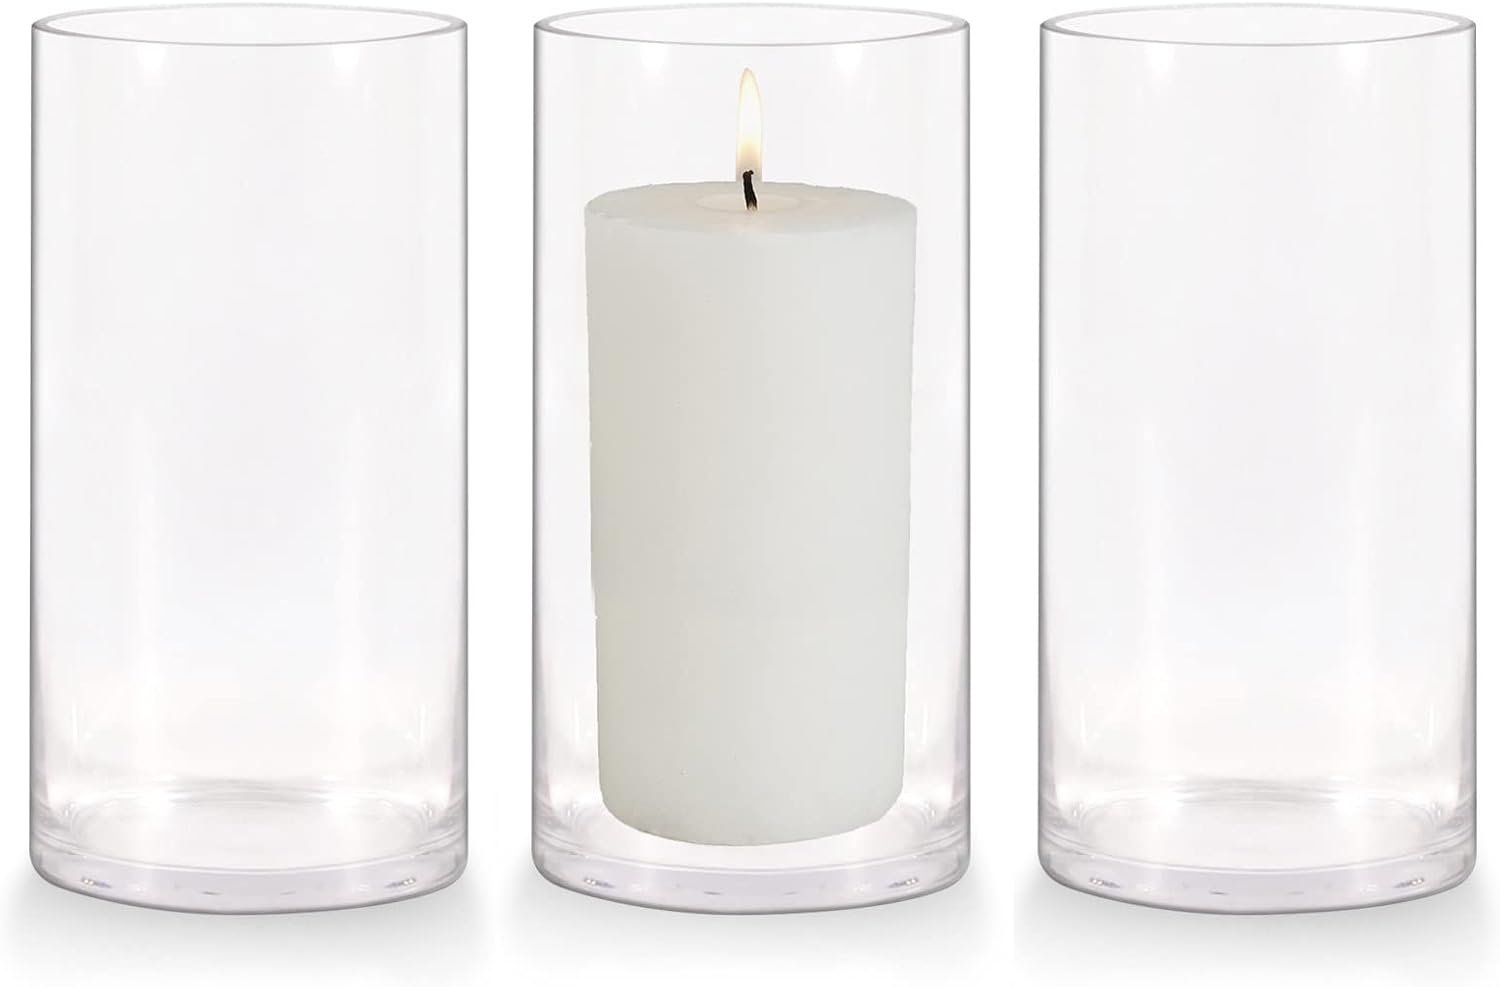
Group hurricane glasses in threes, in heights around 8, 10 and 12 inches, so the eye steps up instead of landing on a flat row.
Choose pillar candles about half an inch narrower than the glass so there's room for air. Fill the bottom with pinecones, cranberries or faux snow to hide the candle base.
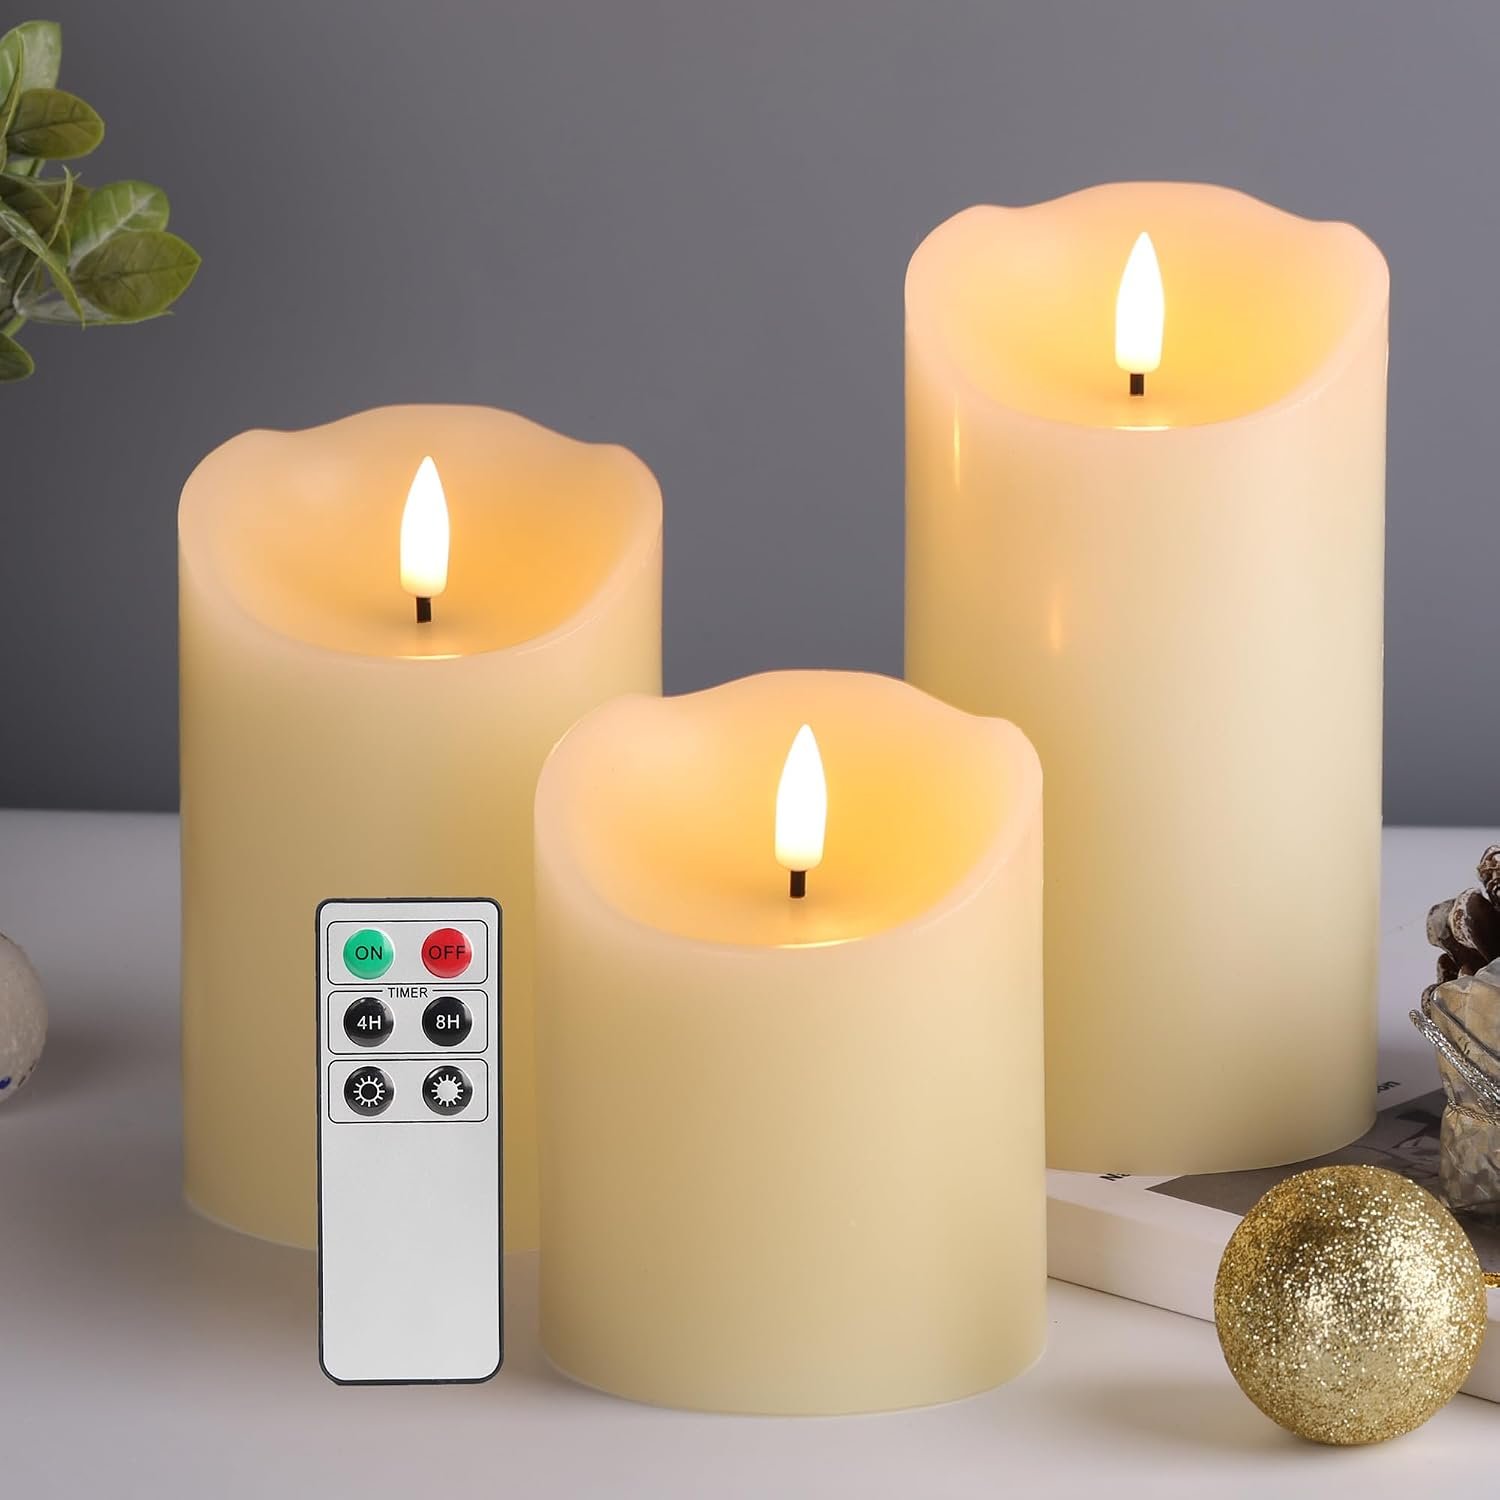
Real flames are fine inside glass, but flameless pillars are the safer choice around long sleeves.
02Floating Candles and Cranberries in Water
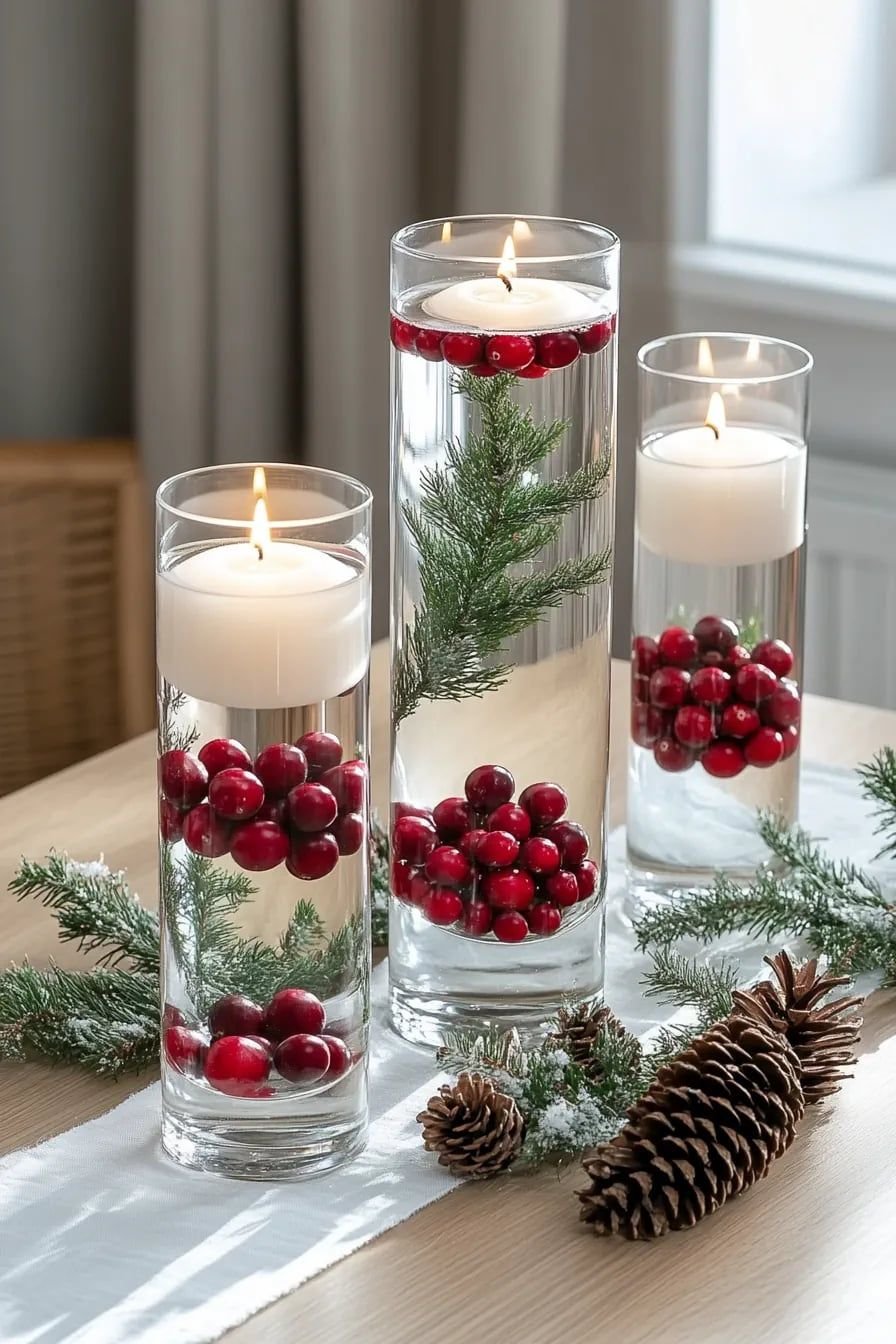
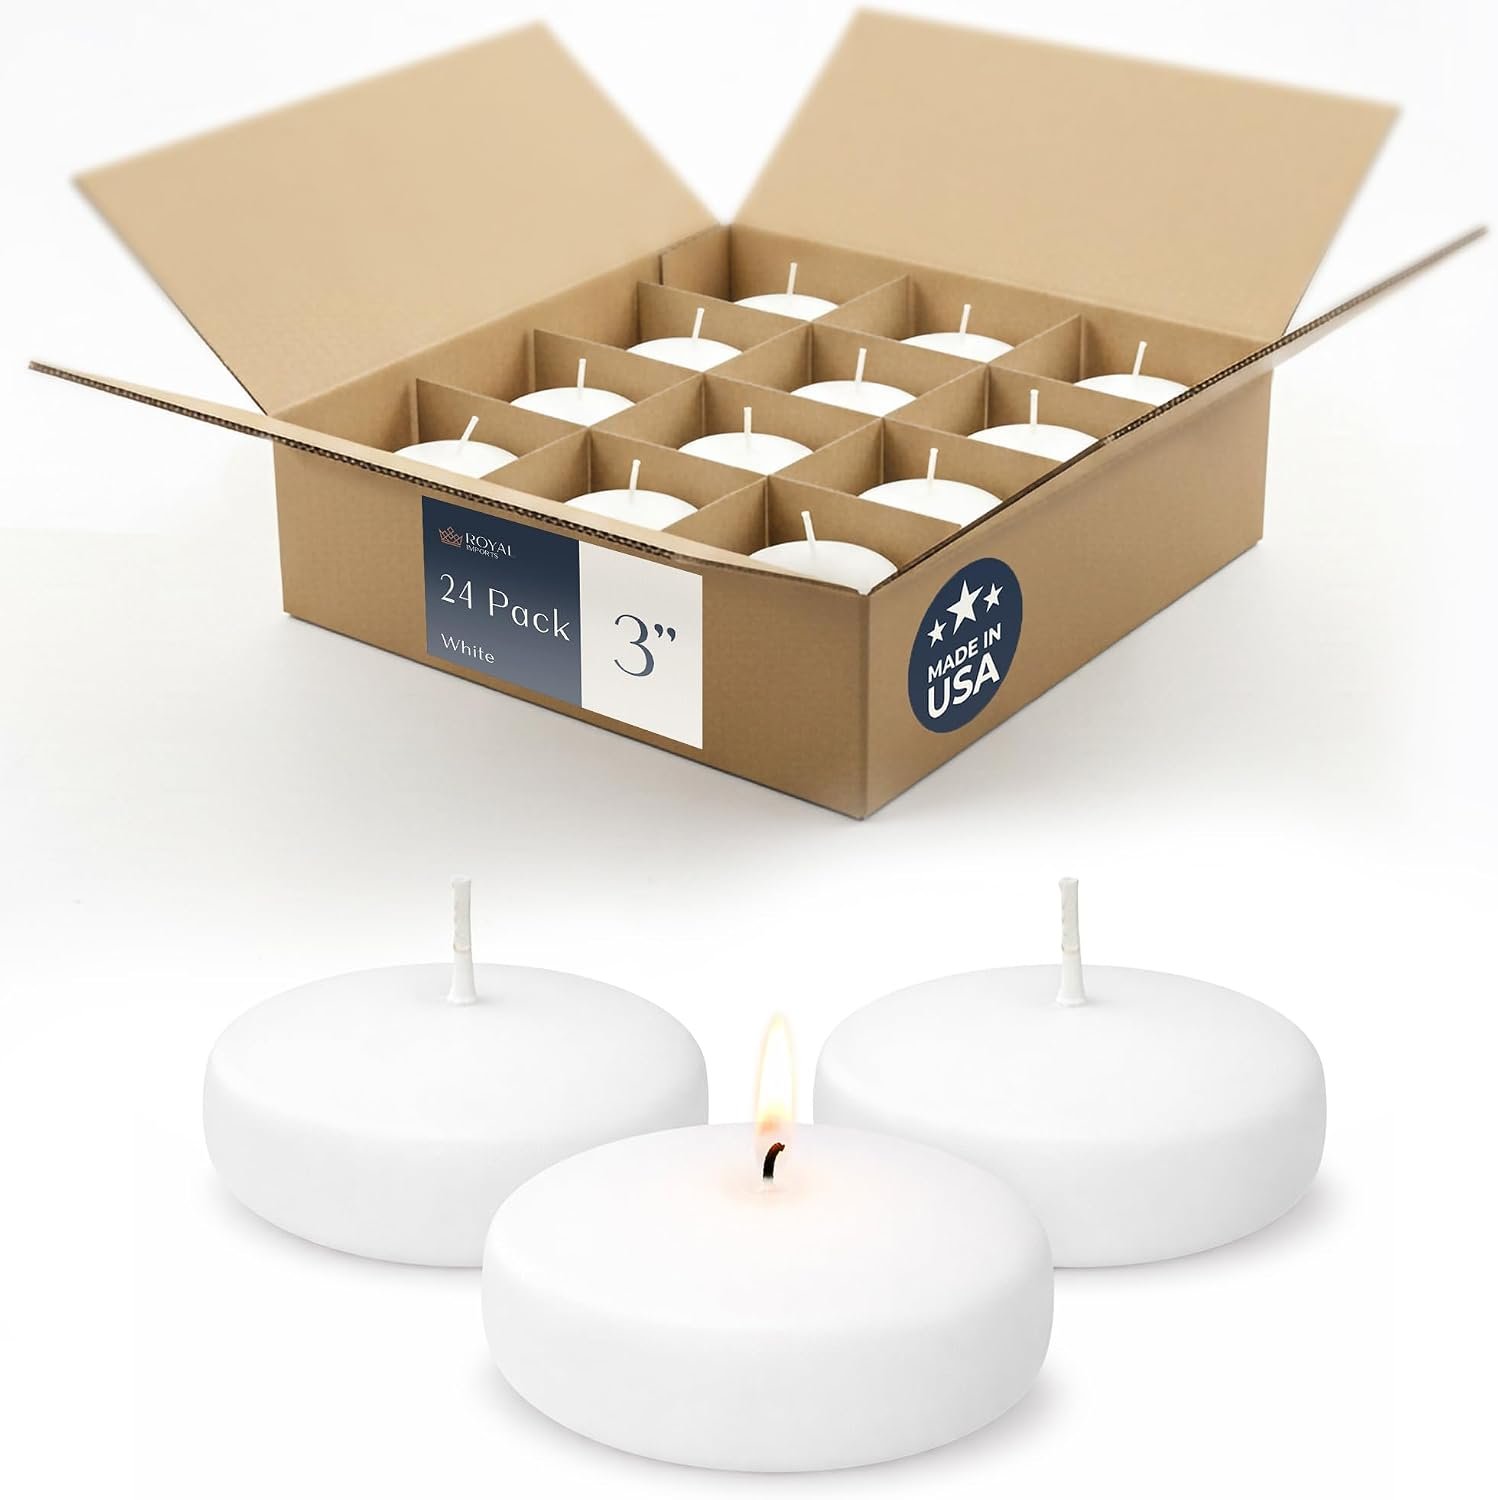
This costs a few dollars and looks expensive. Fill tall cylinder vases with water, drop in fresh or frozen cranberries, add a sprig of pine and set a floating candle on top.
Stop the water about two inches below the rim so melted wax can't overflow, and change it every three days so the berries stay clear. Vary the vase heights so the trio looks planned.
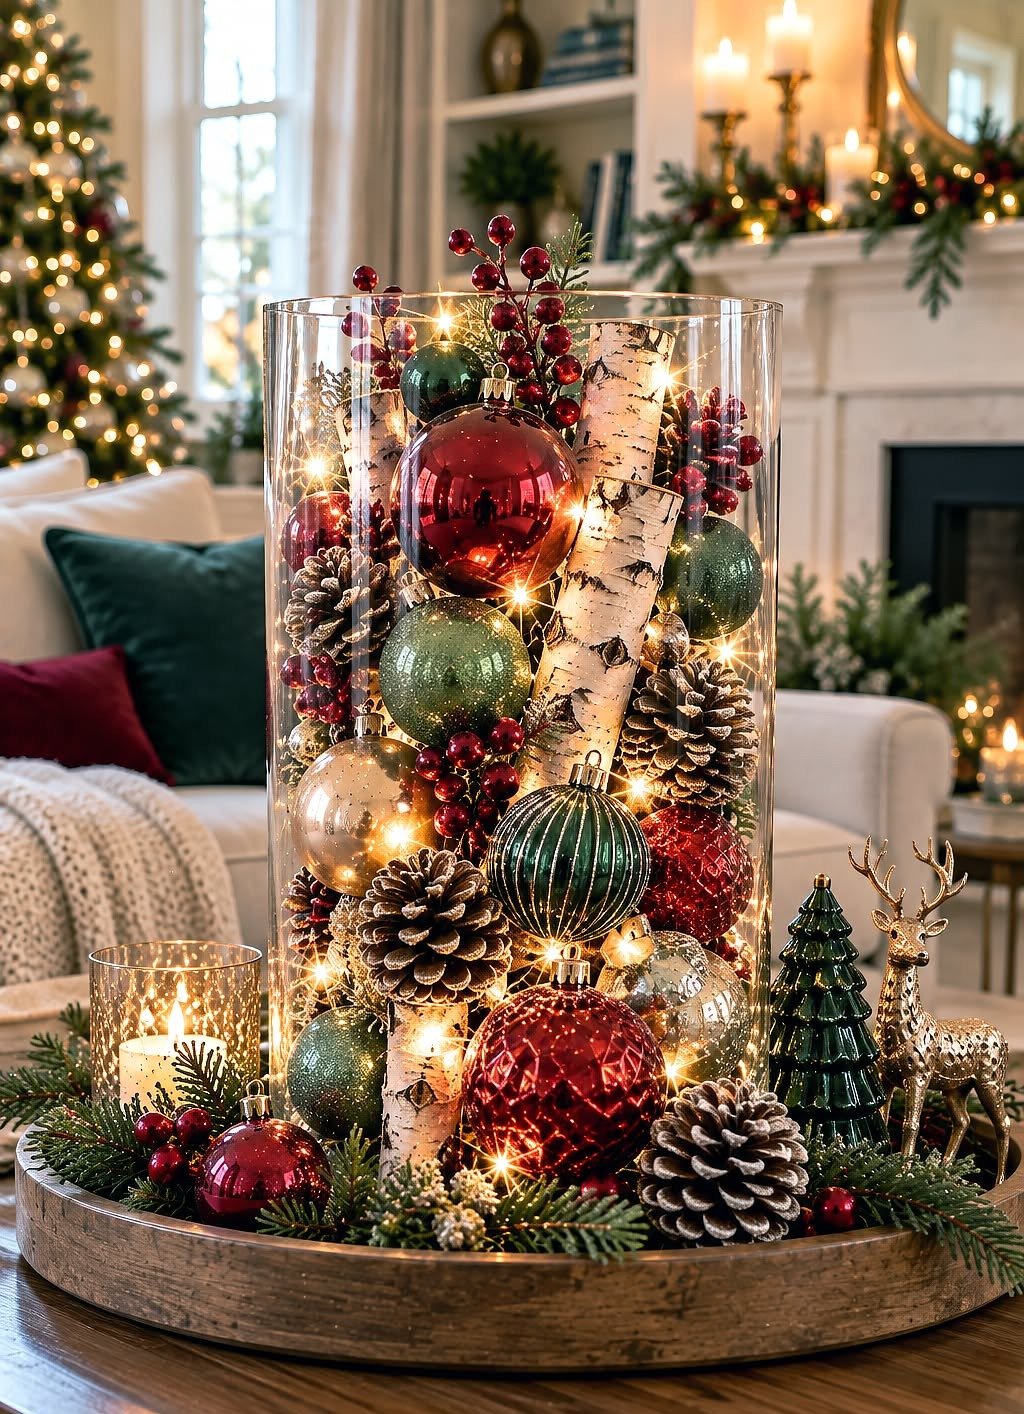
03Ornament-Filled Glass Hurricane
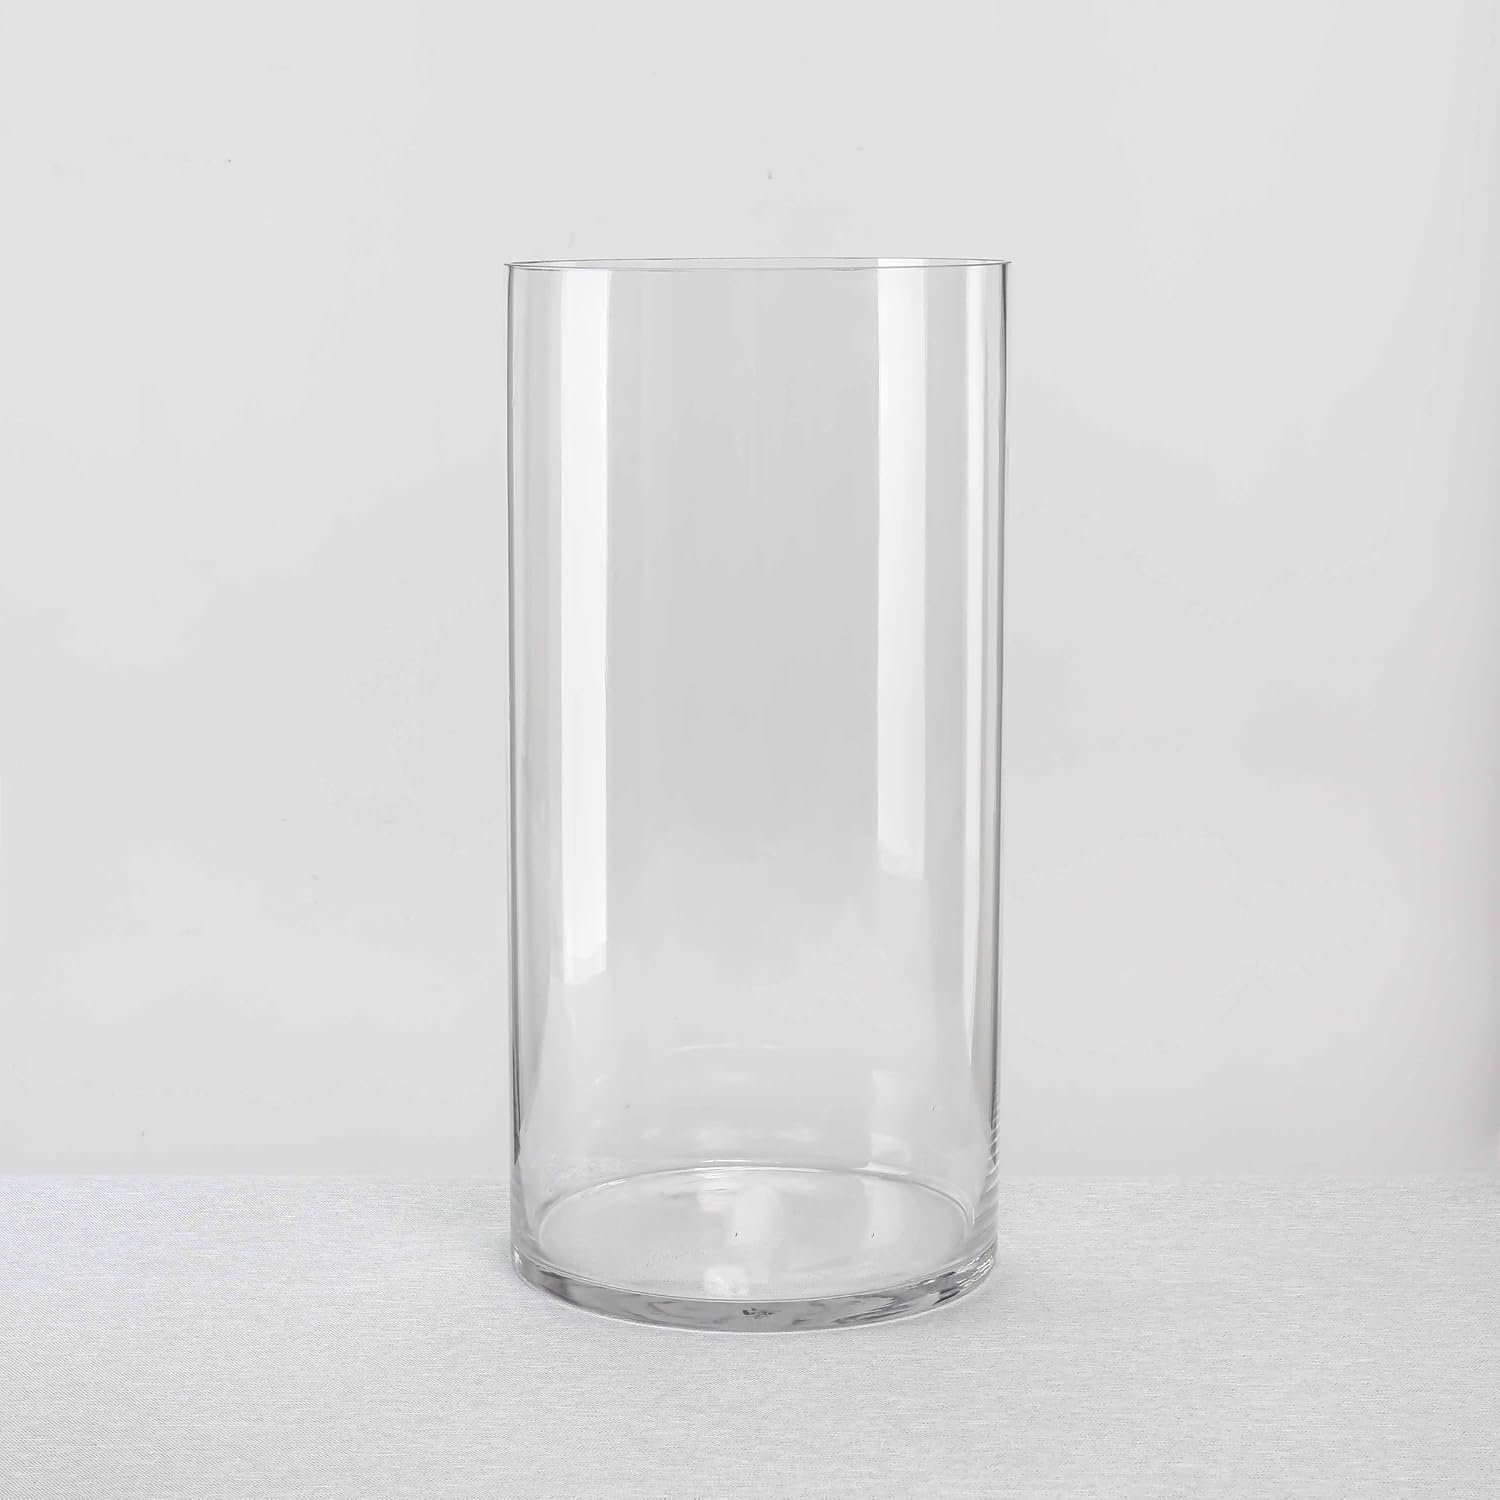
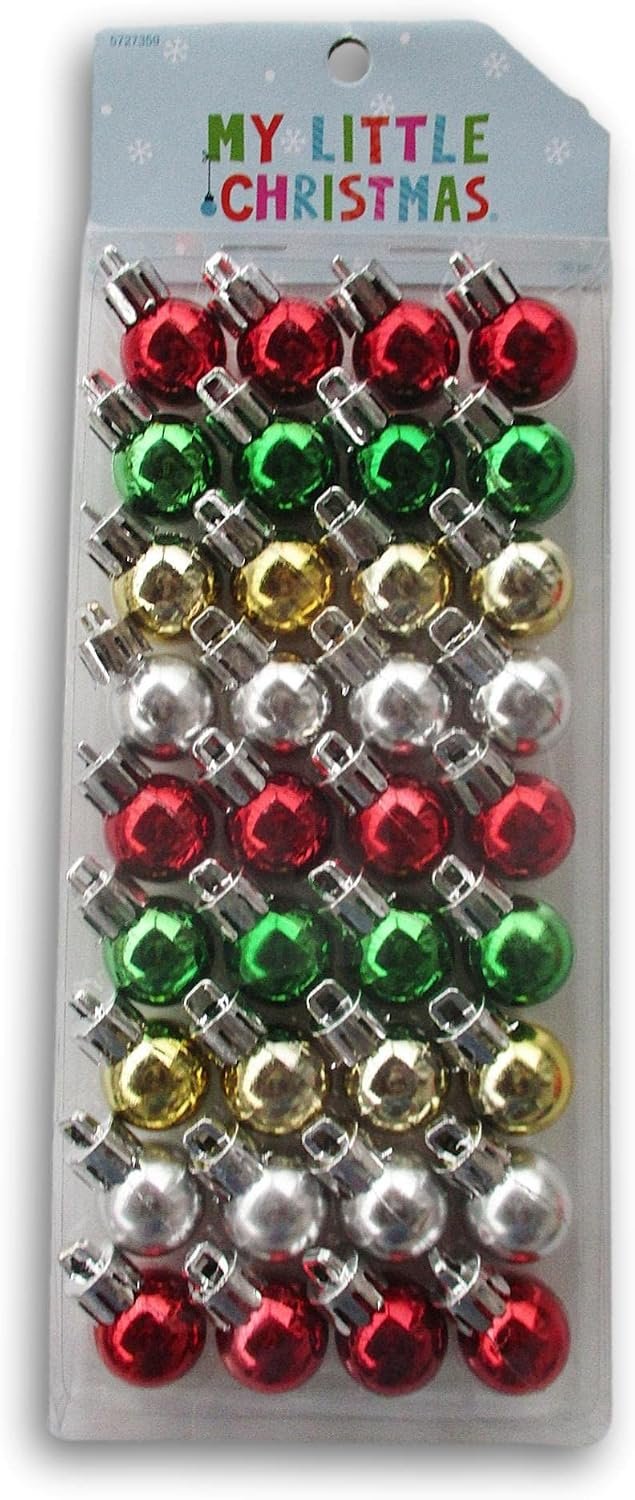
A tall glass cylinder packed with ornaments is a ten-minute centerpiece. Thread battery fairy lights in first and hide the battery pack at the bottom, then fill with shatterproof ornaments in two or three colors.
Pinecones and berry stems fill the gaps. Set it on a wooden tray with pine around the base and it looks finished.
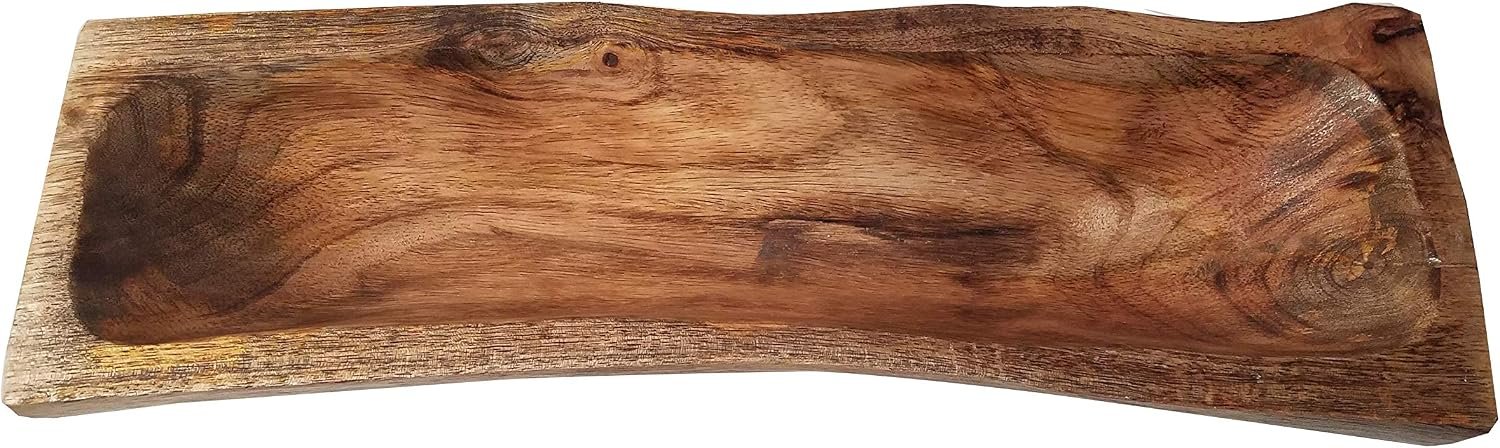
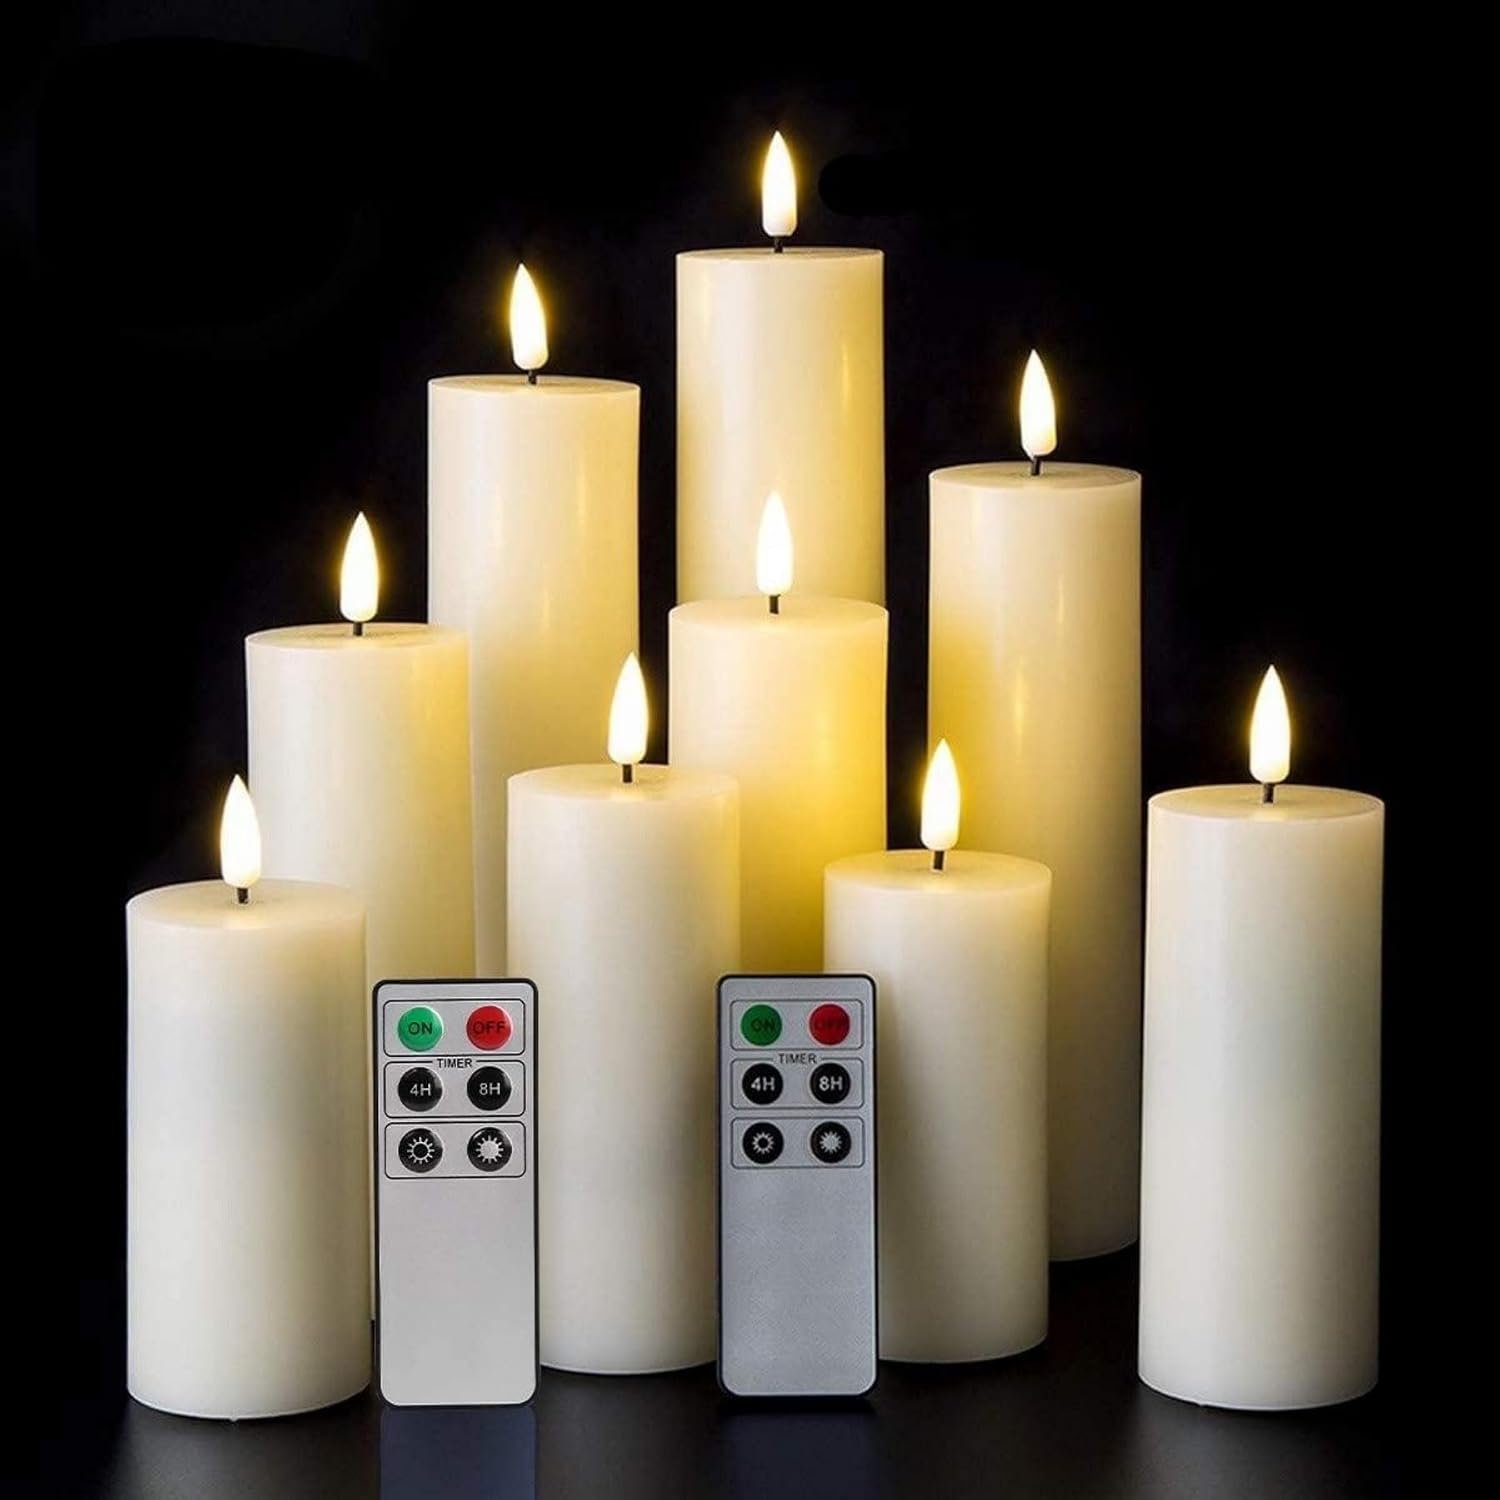
04Wood Trough with Pillar Candles
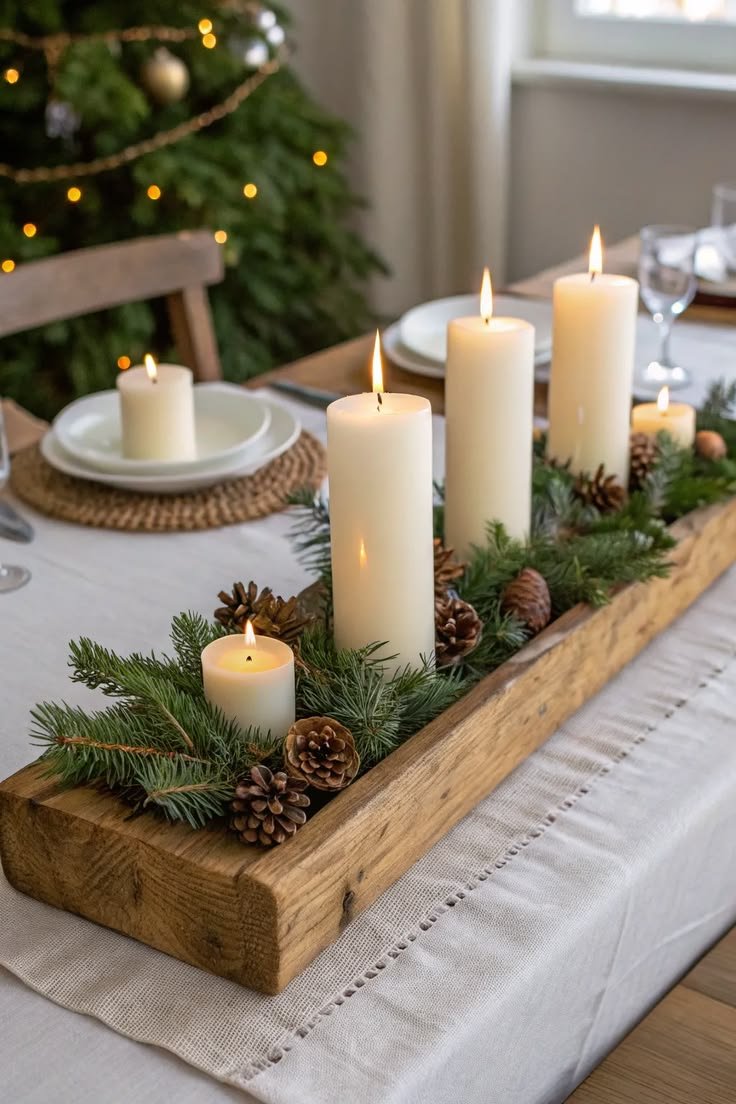
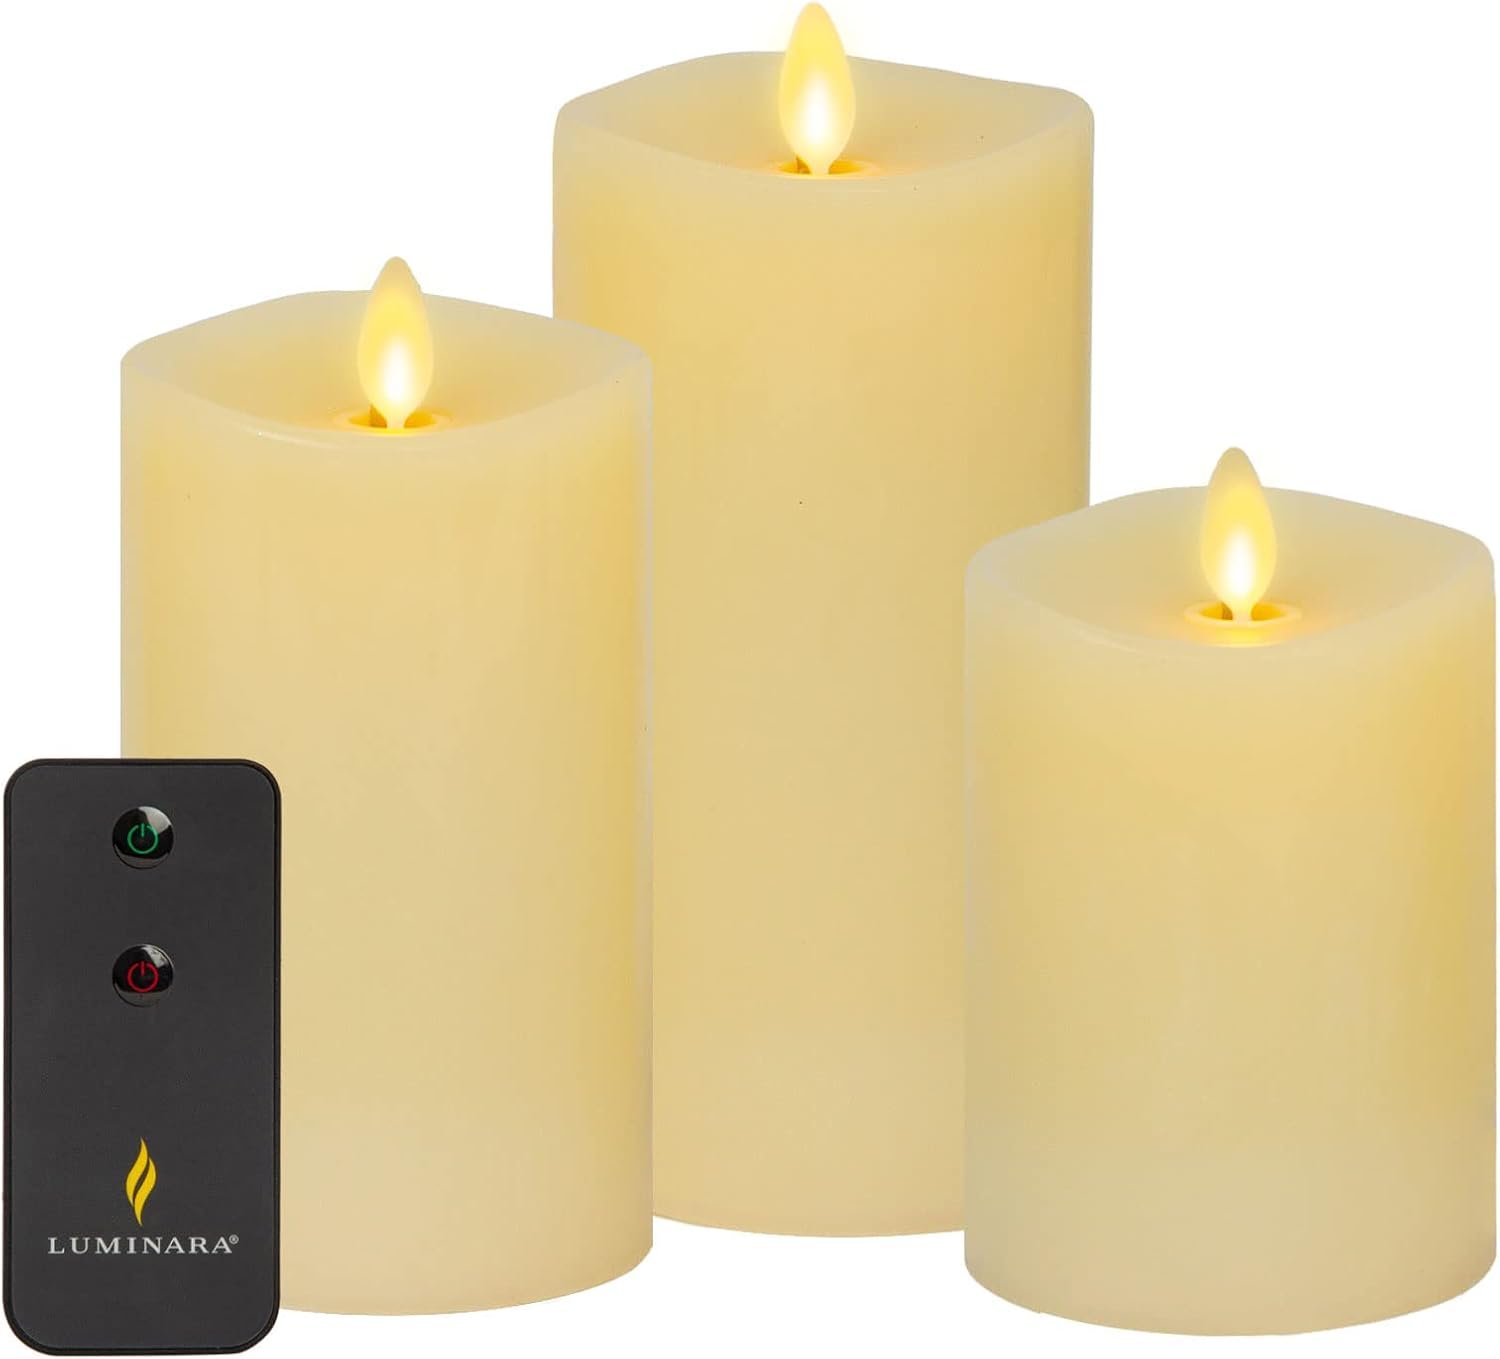
A long wooden box works like a ready-made table runner. Line it with foil or a plastic liner and stand pillars of different heights on candle plates, so wax never touches the wood.
Tuck pine sprigs and pinecones into the gaps, and check that plates and glasses still have room on both sides.
05Taper Candles Along a Garland
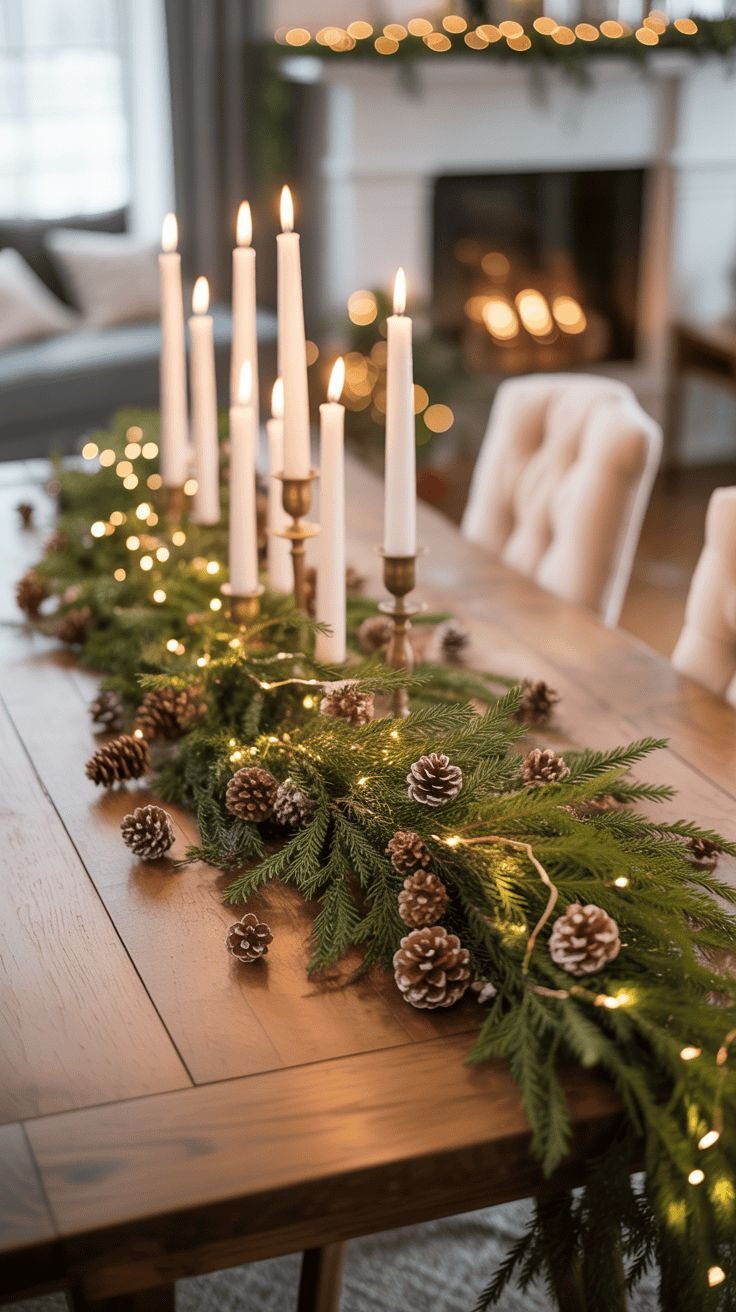
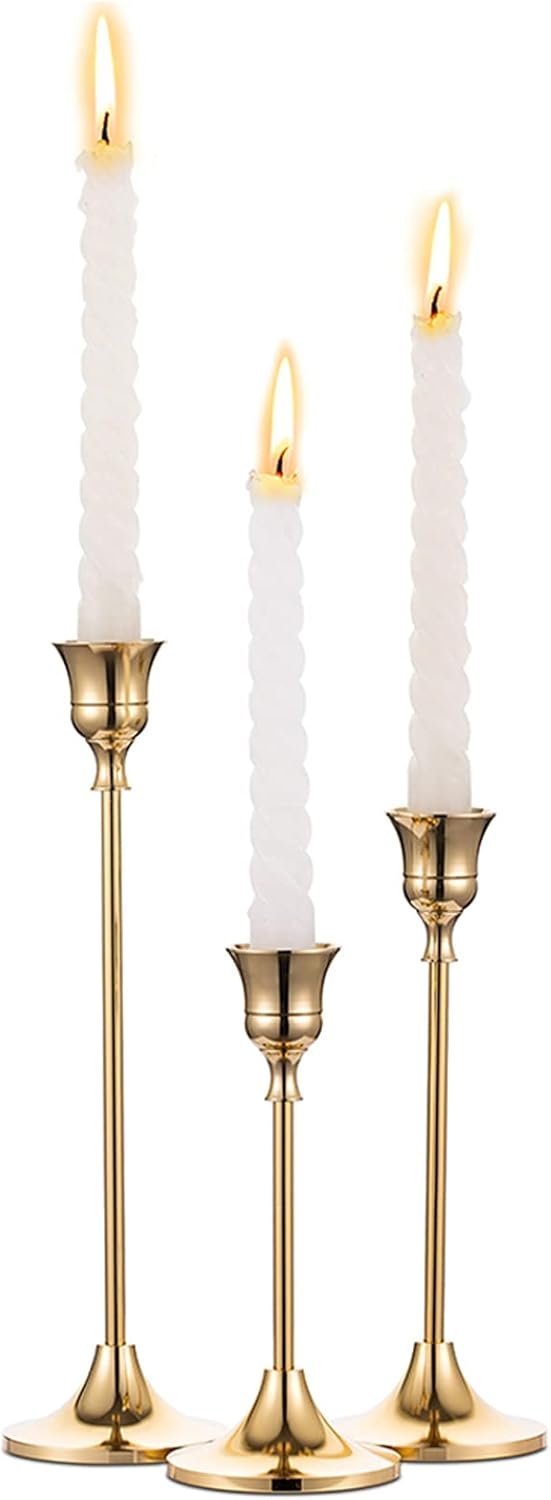
Set three to five tapers in brass holders of different heights down the middle of the table, with a garland alongside them.
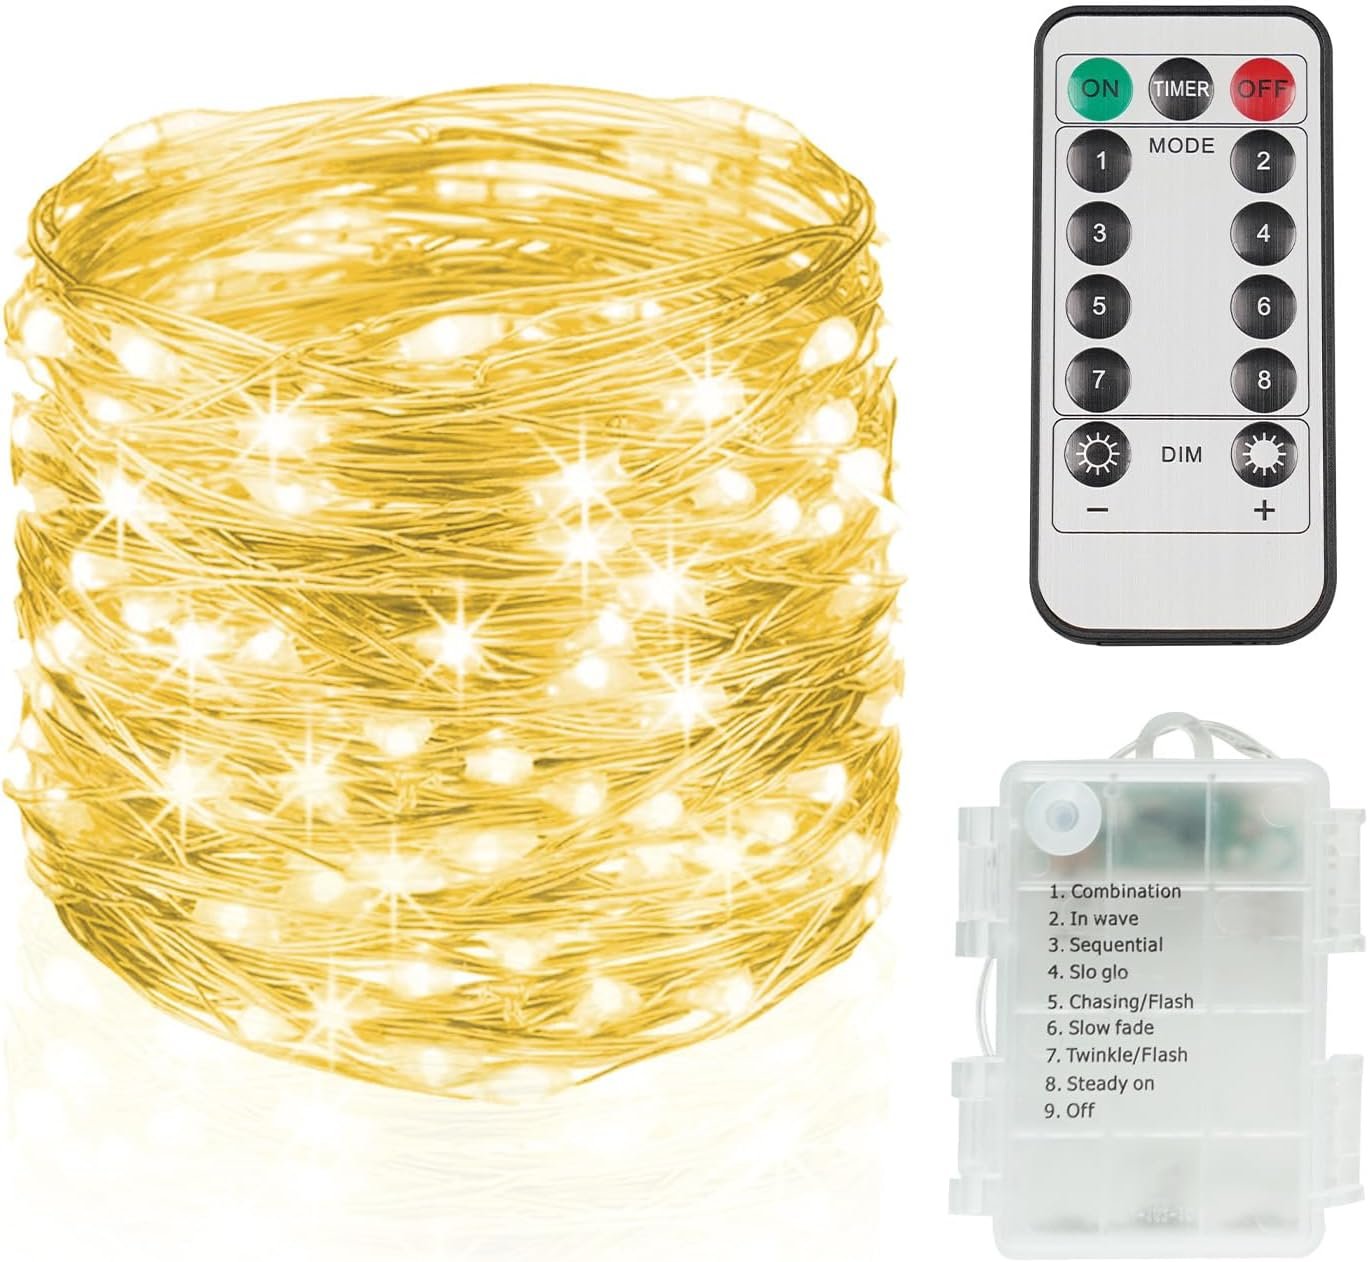
Keep real flames at least 12 inches from greenery, or switch to LED tapers. Weave warm white fairy lights through the garland for glow without a flame, and choose dripless candles to protect the tablecloth.
06Lanterns with Greenery and Ornaments
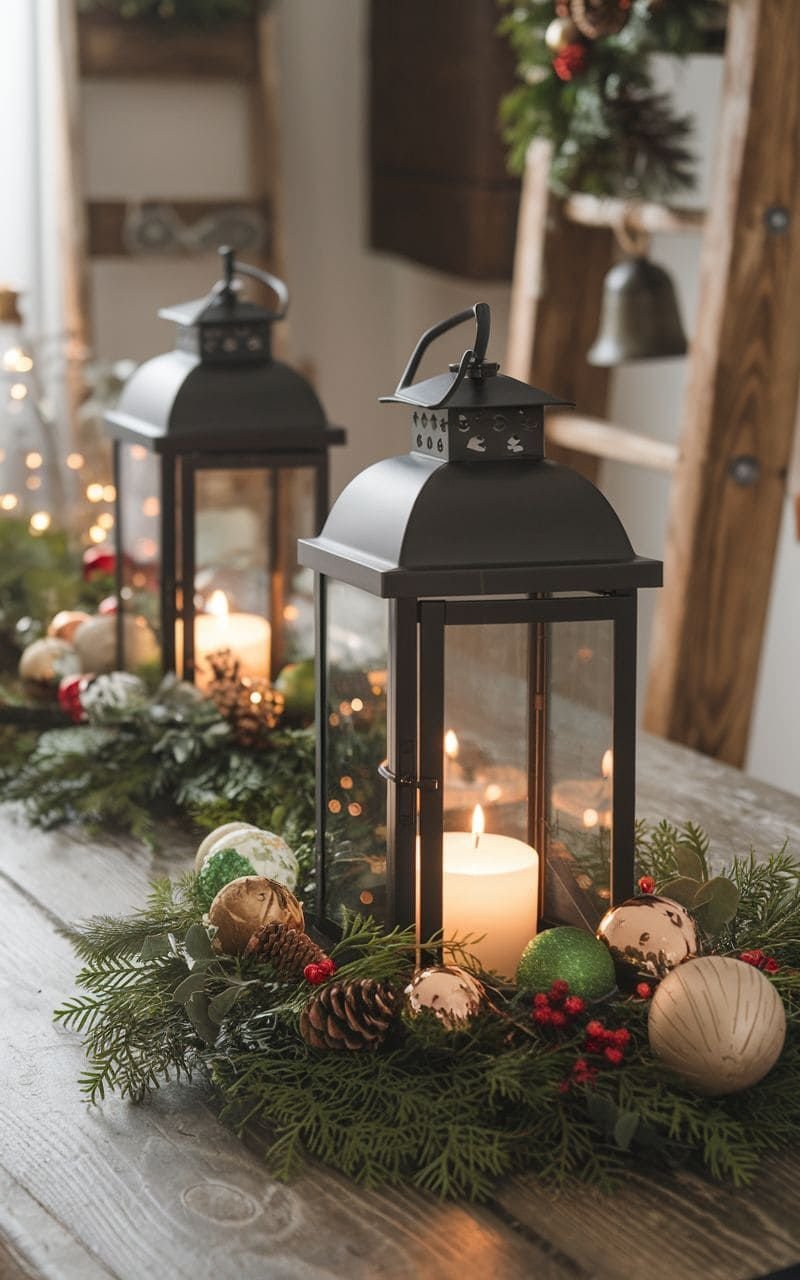
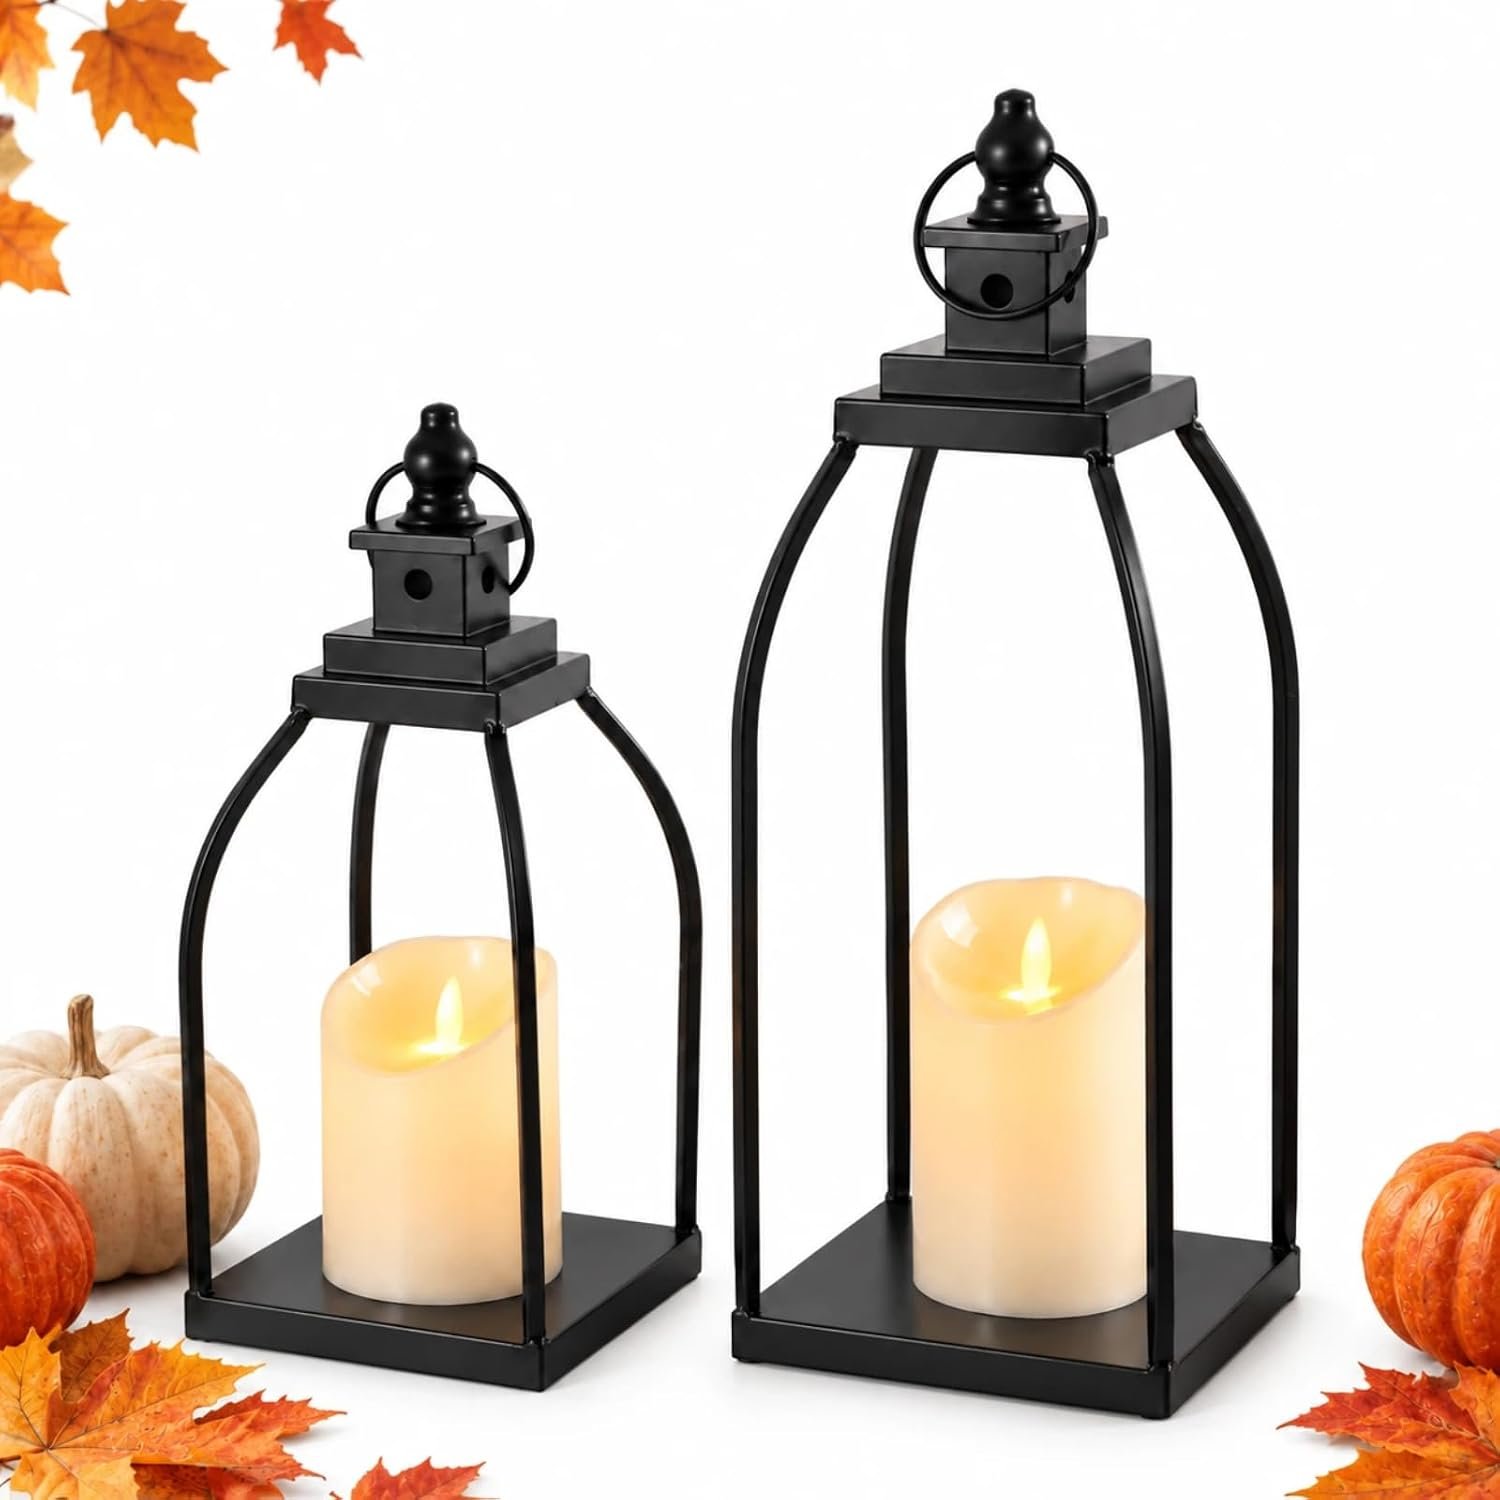
Lanterns are the safest way to burn a real candle near greenery. Choose ones with glass panels and a flat base, and put a pillar or LED candle inside.
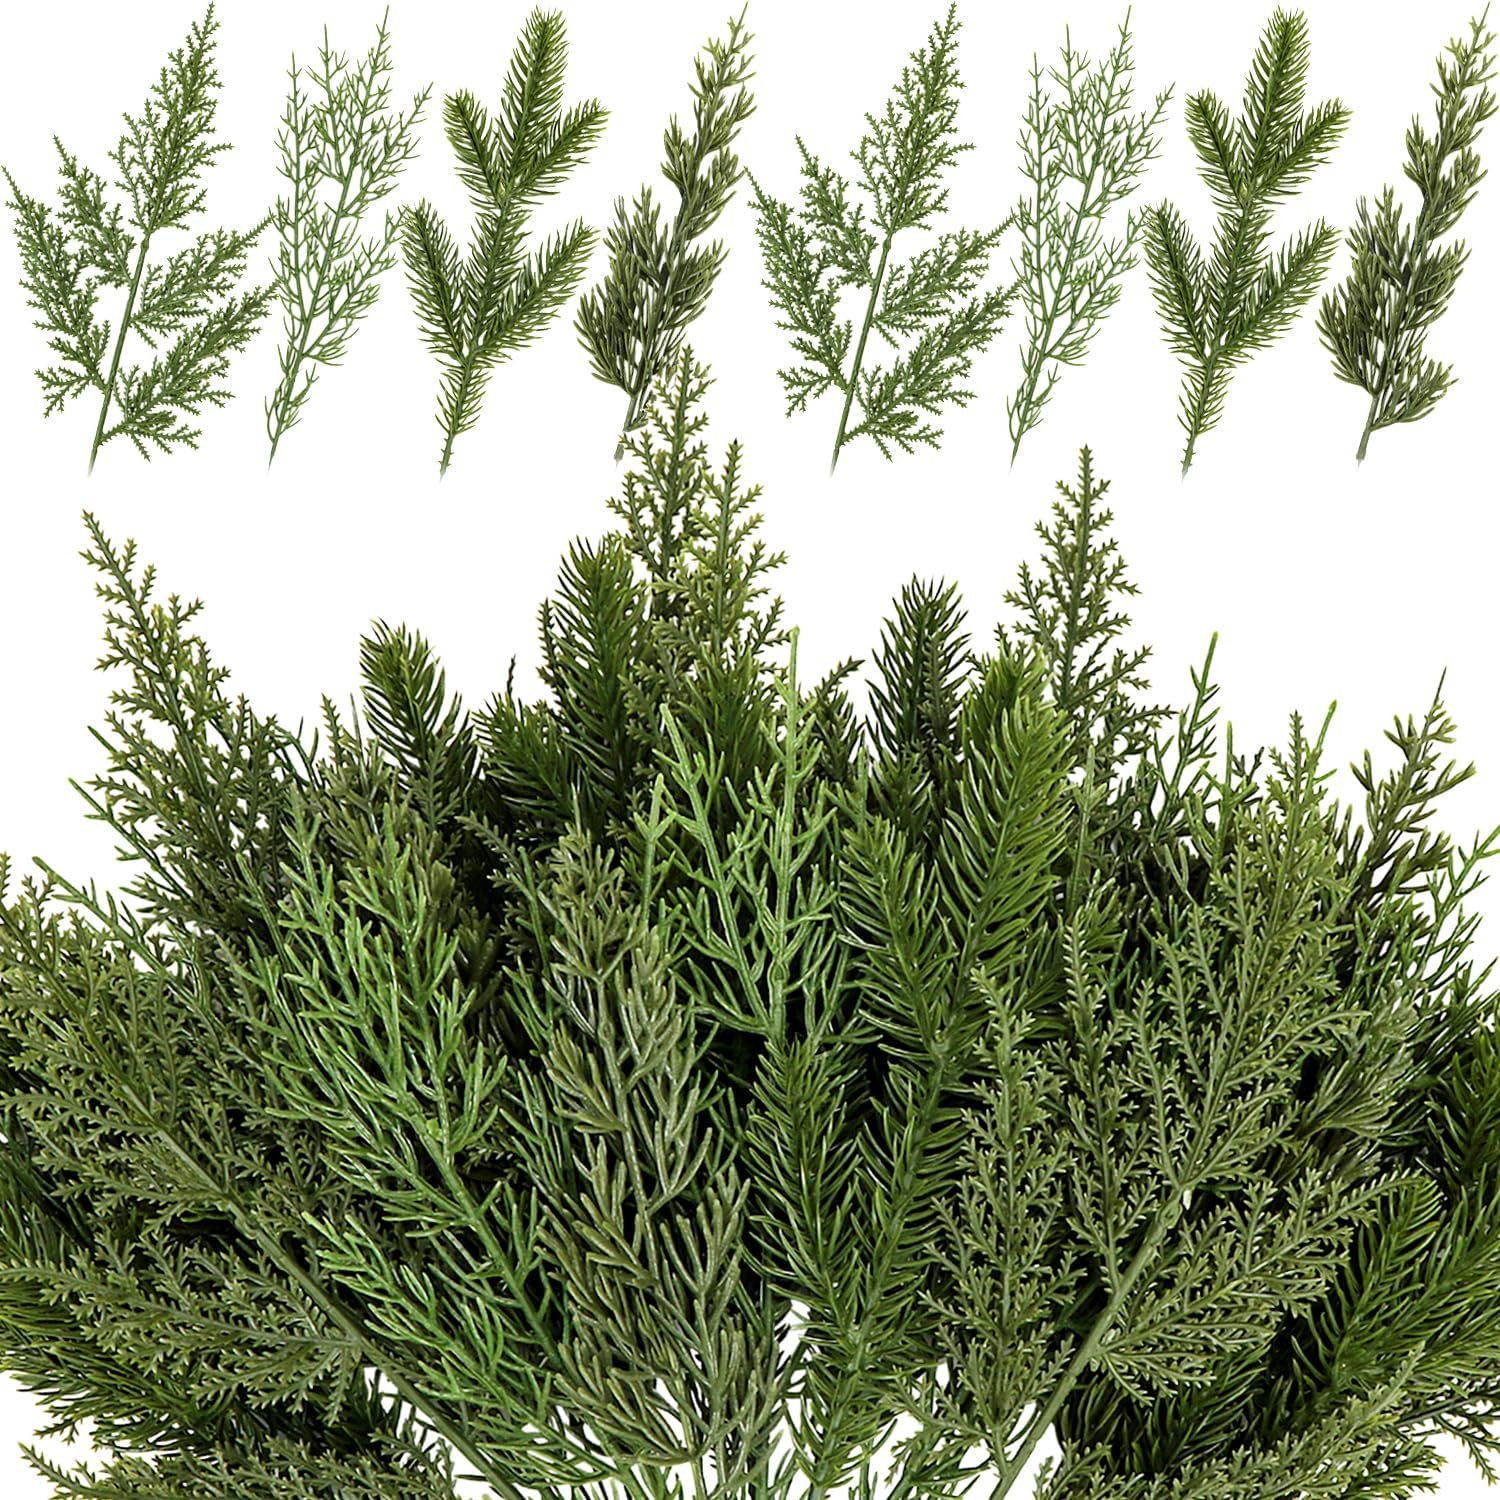
Arrange pine, pinecones and ornaments on the table around the lanterns, never inside them. A pair in two heights looks best.
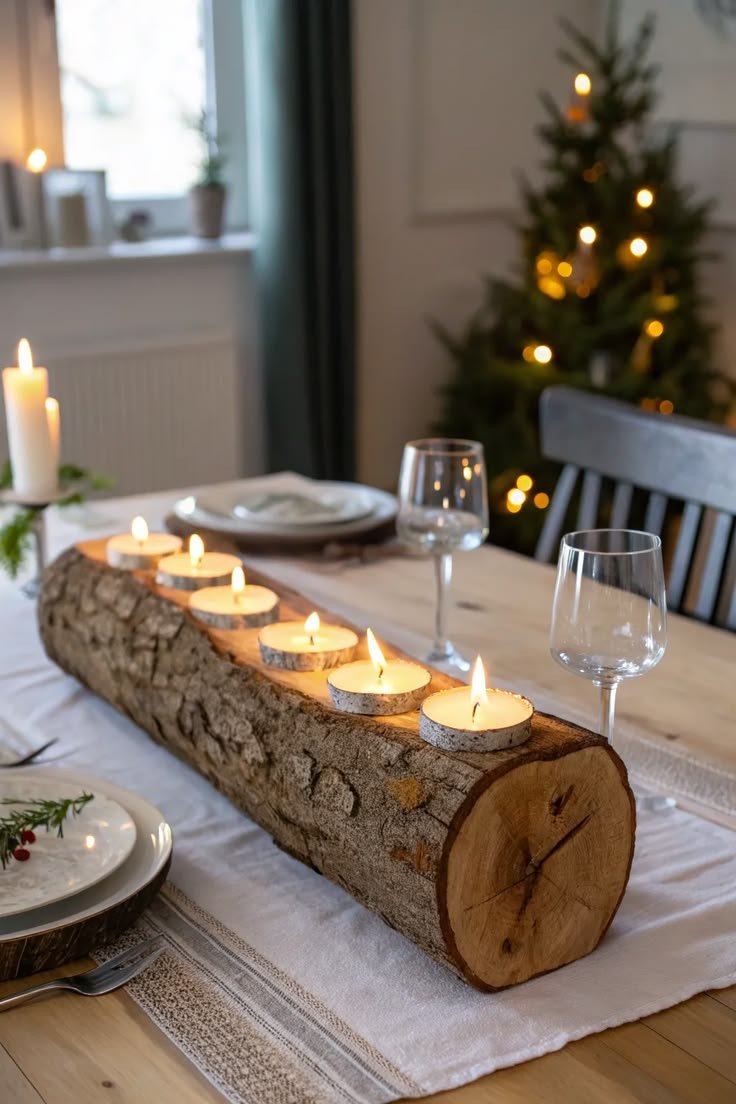
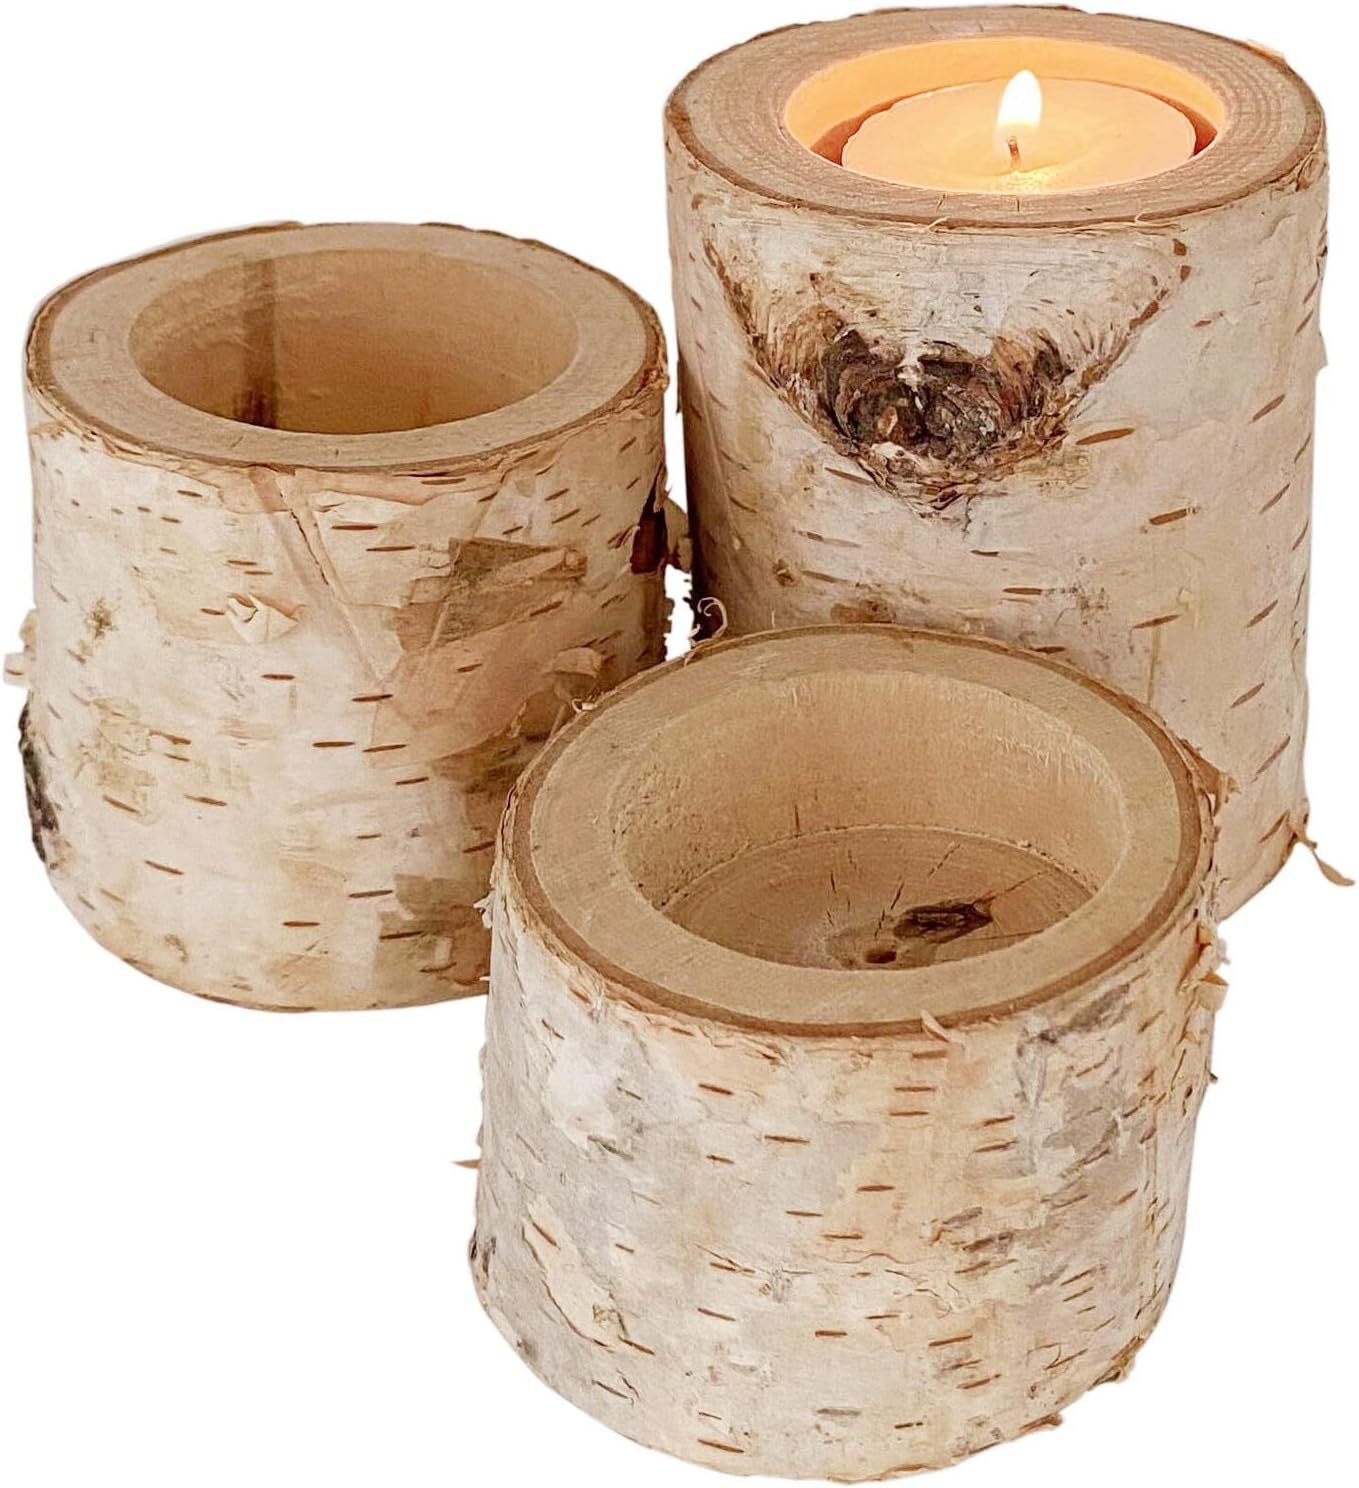
07Birch Log Tealight Holder
This is the easiest DIY here. Take a dry log about 18 inches long and drill holes with a 1.5-inch Forstner bit, three-quarters of an inch deep and evenly spaced.
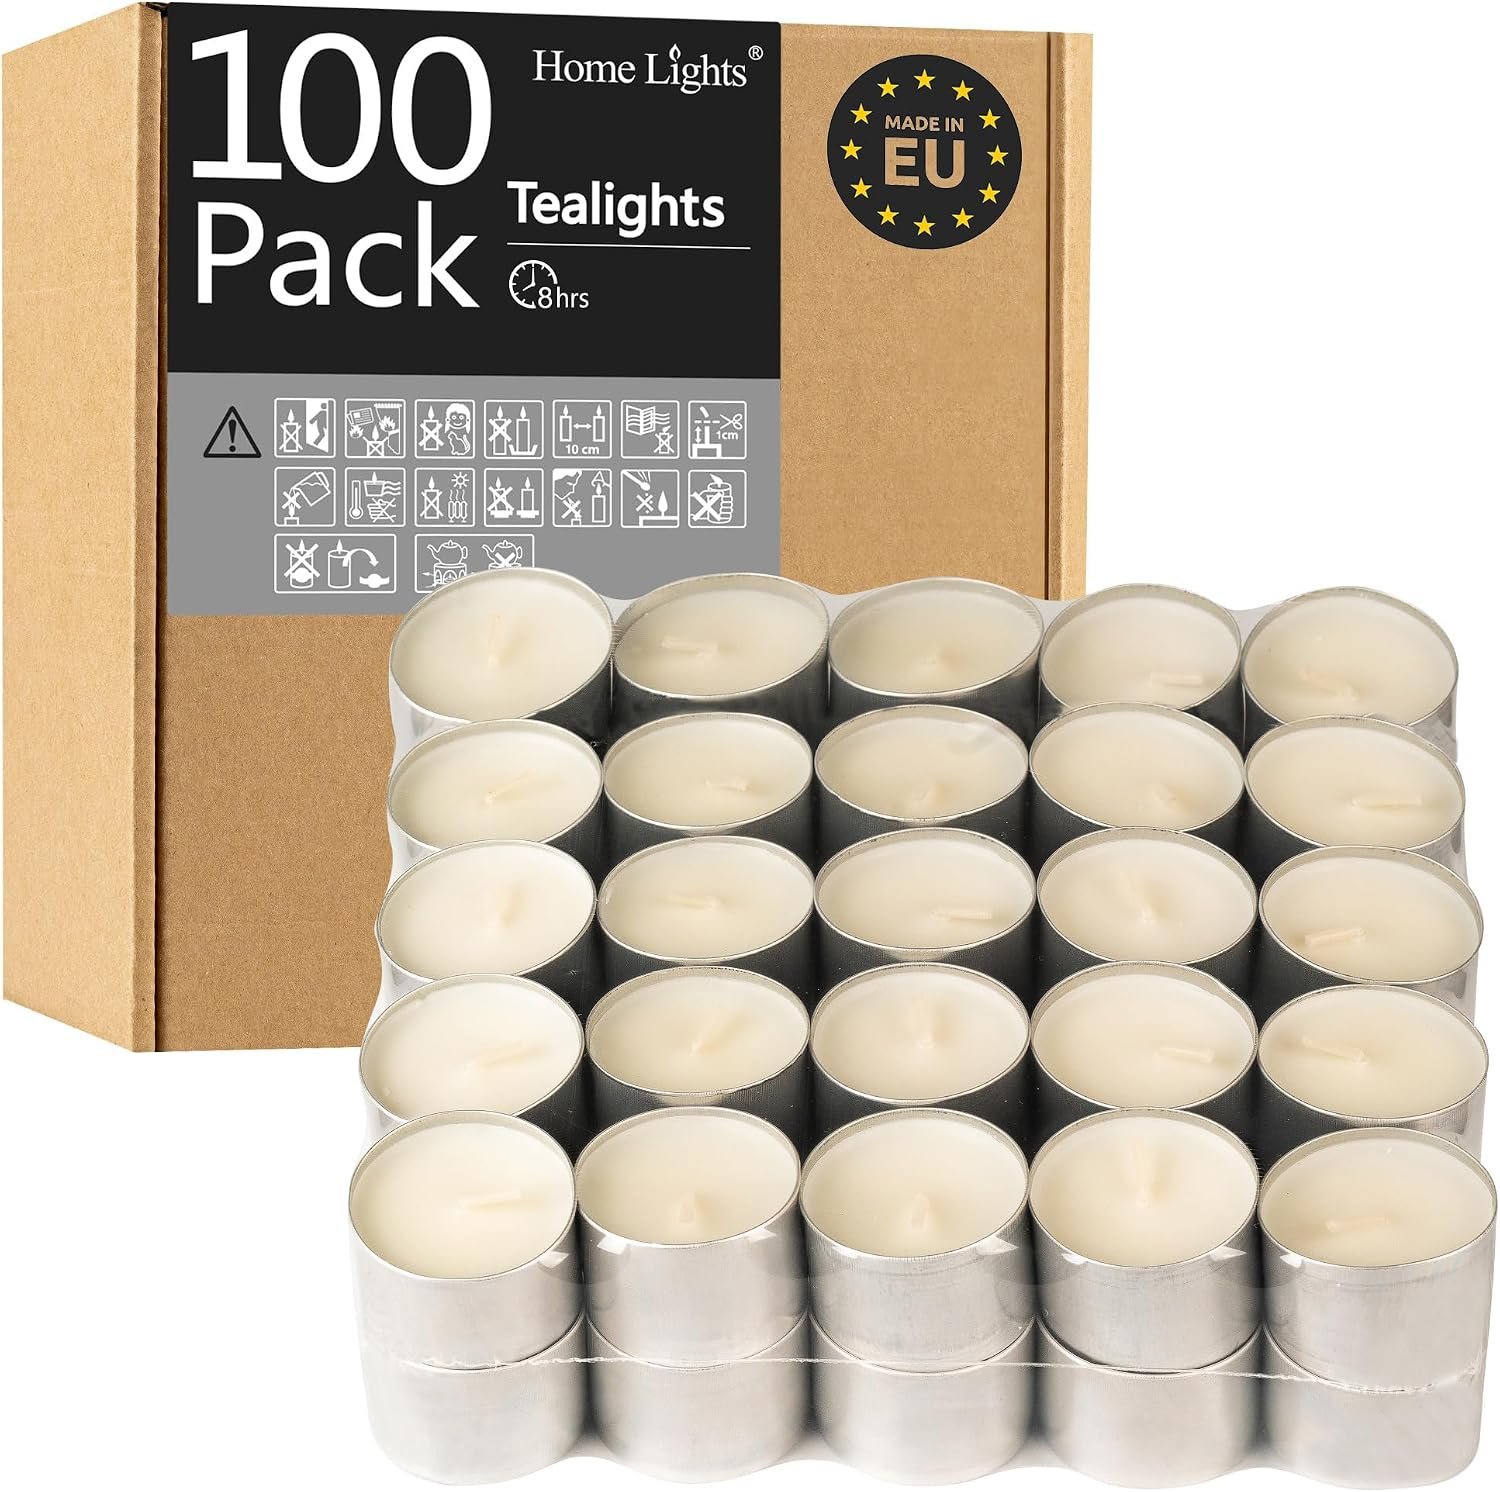
Drop in tealights, and use LED ones if the wood is fresh. A plain white runner underneath lets the bark stand out.
08Wood Slice Candle Stands
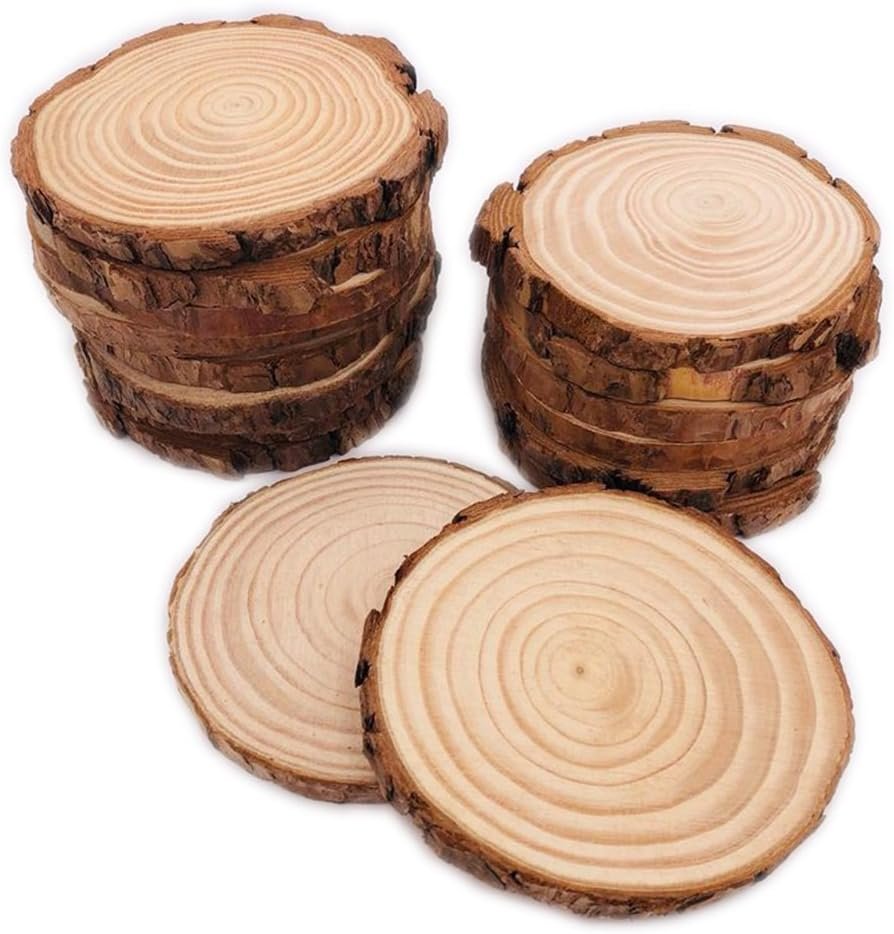
Short candles vanish on a big table, so lift them. Wood slices 8 to 10 inches wide work as risers, and a smaller slice stacked underneath gives extra height.
Set a glass candle holder or LED candle on each, then ring it with pine, berries and pinecones. Seal raw wood with a clear spray so wax and moisture don't stain it.


Garlands, Pinecones and Natural Runners
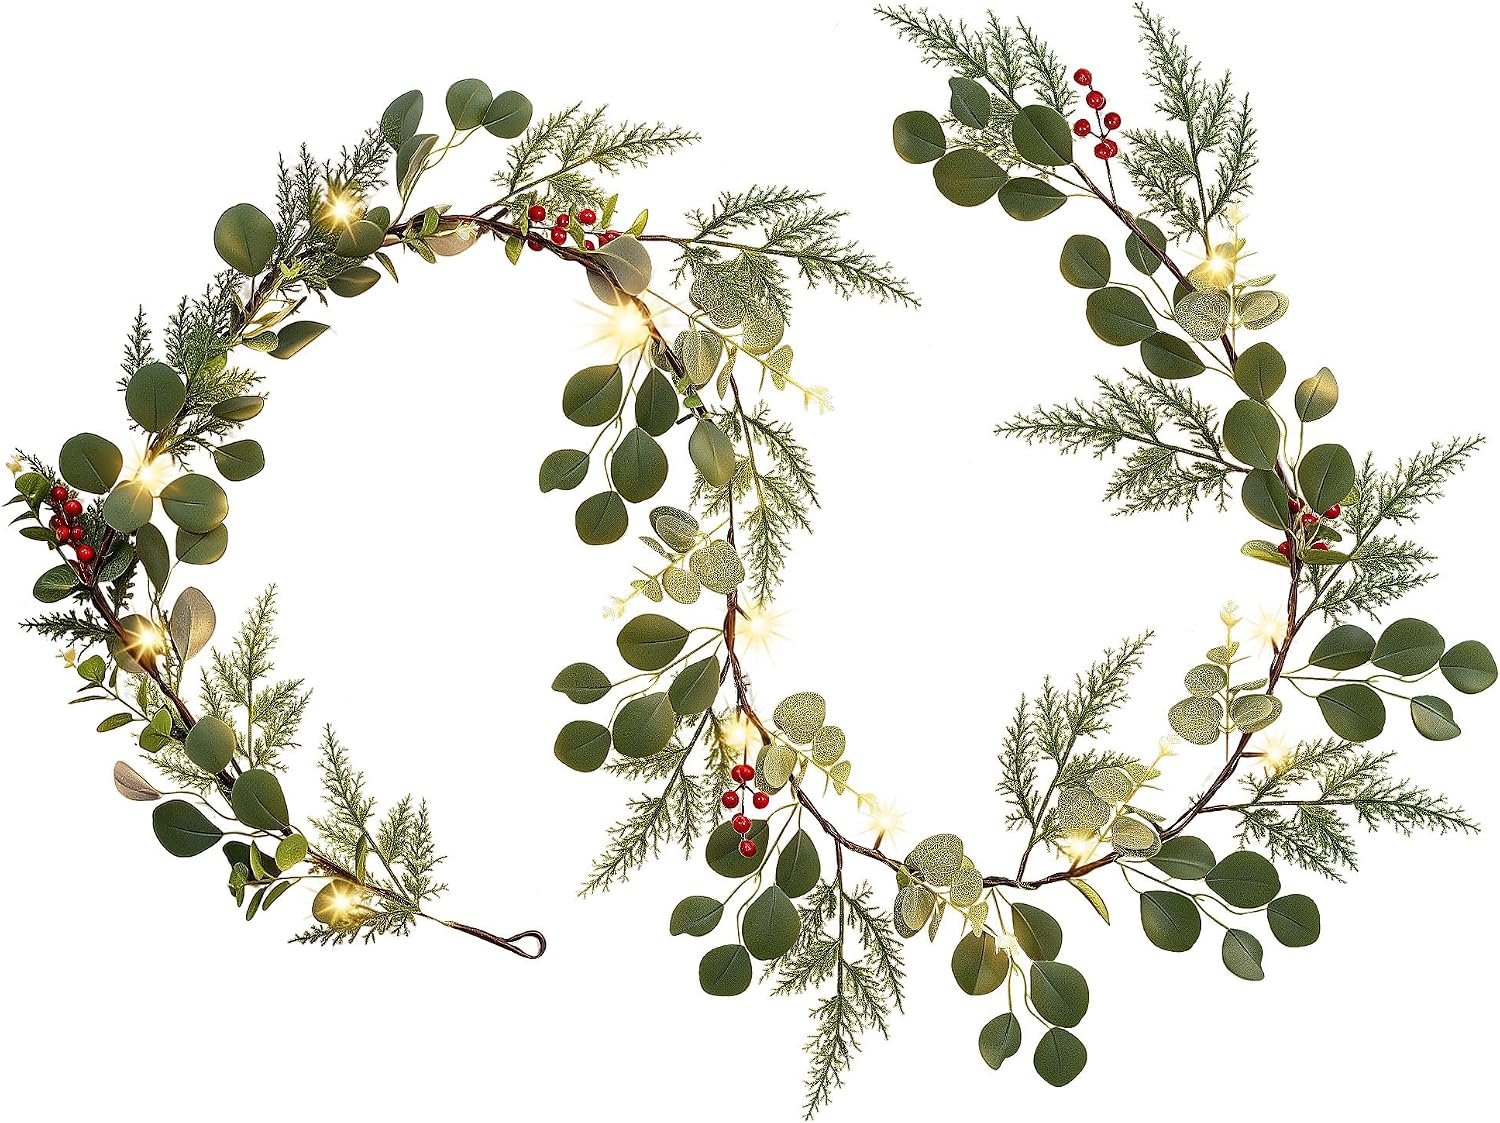
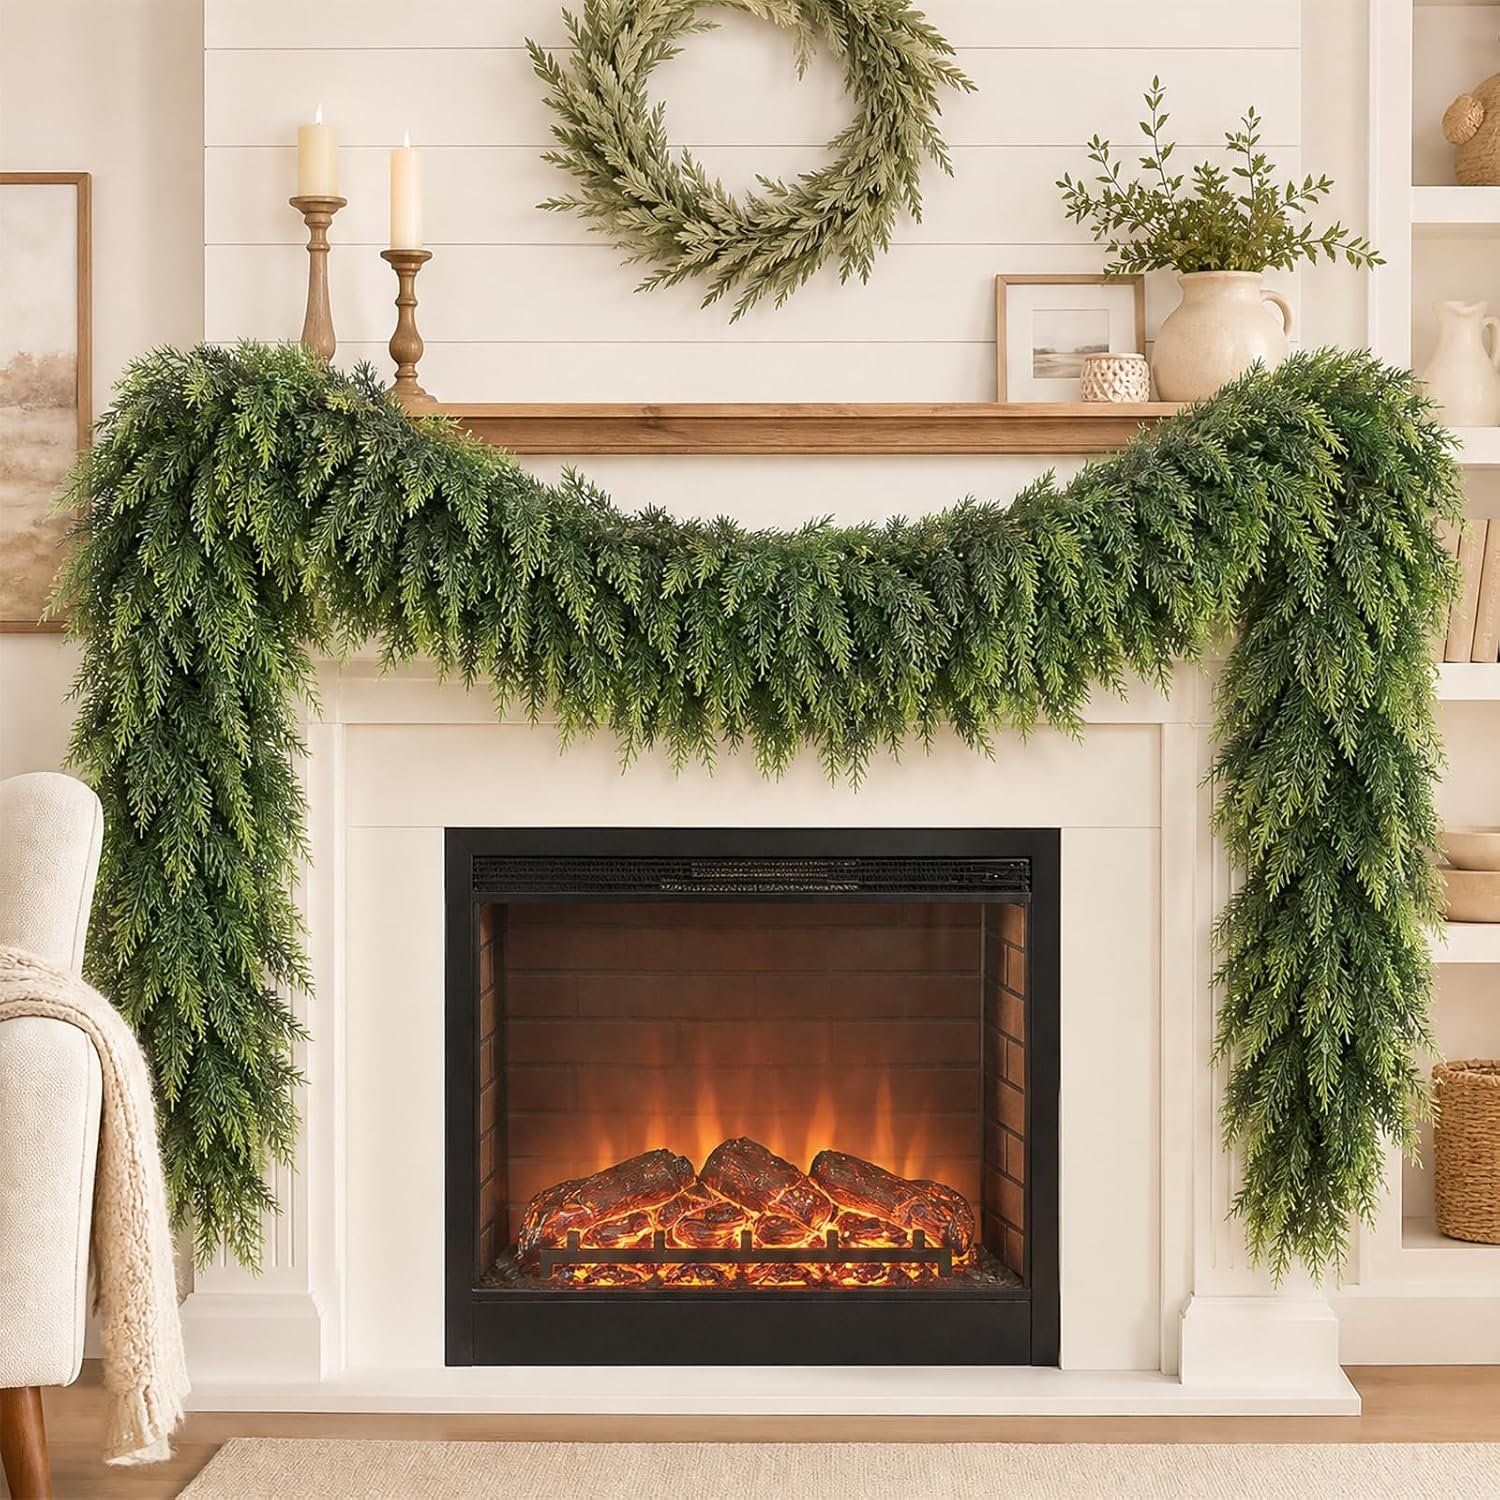
09Pre-Lit Garland Runner
Buying a garland that already glows saves the hour it takes to string lights. Choose a battery-powered one with a timer, and run it down the center of the table, leaving room for plates.
A 5 to 6 foot garland suits most dining tables. A linen runner underneath protects the wood from needles and wire.


10Low Eucalyptus Garland with Pinecones
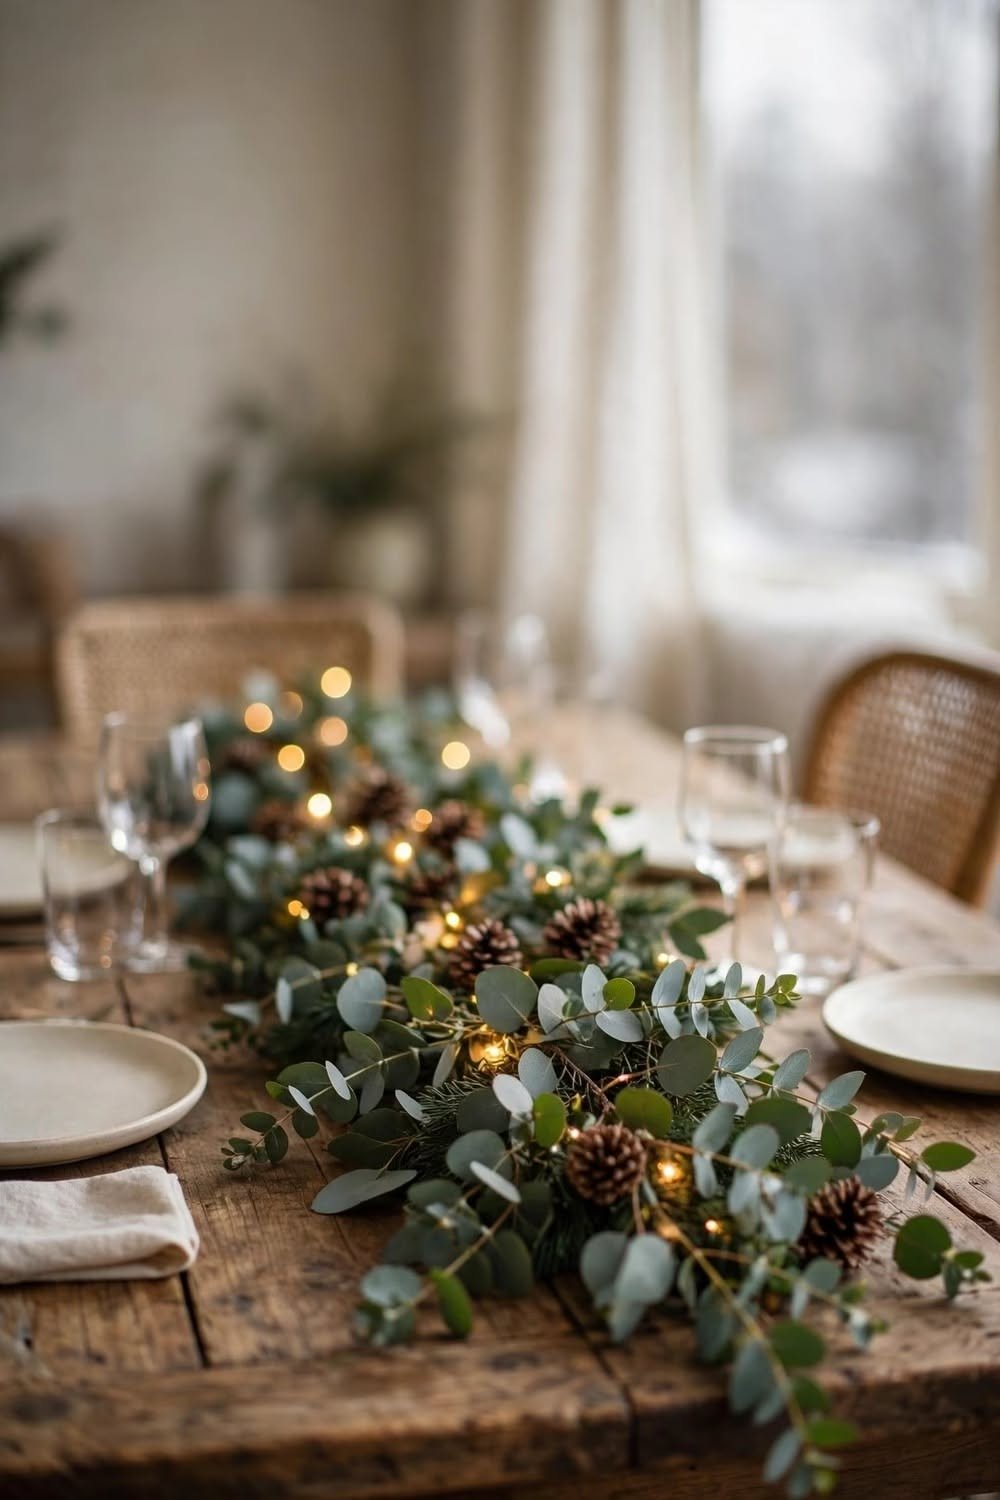
Keep a table garland under about six inches tall so guests can see each other across it.
Weave in pinecones and a strand of warm white lights, and tuck the battery pack under a leaf. Fresh eucalyptus dries out in a few days, so use faux if you're setting the table early.


11Winter Grazing Table Garland
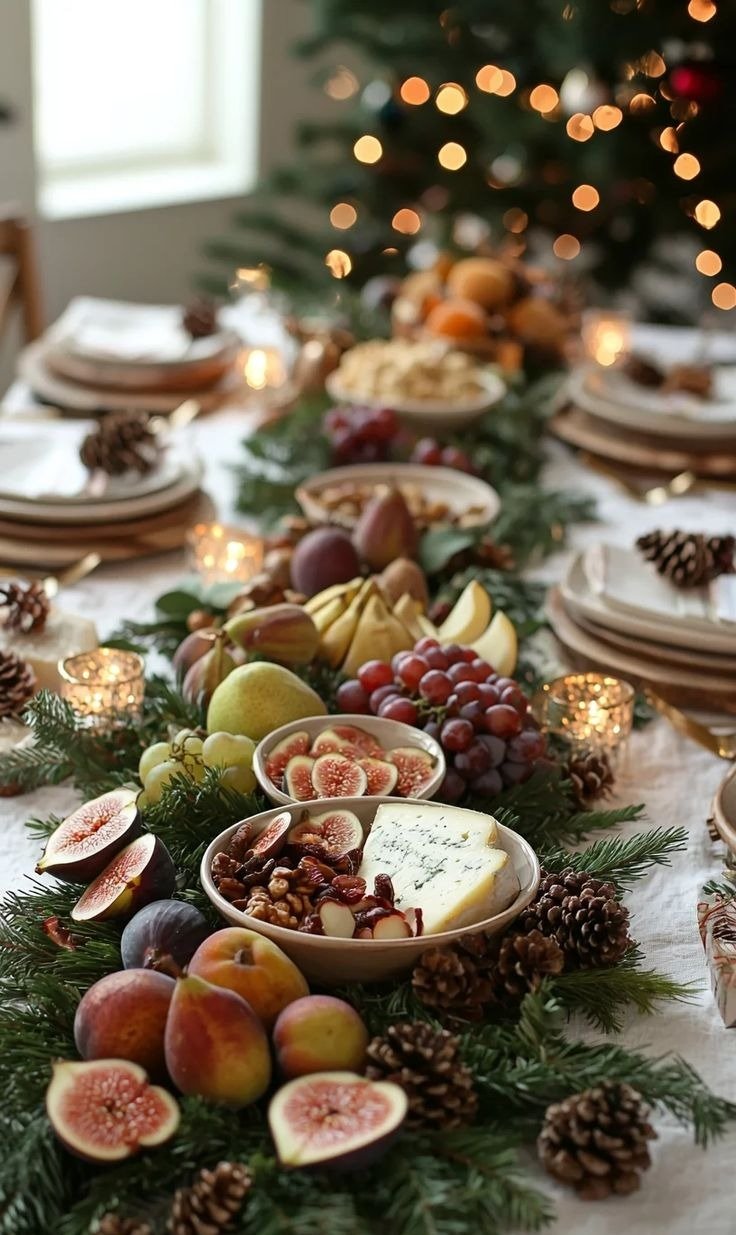
Make the food the decoration. Figs, pears, grapes, nuts and a wedge of cheese look wonderful among pine sprigs and pinecones, and you can skip a separate appetizer table.
Keep the food in bowls or on boards rather than directly on the greenery, refill from the kitchen, and don't leave cheese out for more than two hours.
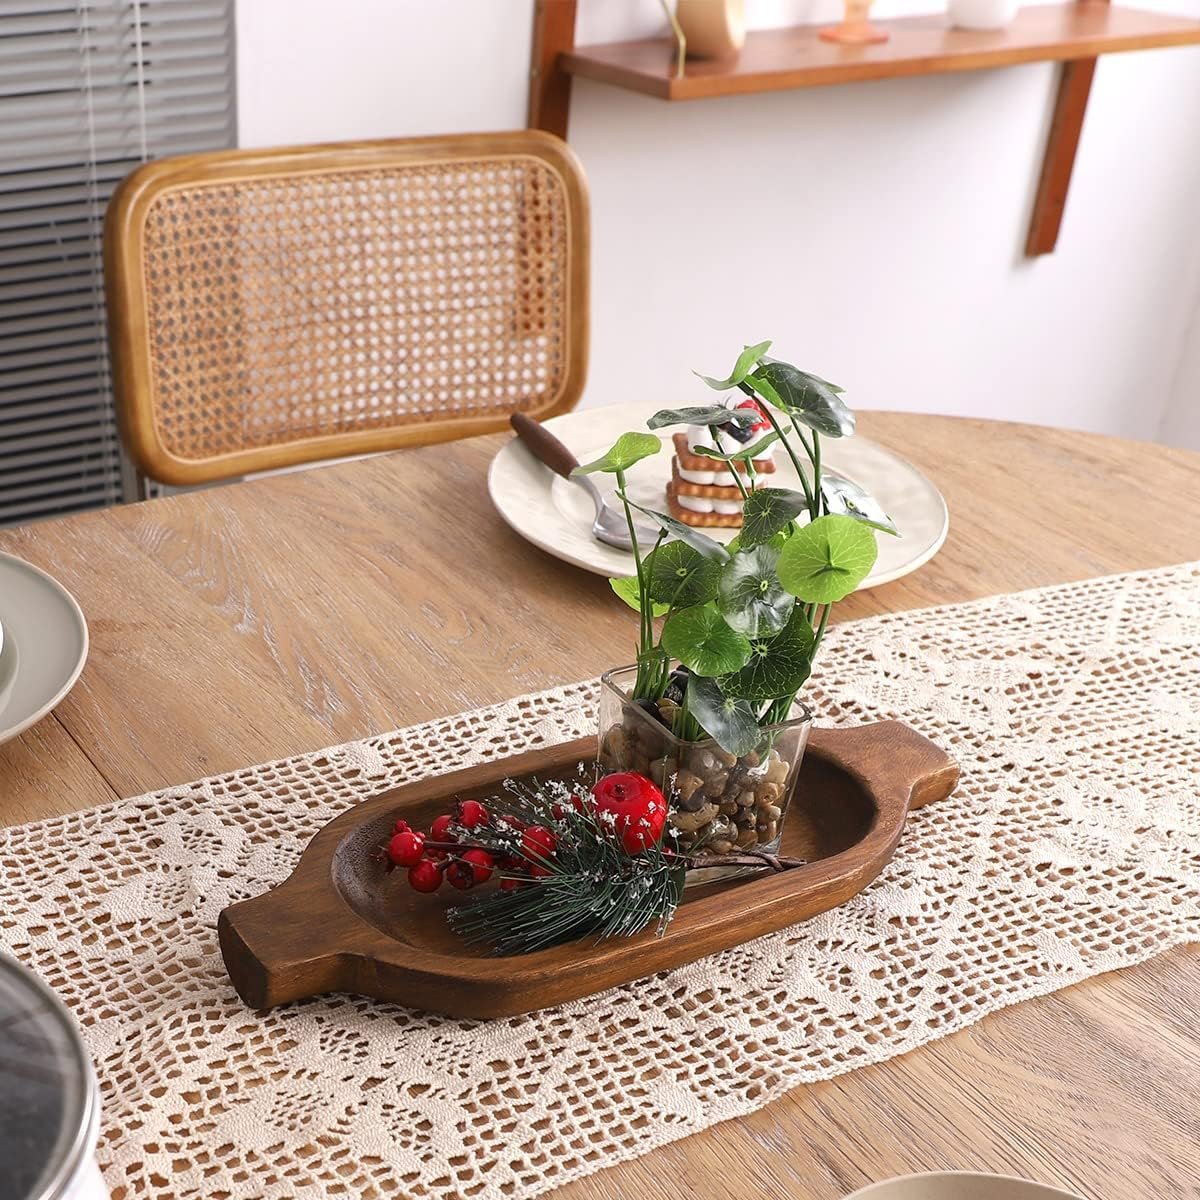
12Citrus and Cinnamon Dough Bowl
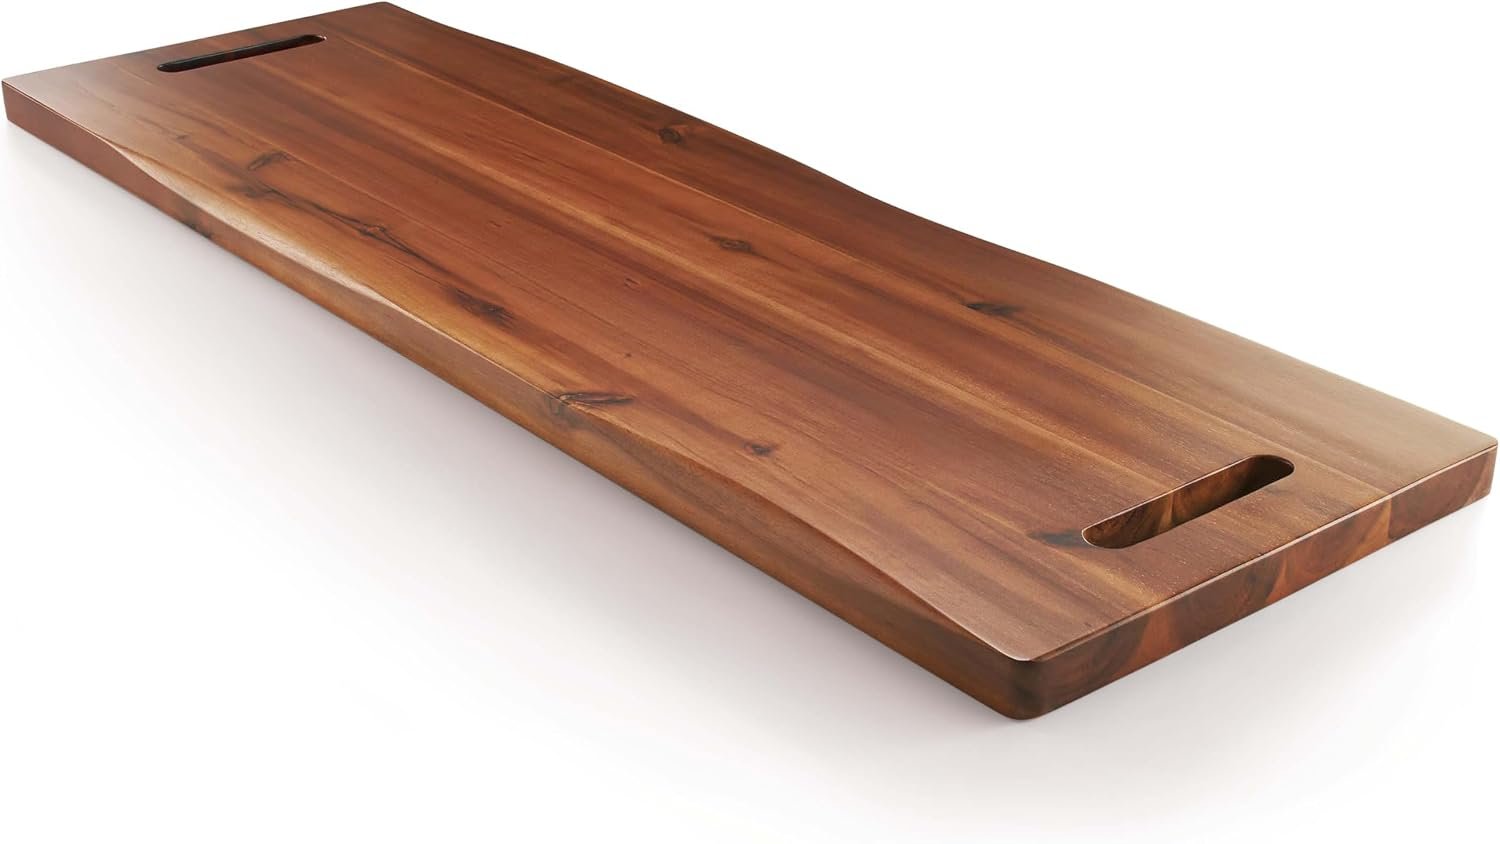
Fill a long dough bowl with oranges, cinnamon sticks, star anise and pine, and the table smells like Christmas before anyone sits down.
Whole oranges last about two weeks, and slices dry in a 200°F oven in around three hours. Replace the pine halfway through the season, and add eucalyptus for a cooler green.



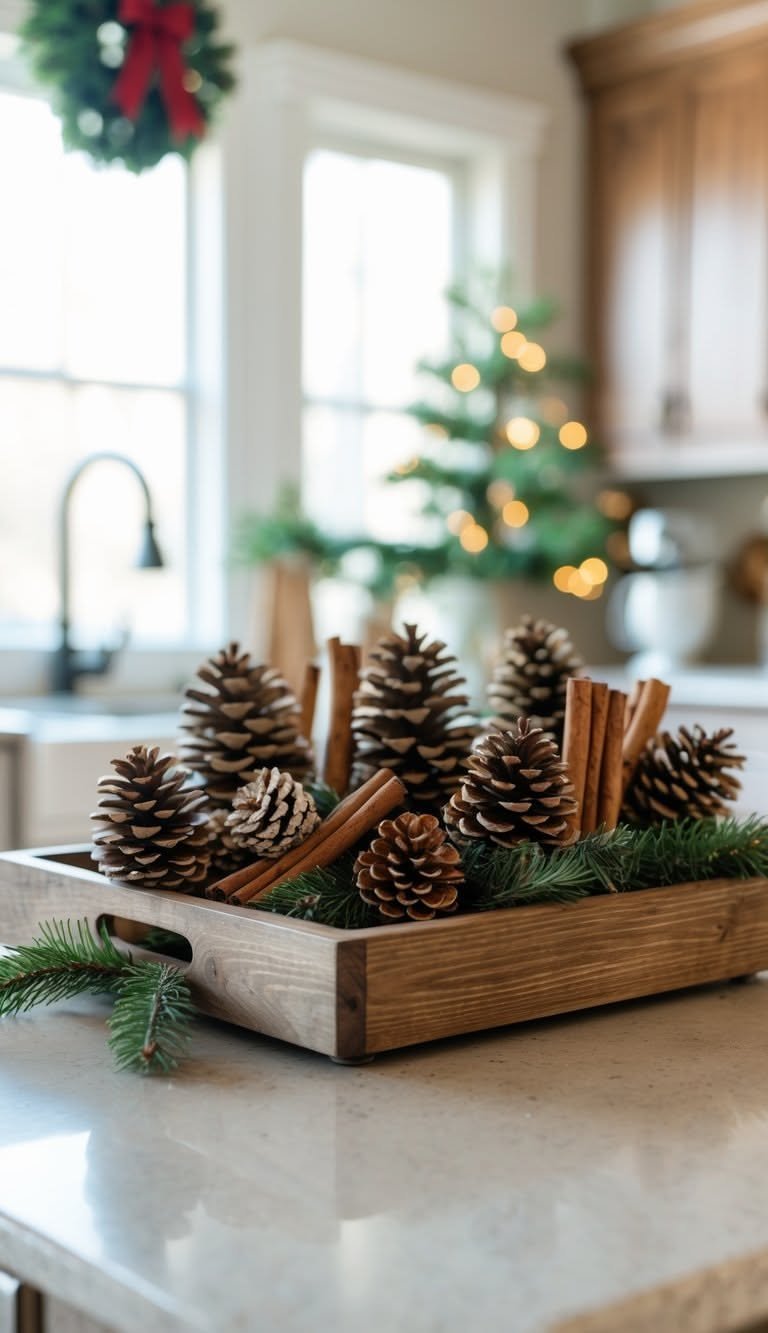
13Pinecone and Cinnamon Tray
Foraged pinecones can carry insects and sap. Bake them on foil at 200°F for 45 minutes, then let them cool before arranging.
Pile them in a wooden tray with cinnamon sticks and a few pine sprigs. It works on a coffee table or kitchen island, and a drop of cinnamon oil adds scent.

Vases, Branches and Florals
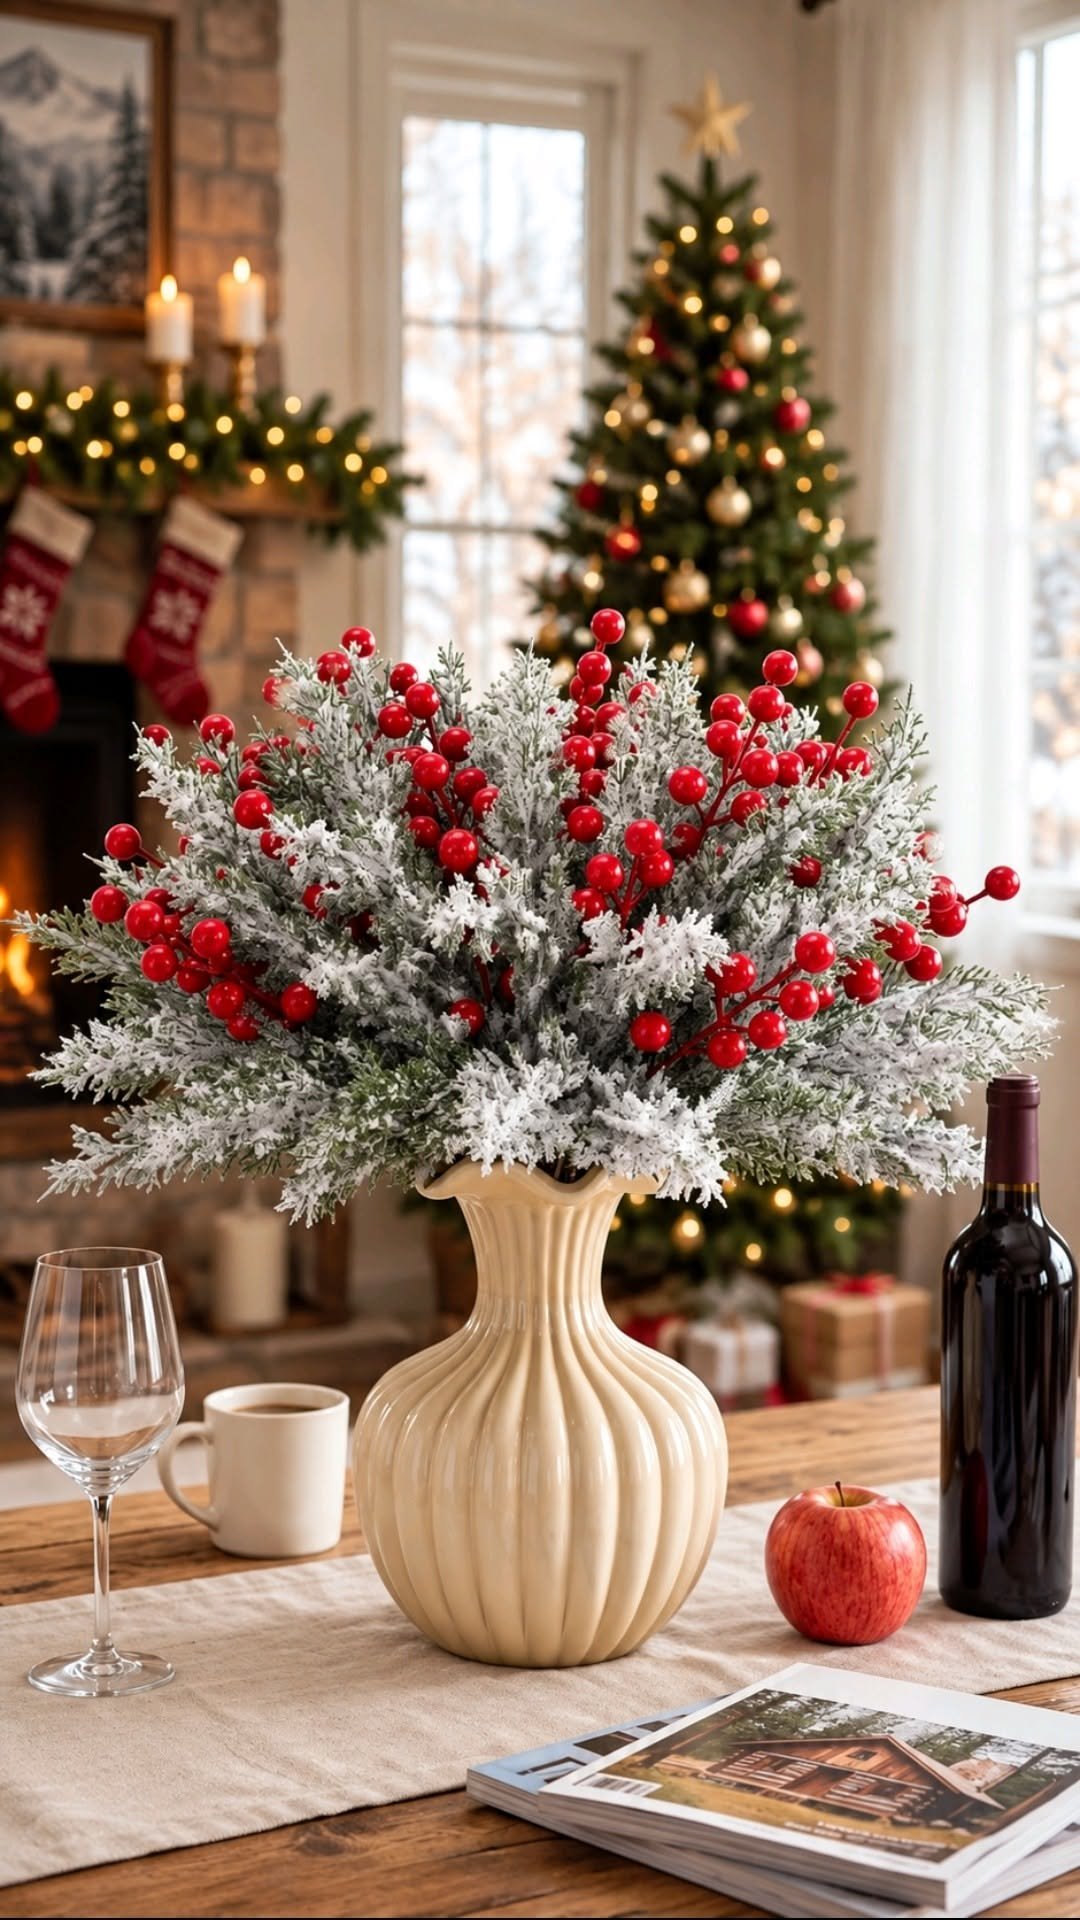
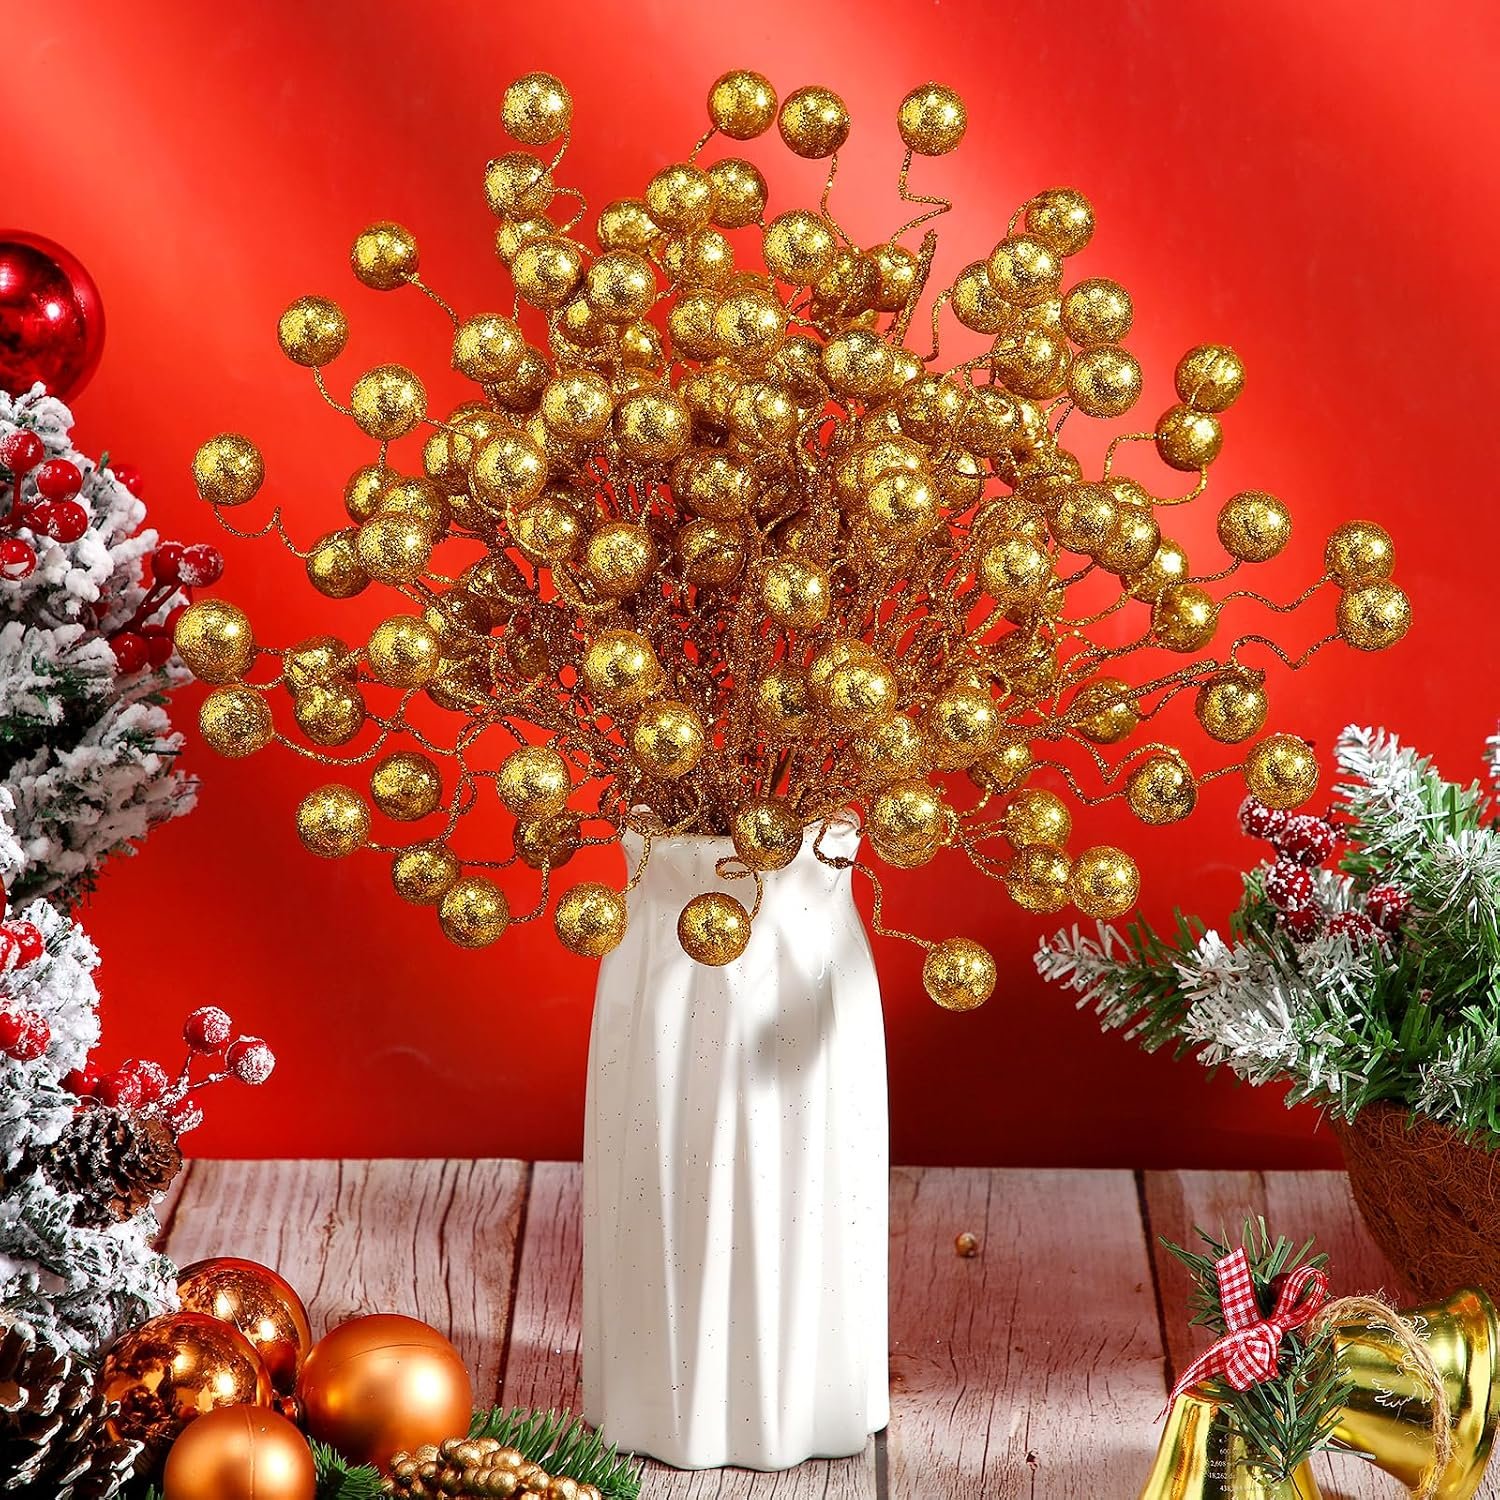
14Berry Stems in a Ribbed Vase
One type of stem in one vase looks fuller and more expensive than a mix.
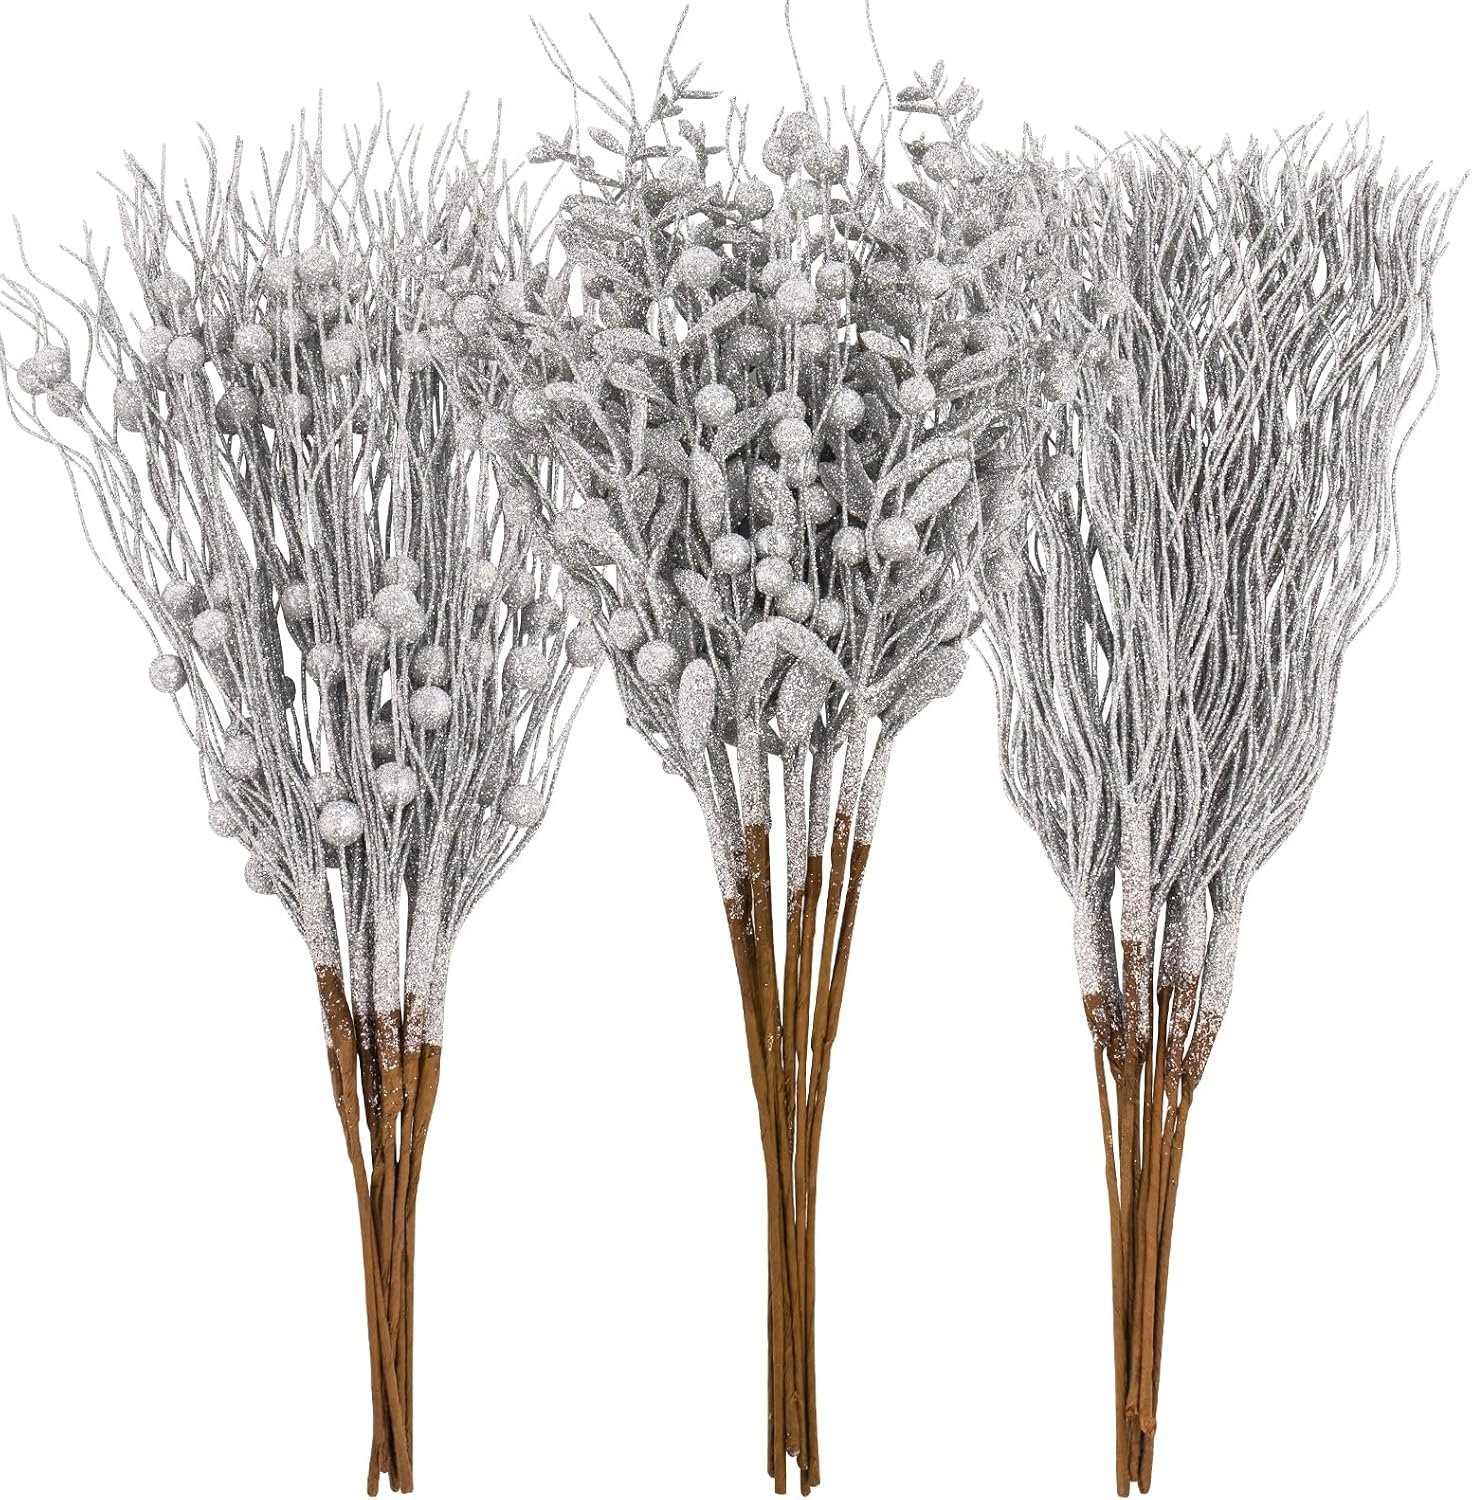
Cut frosted berry stems to about one and a half times the height of the vase, fan them out and fluff each branch. A plain cream or white vase keeps the red as the focal point. Repeat the idea on a console or sideboard.


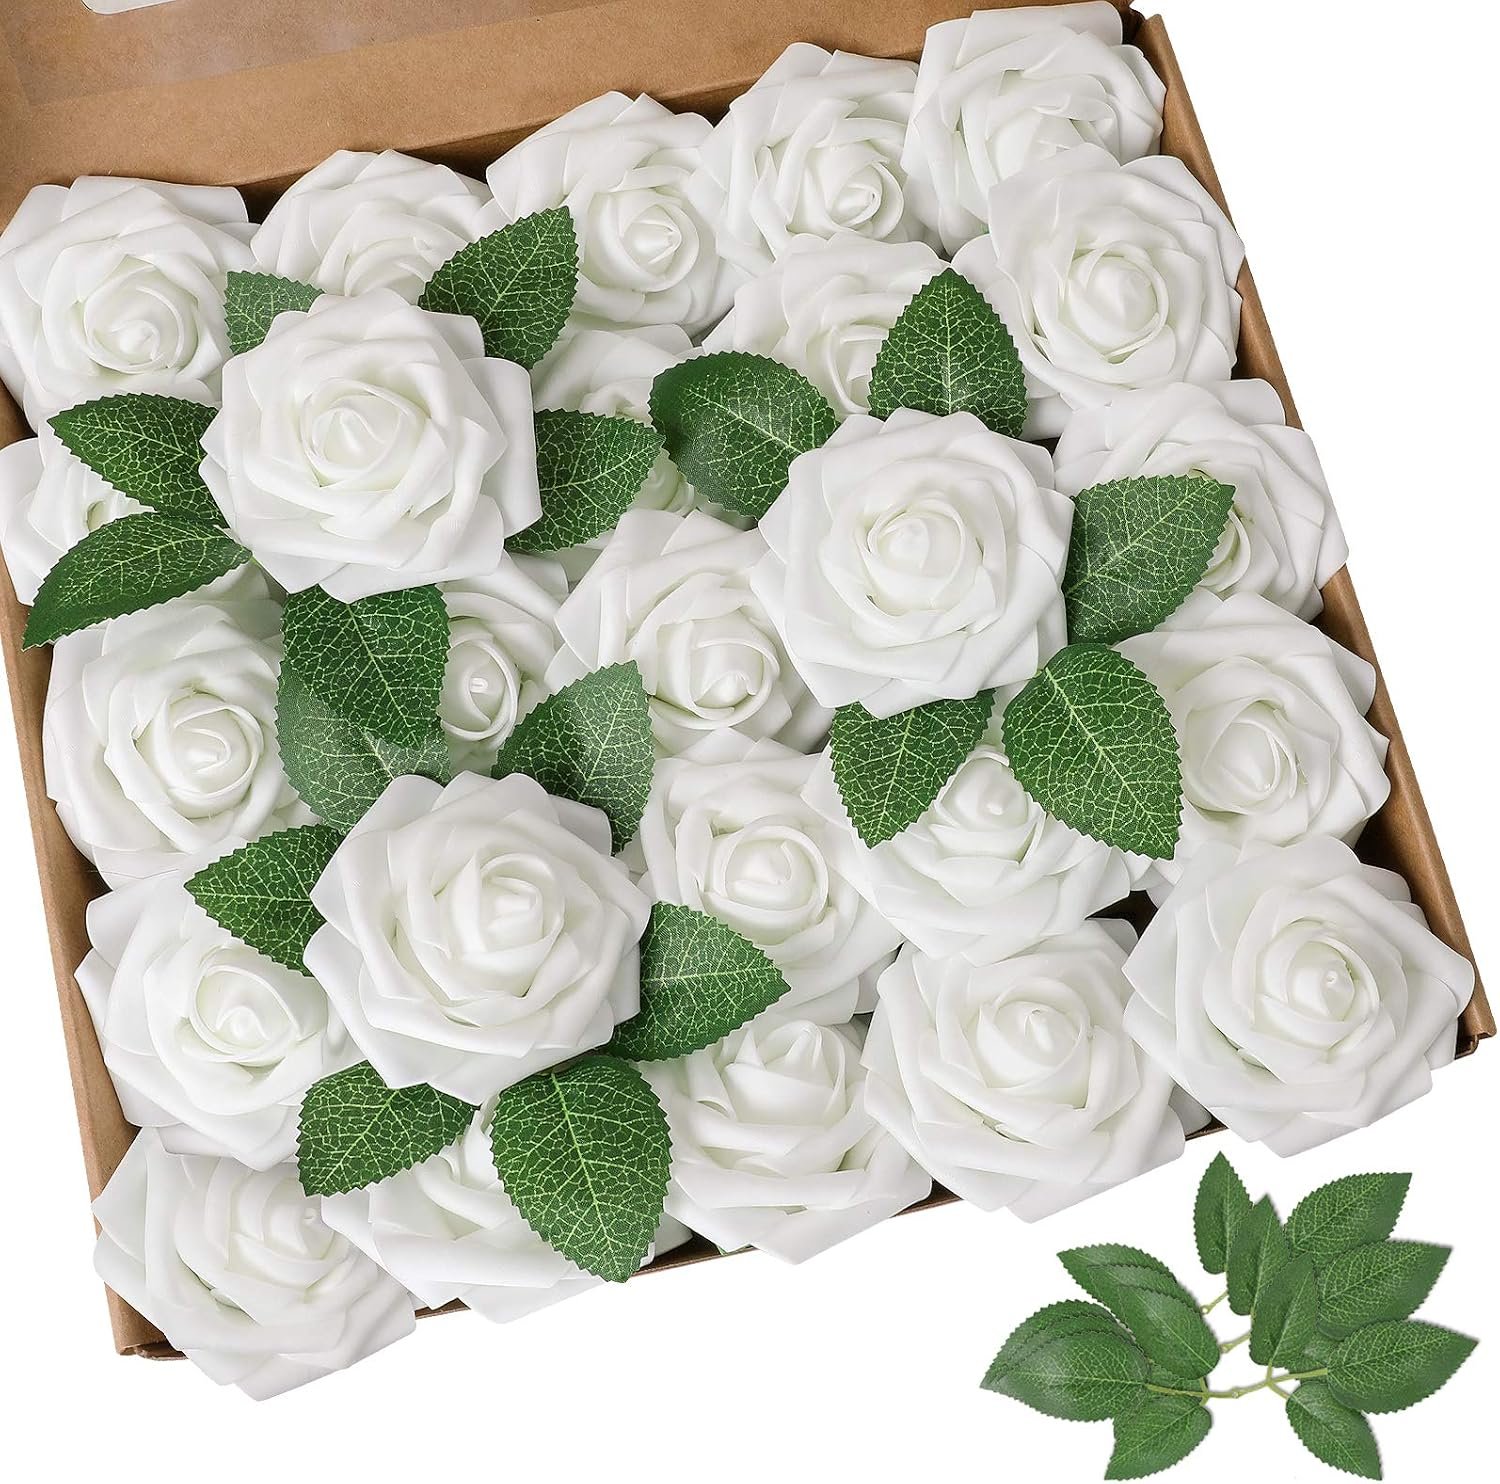
15White Florals with Gold Ornaments
Fill the bowl with floral foam so the stems stay put. Place the largest blooms in the middle, then add smaller flowers and greenery around the edges.
Tuck gold ornament picks between the stems. White roses, carnations and silvery pine suit gold well. Faux flowers hold their look all month, while fresh ones need water.

16Silver Vase with Pine and Ornaments
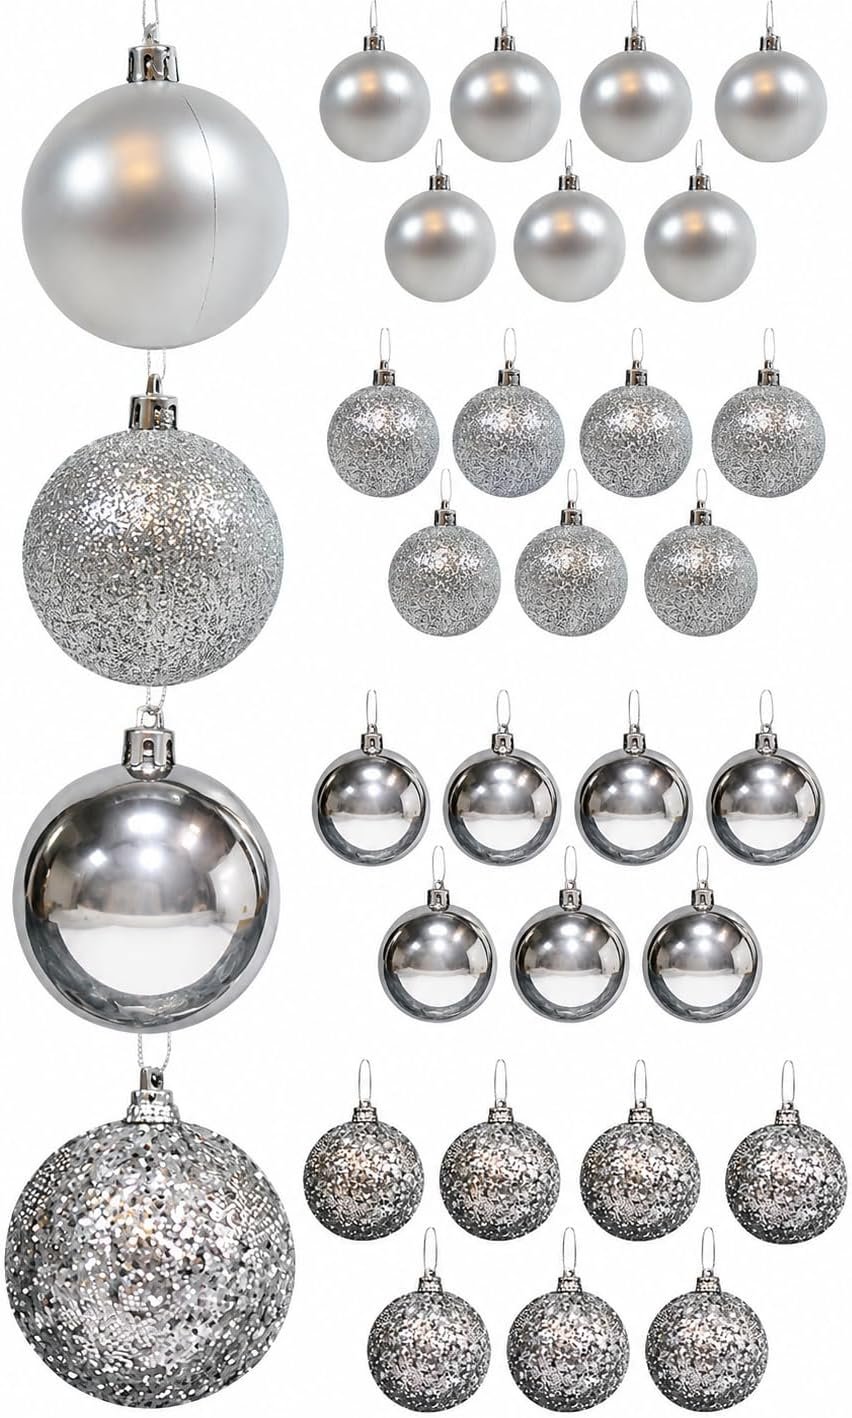
Silver feels cold alone, so pair it with fresh pine. Cut the boughs fresh and keep them in a little water.
Hang lightweight silver ornaments from the branches or tie them on with fine wire. Taper candles and a small figurine on either side balance the arrangement.


17Branches with Hanging Ornaments
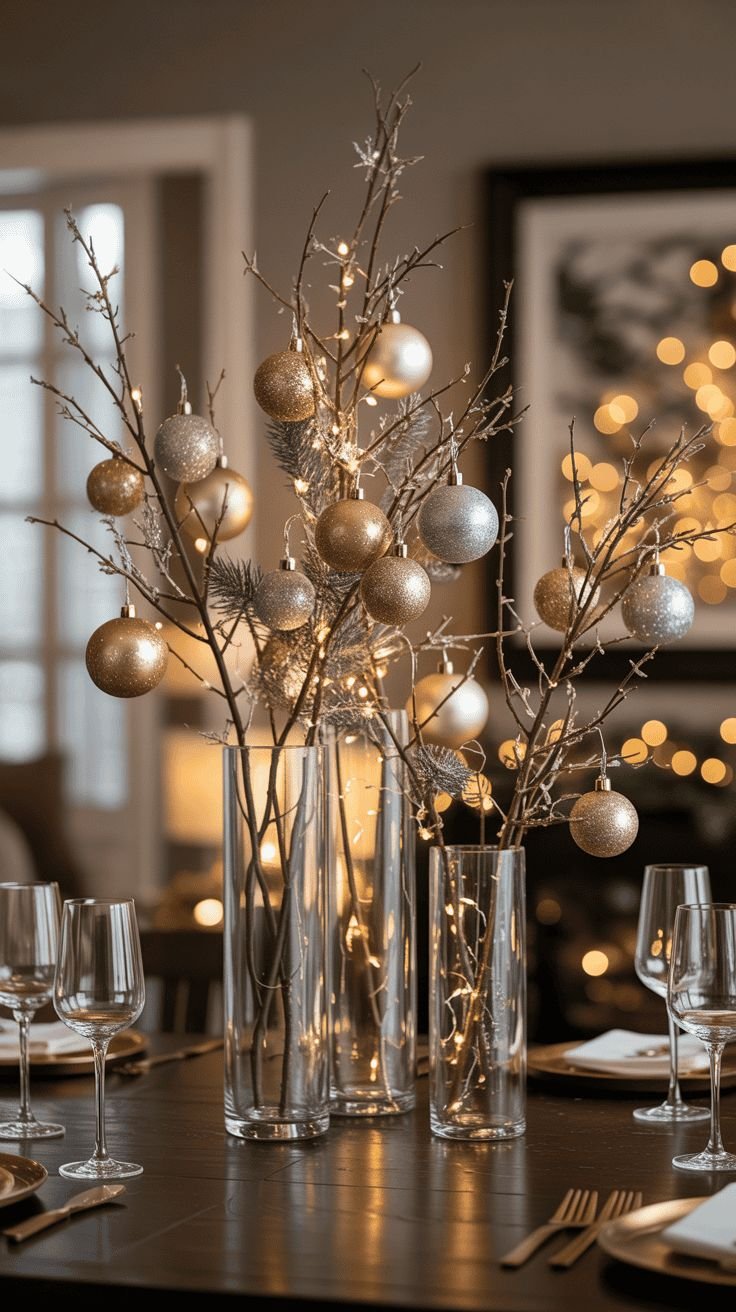
Bare branches add height without bulk, and they keep sight lines clear if you stay under 12 inches or lift above 30.
Use three glass cylinder vases of different heights filled with twigs, and hang ornaments under two inches wide so the branches don't bend. Twine a strand of fairy lights around the base.

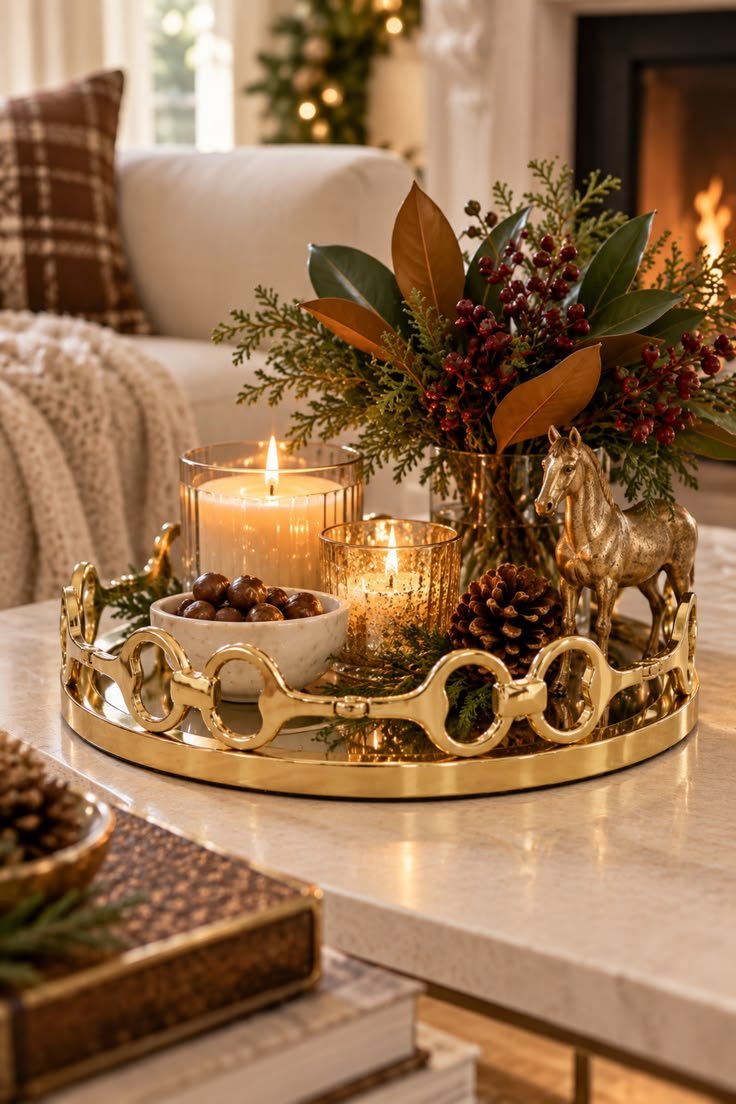
18Brass Tray Vignette
A tray turns a pile of objects into a vignette. Choose one tall piece, one medium and a few low ones, such as a vase of magnolia leaves, a candle and a small bowl of nuts.
Stick to odd numbers and one metal finish. Felt pads under the tray protect the table.

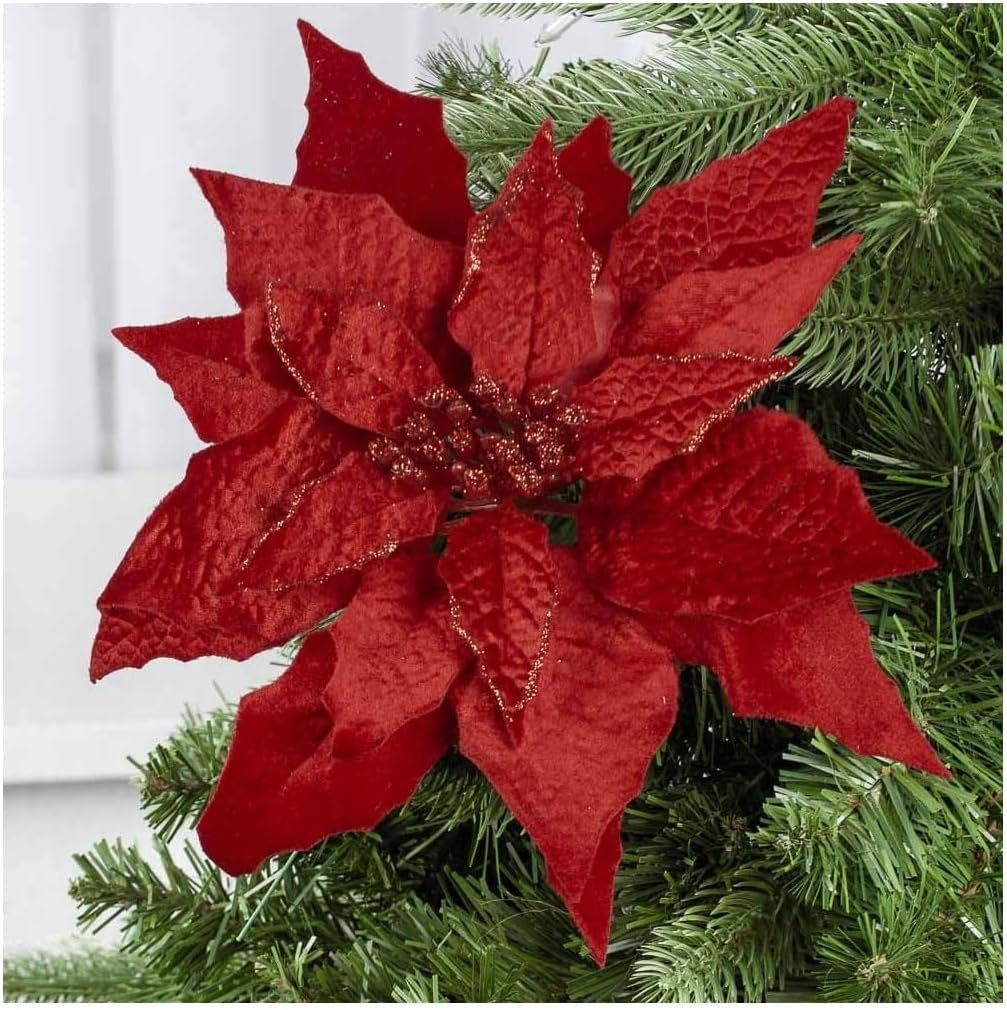
19Poinsettia Pots Down the Table
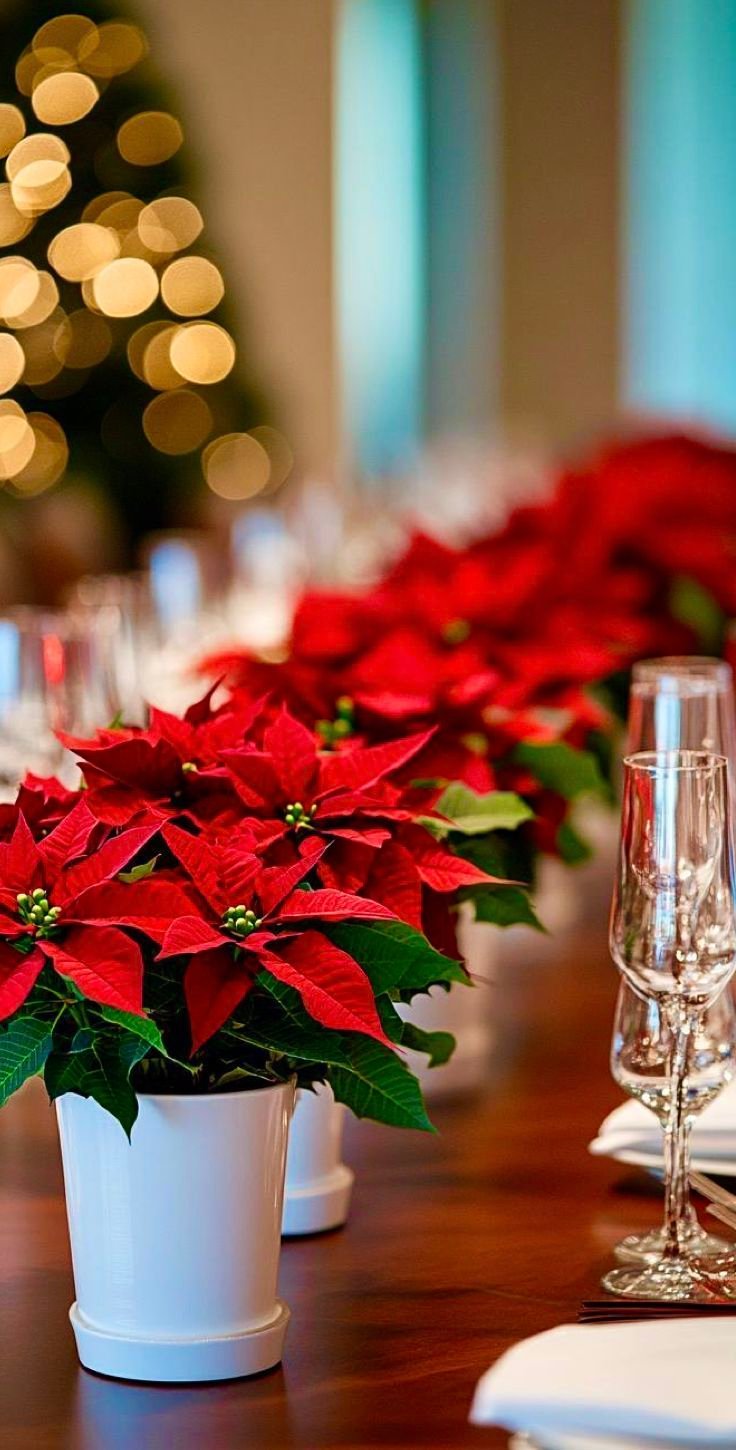
Repeating one plant down the table gives you bold color for very little money.
Remove the foil wrap so water doesn't pool, and water only when the top inch of soil is dry. Keep poinsettias away from cold drafts, and out of reach of pets, since they're mildly irritating if chewed. White pots keep the look clean.

Silver Trays and Tabletop Trees
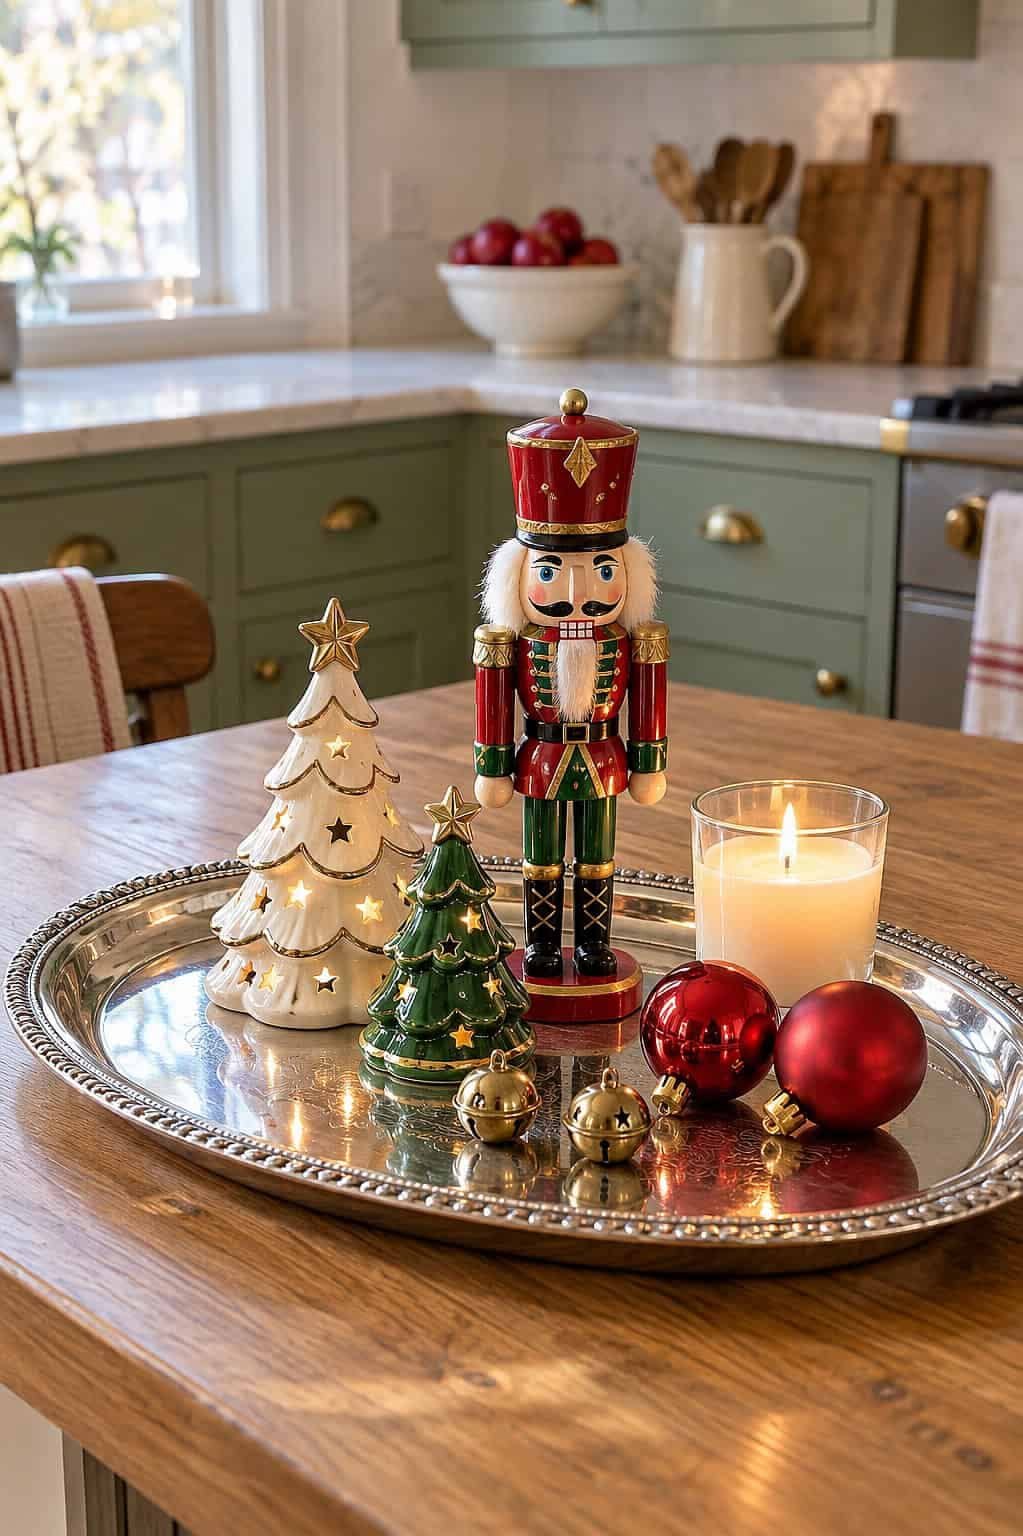
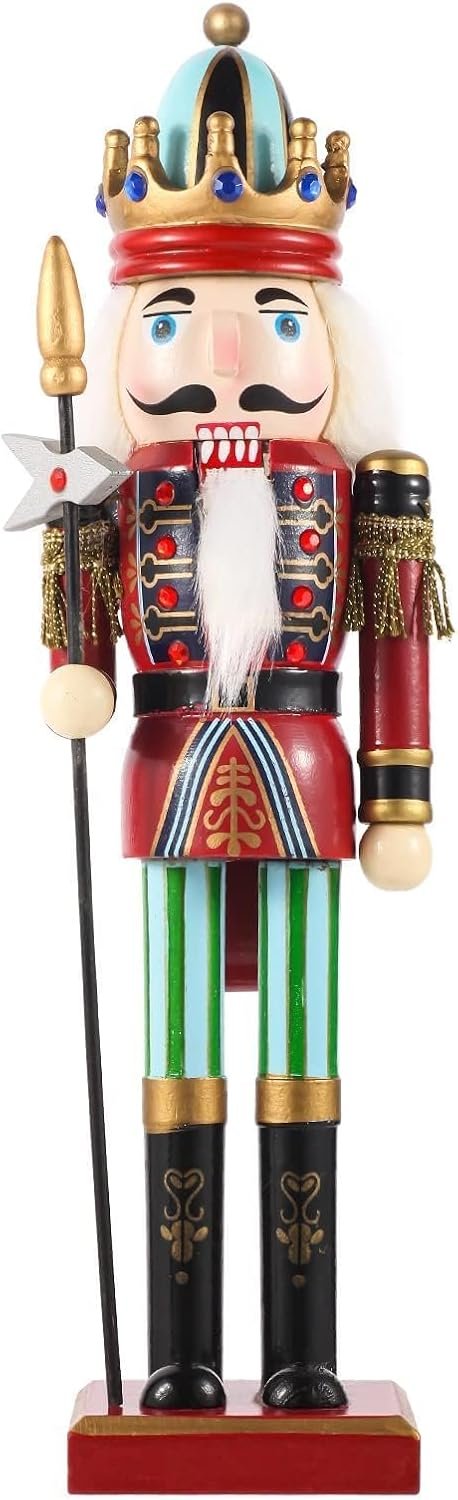
20Silver Tray with a Nutcracker and Ceramic Trees
Group small figures on a tray by theme: one tall piece such as a nutcracker, two or three medium trees, and a few low ornaments or bells.
Odd numbers look the most natural. A beaded silver tray works well on a kitchen island, and a small candle adds warmth. Polish the silver with a soft cloth before you set up.

21Silver Tray with Pillar Candles and Mercury Ornaments
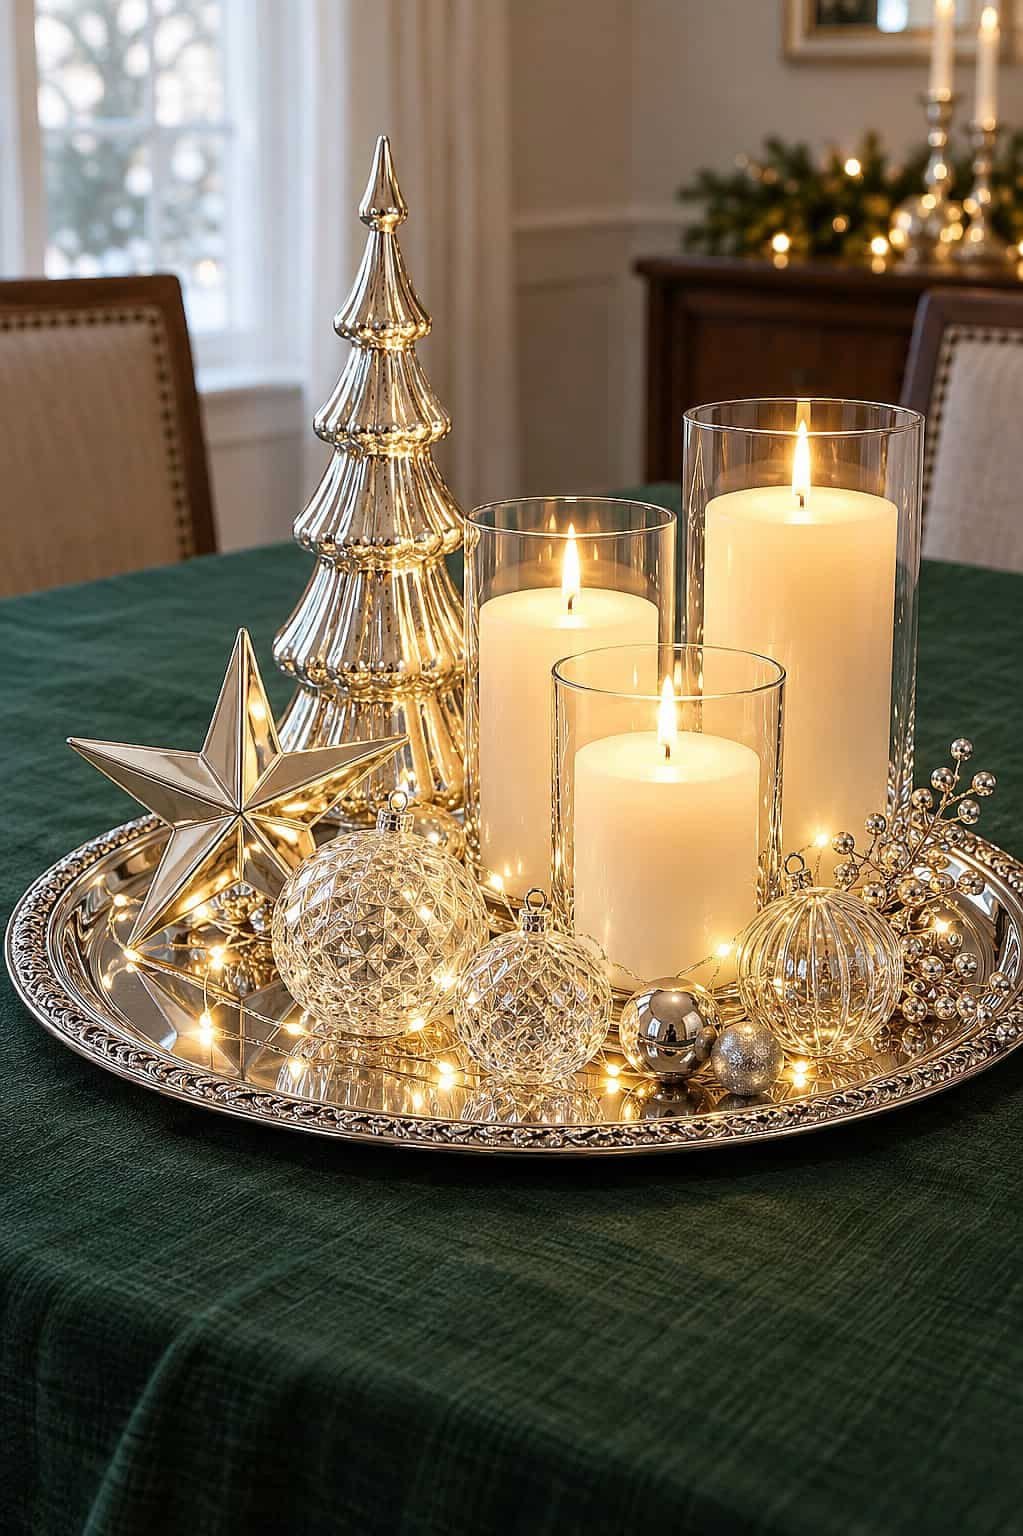
Silver glows most against something dark, so a deep green or navy tablecloth makes this tray shine.
Stand three flameless pillars in glass on an 18- to 20-inch tray, then fill the gaps with clear and mercury glass ornaments and a few fairy lights. A star adds height, and flameless candles keep the tray cool to the touch.

22Mirrored Tray with Glitter Trees
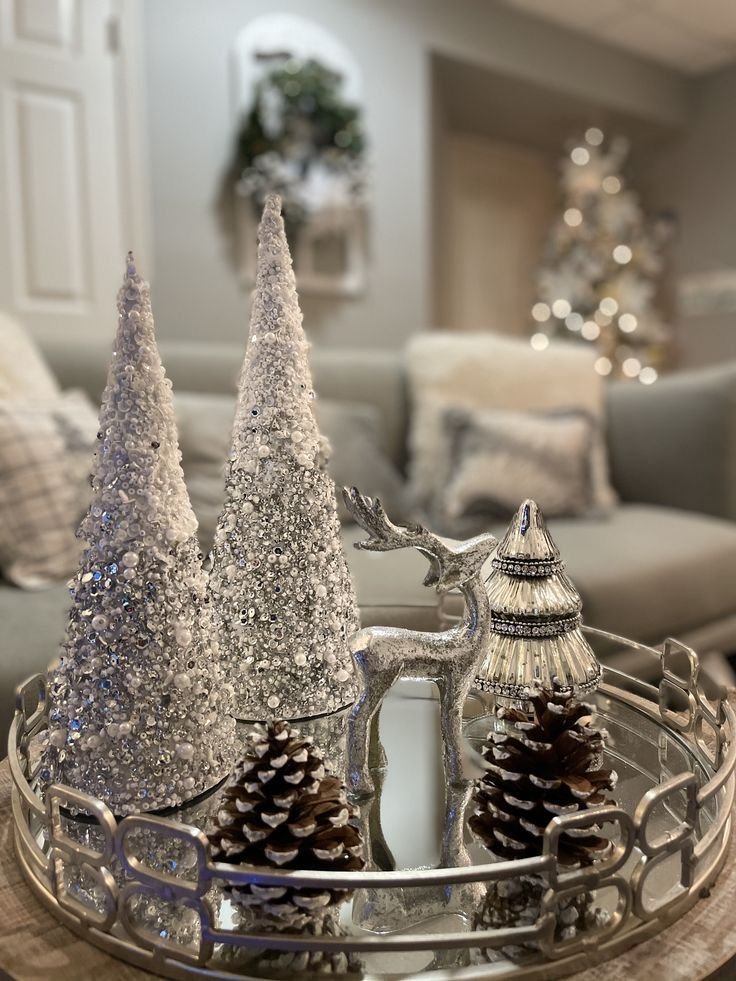
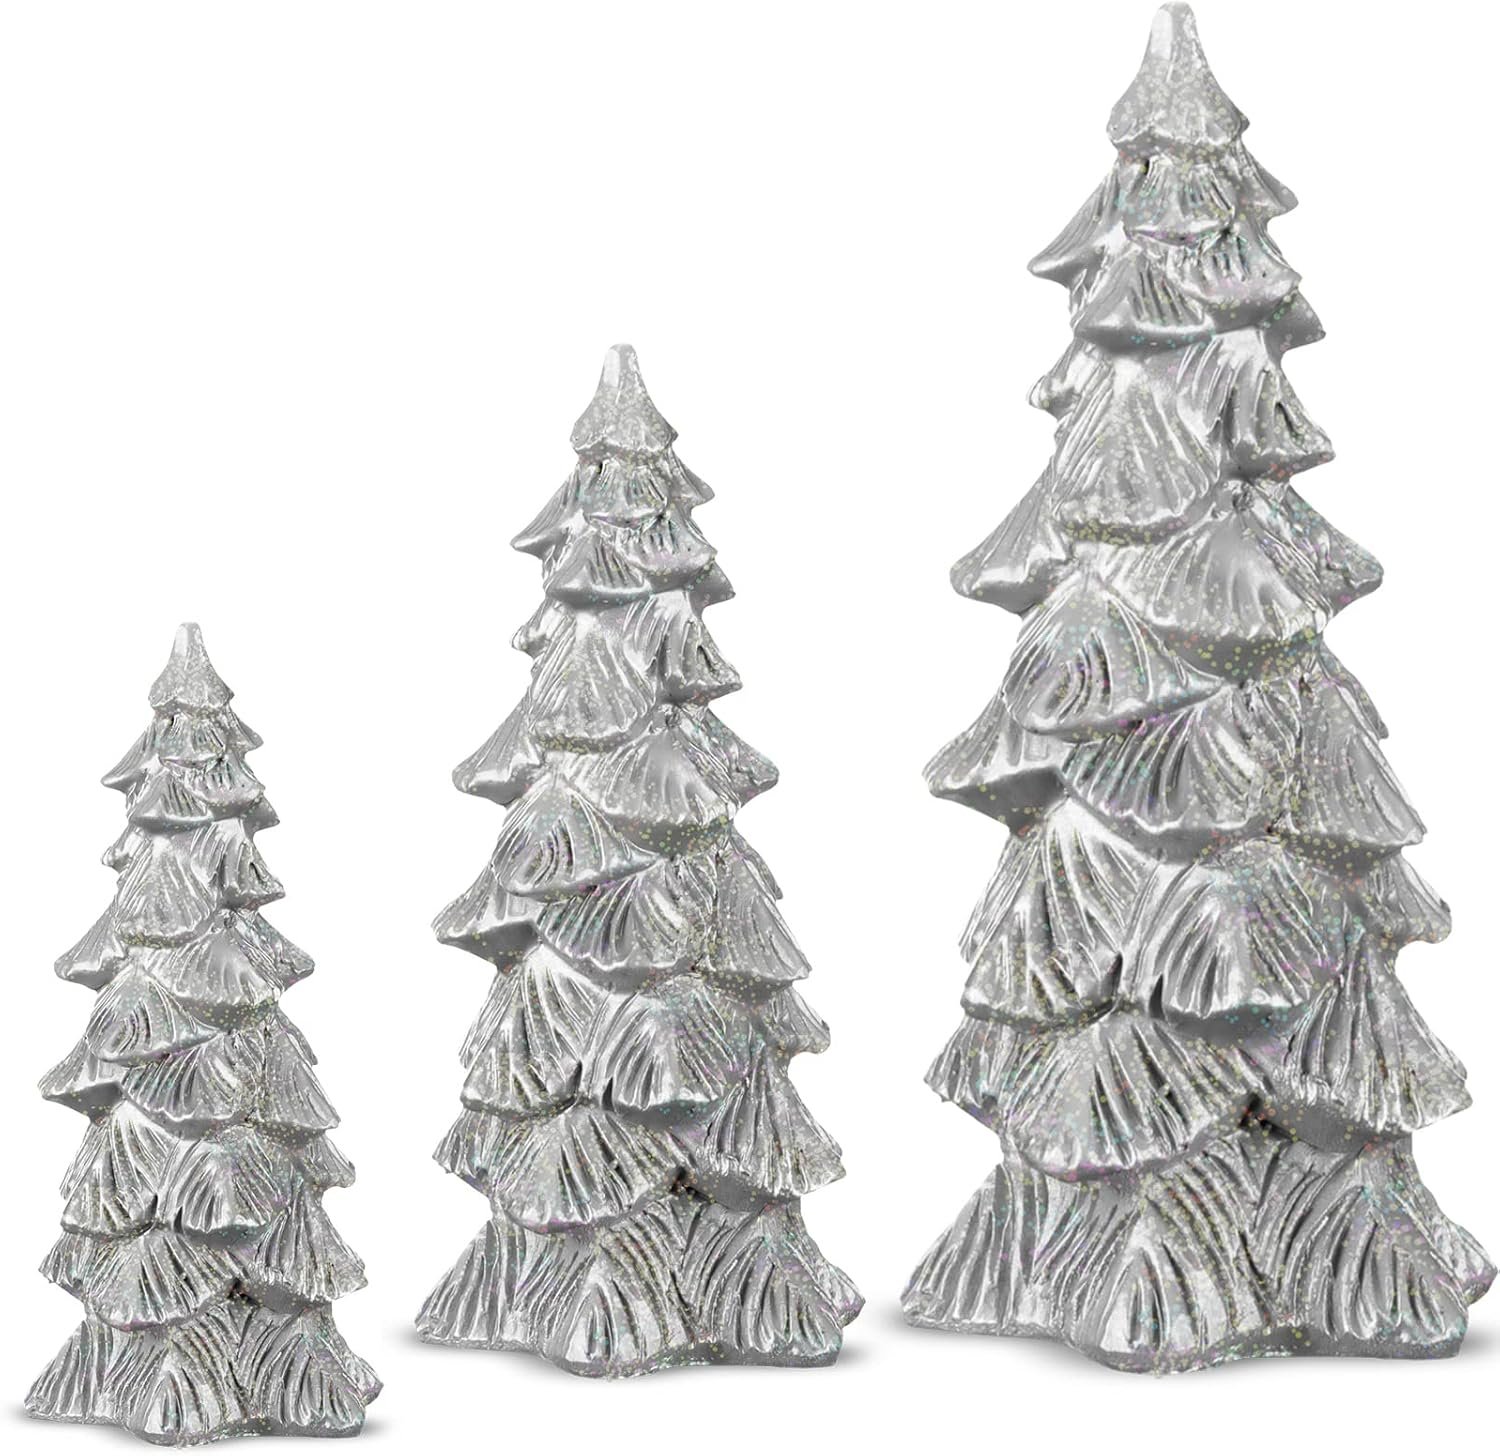
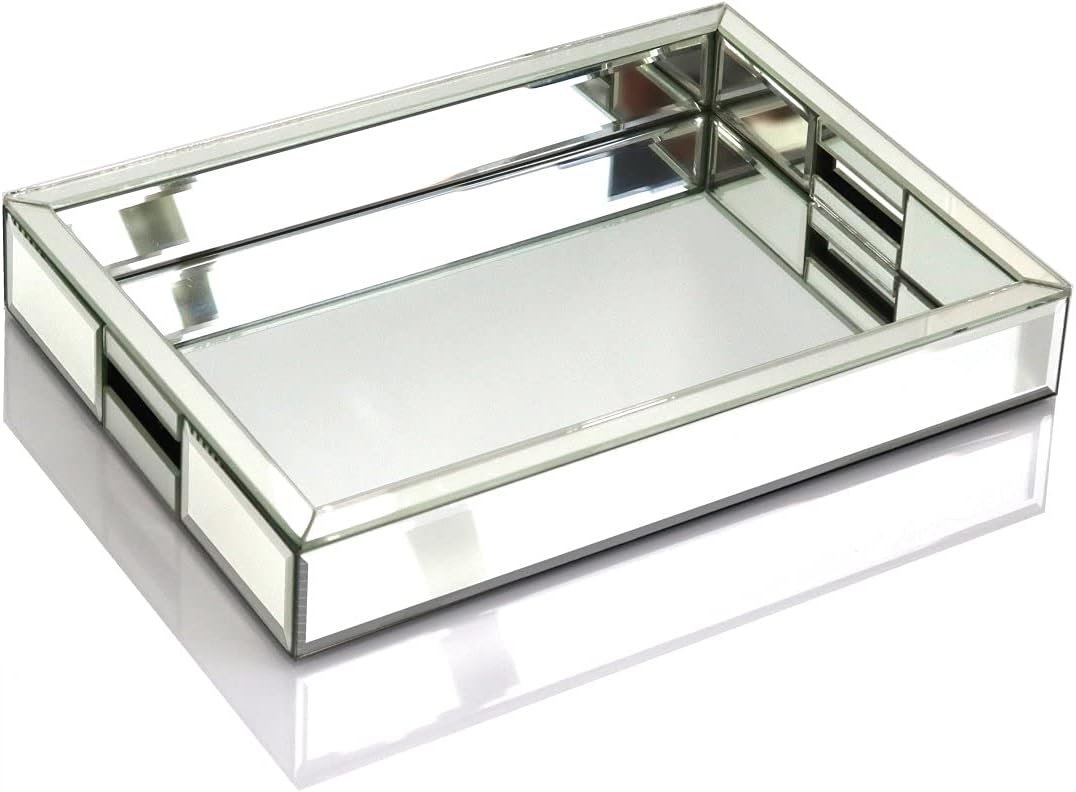
A mirrored tray doubles whatever sits on it. Keep the arrangement to five items or fewer, such as two glitter trees, a silver deer and a couple of pinecones.
Glitter sheds, so wipe the mirror with a dry cloth between uses. Set it where it catches light from a window or lamp.
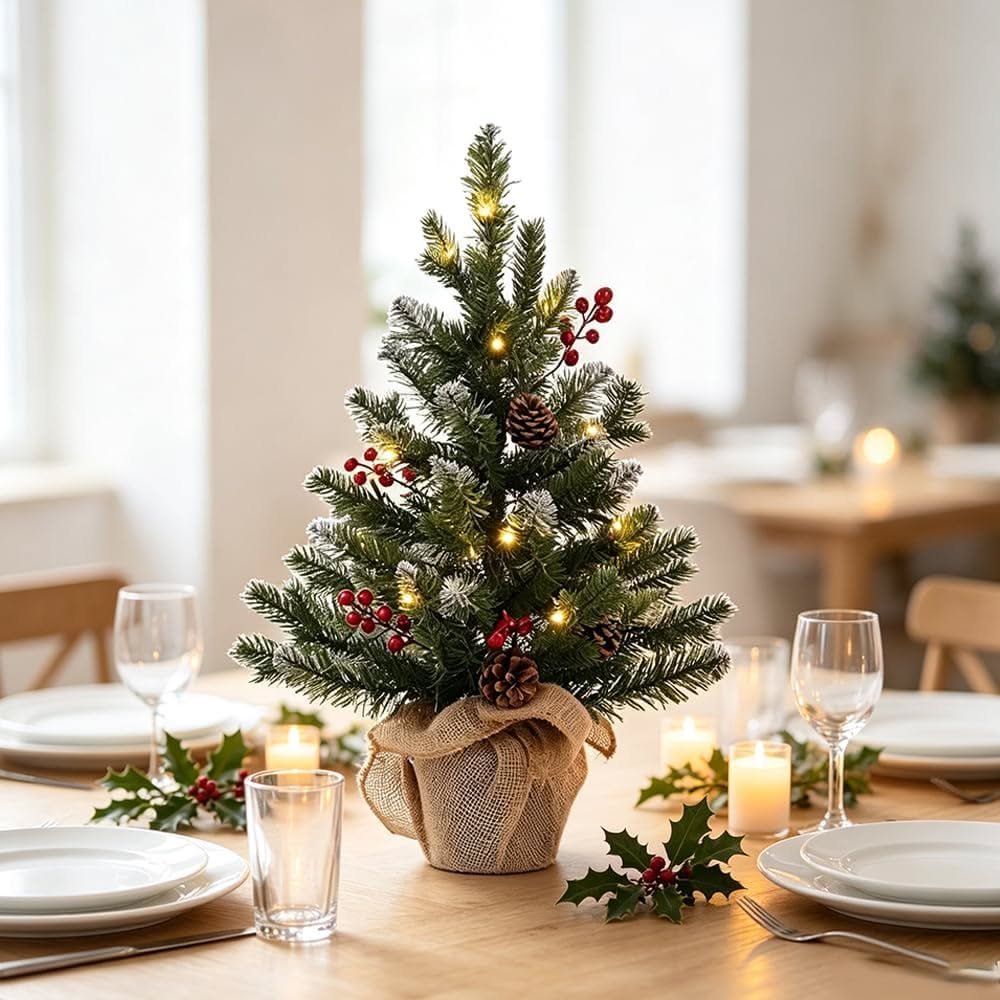
23Mini Tree Centerpiece
A small lit tree can replace a whole arrangement. Buy a battery-lit tree 18 to 24 inches tall so it clears the eye line, and wrap the pot in burlap tied with twine.
Add holly sprigs and a few short candles around it, and place the battery pack somewhere you can reach.


Candy, Gingerbread and Tiny Villages
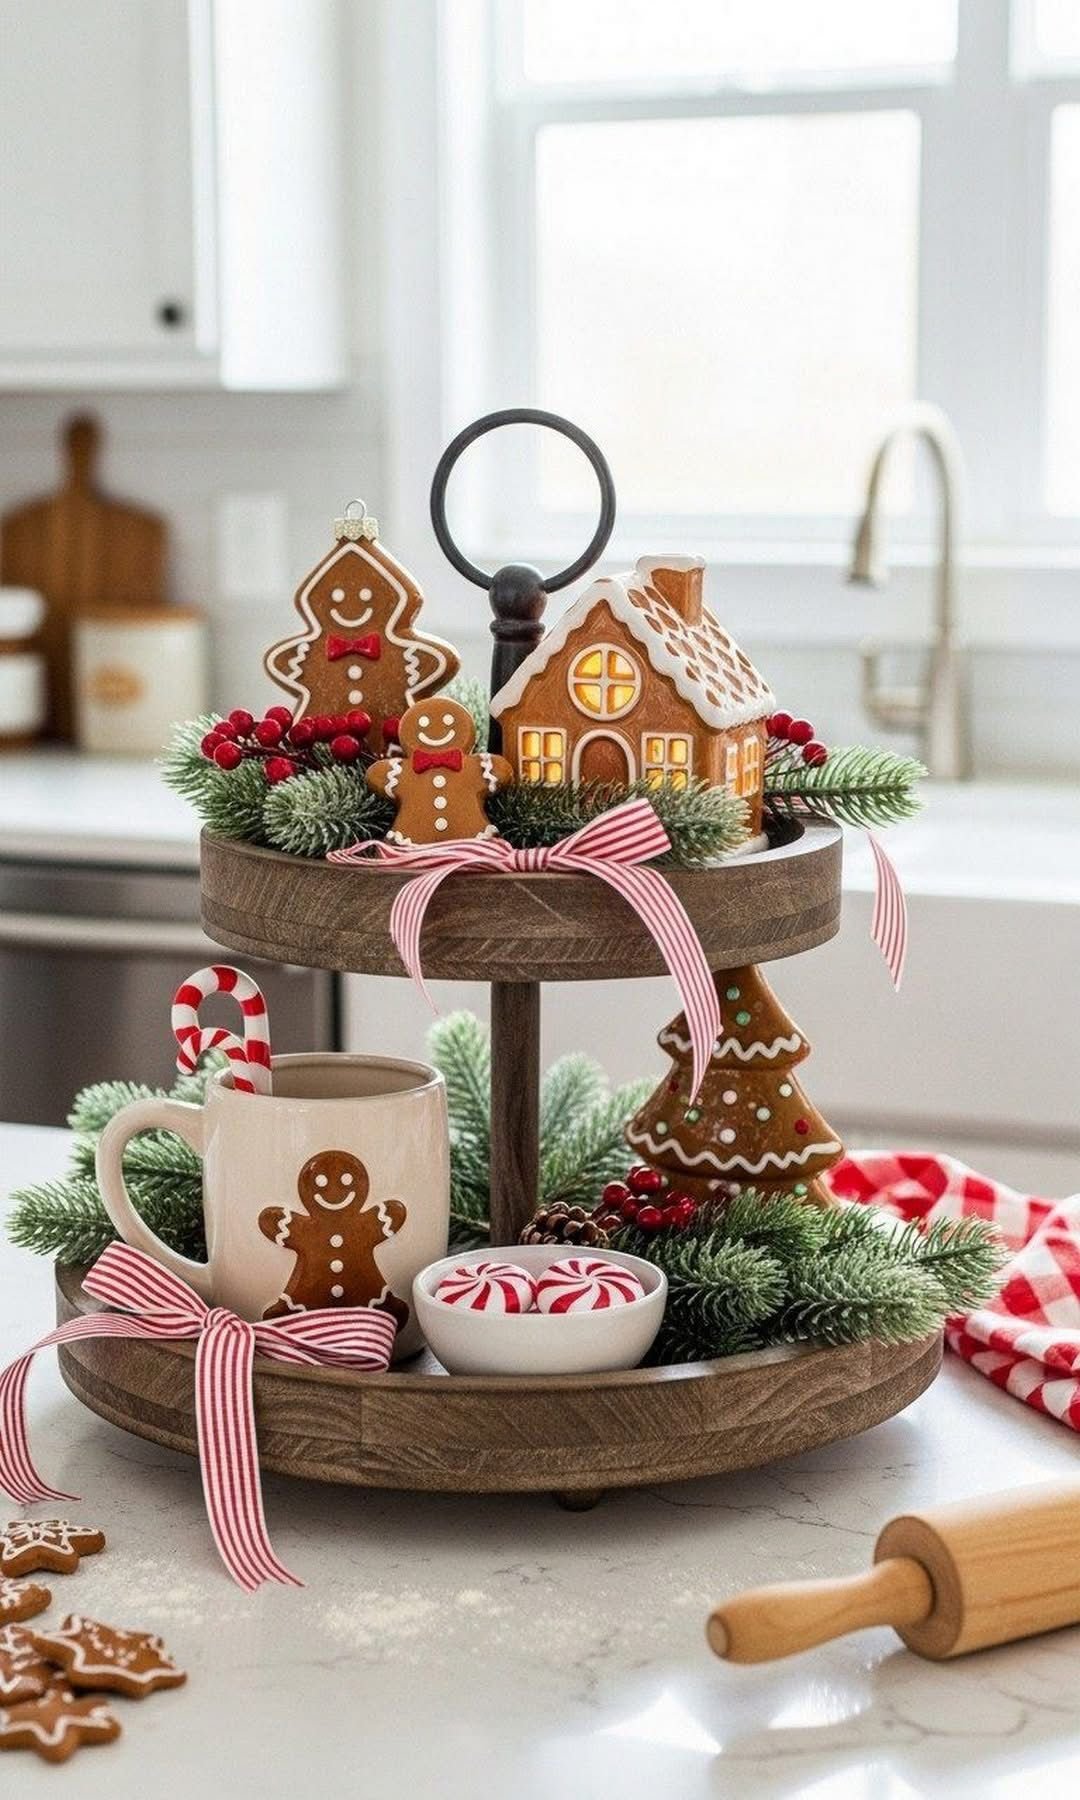
24Gingerbread Village Runner
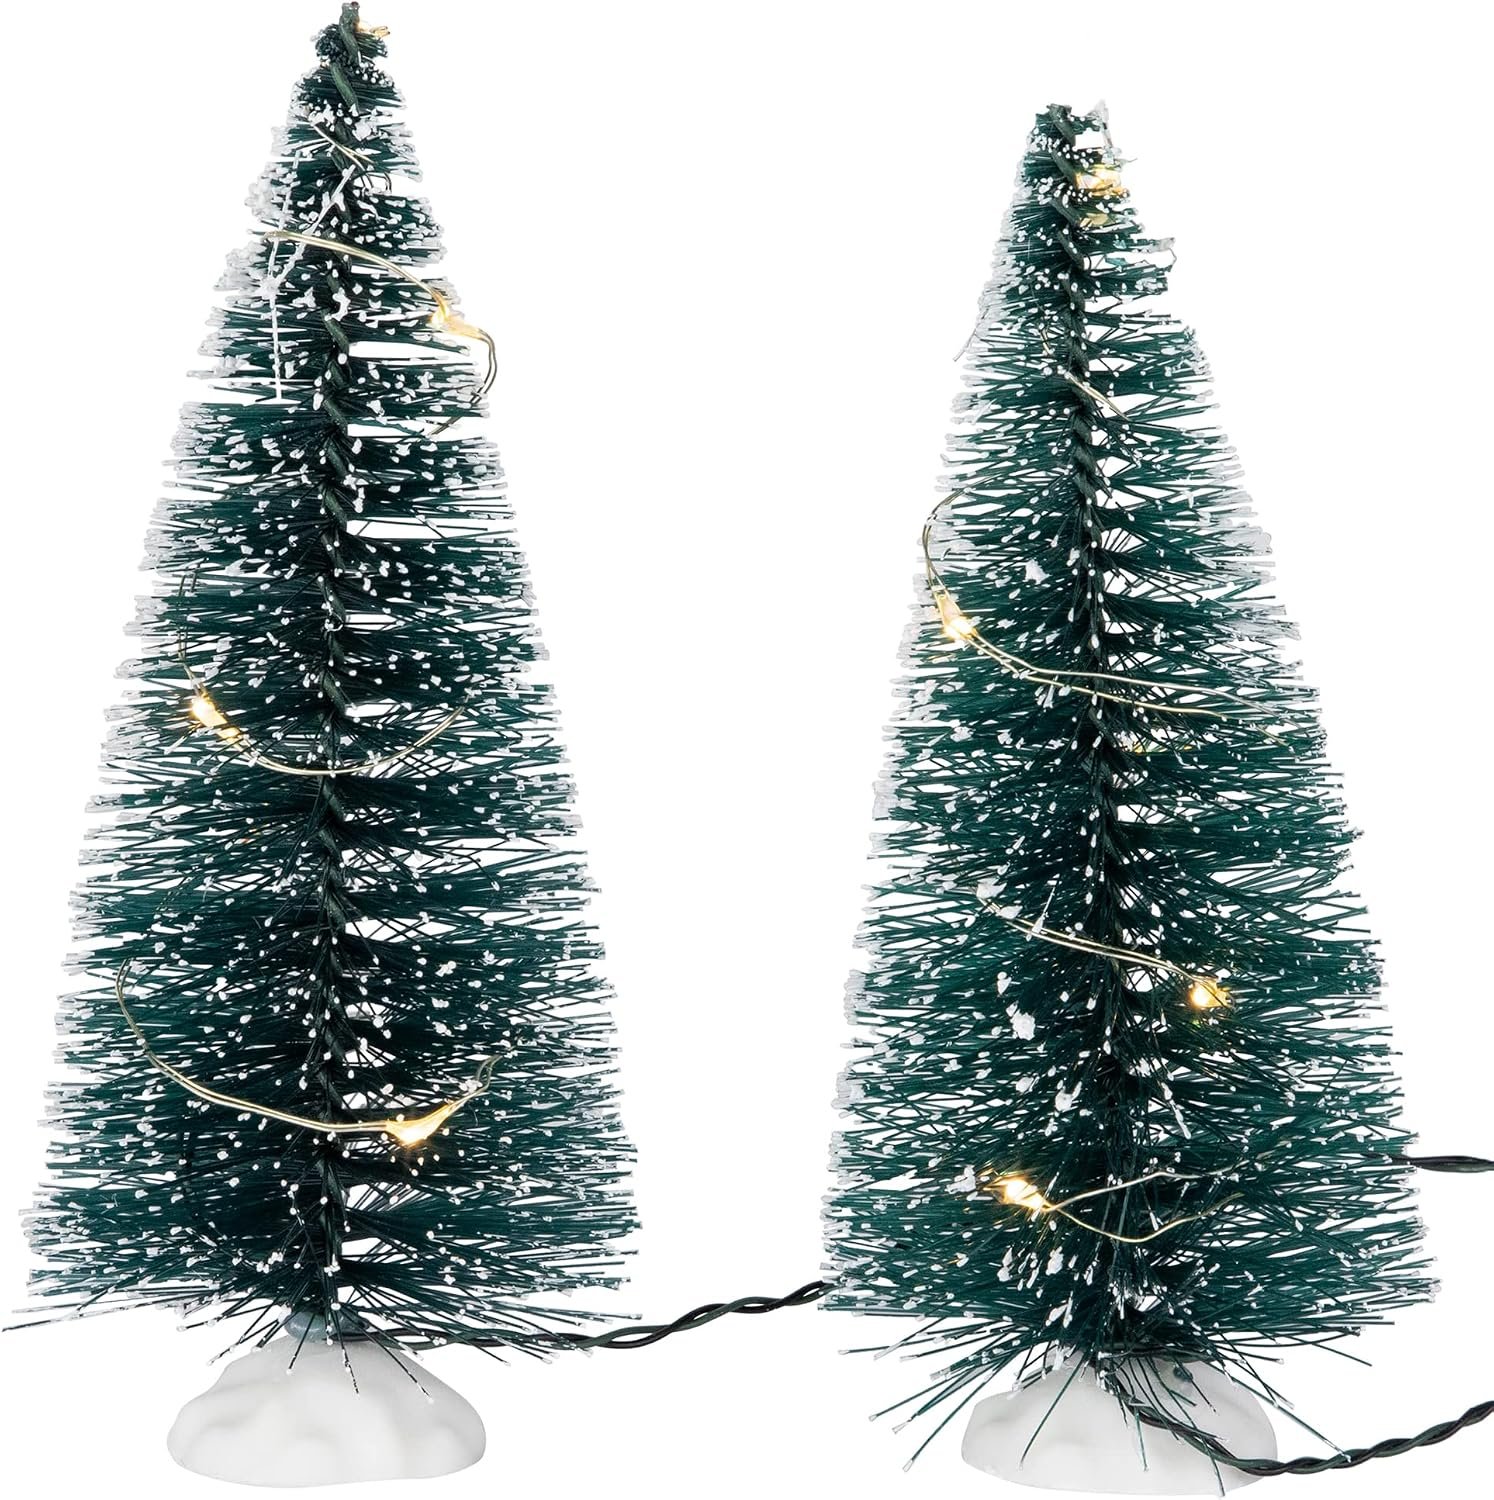
Bake and build the houses a week ahead, using stiff royal icing as glue. Line them up along a linen runner between frosted bottle brush trees and add a dusting of fake snow.
Keep them away from steam and humidity, which soften the walls. Treat them as decor, not dessert.


25Gingerbread House on Cotton Snow
A bed of faux snow gives a small scene a frame. Spread quilt batting or polyester fill in a rimmed tray, set the house in it and add small trees and berry stems.
Both materials are flammable, so keep candles at least a foot away.

26Candy Cane Vase
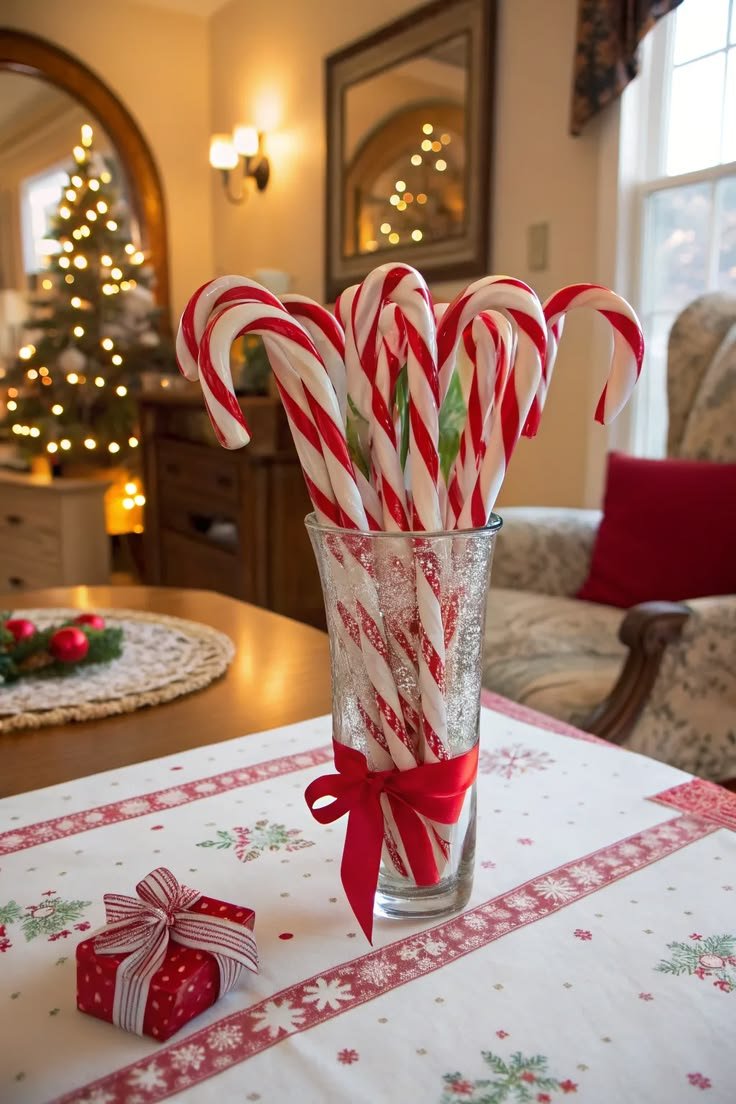
Fill a tall glass vase with candy canes, hooks up, and tie a wide red ribbon around it. It takes five minutes and costs almost nothing.
Buy individually wrapped canes to avoid stickiness in humid rooms, and put a few spares or marbles at the bottom for weight.
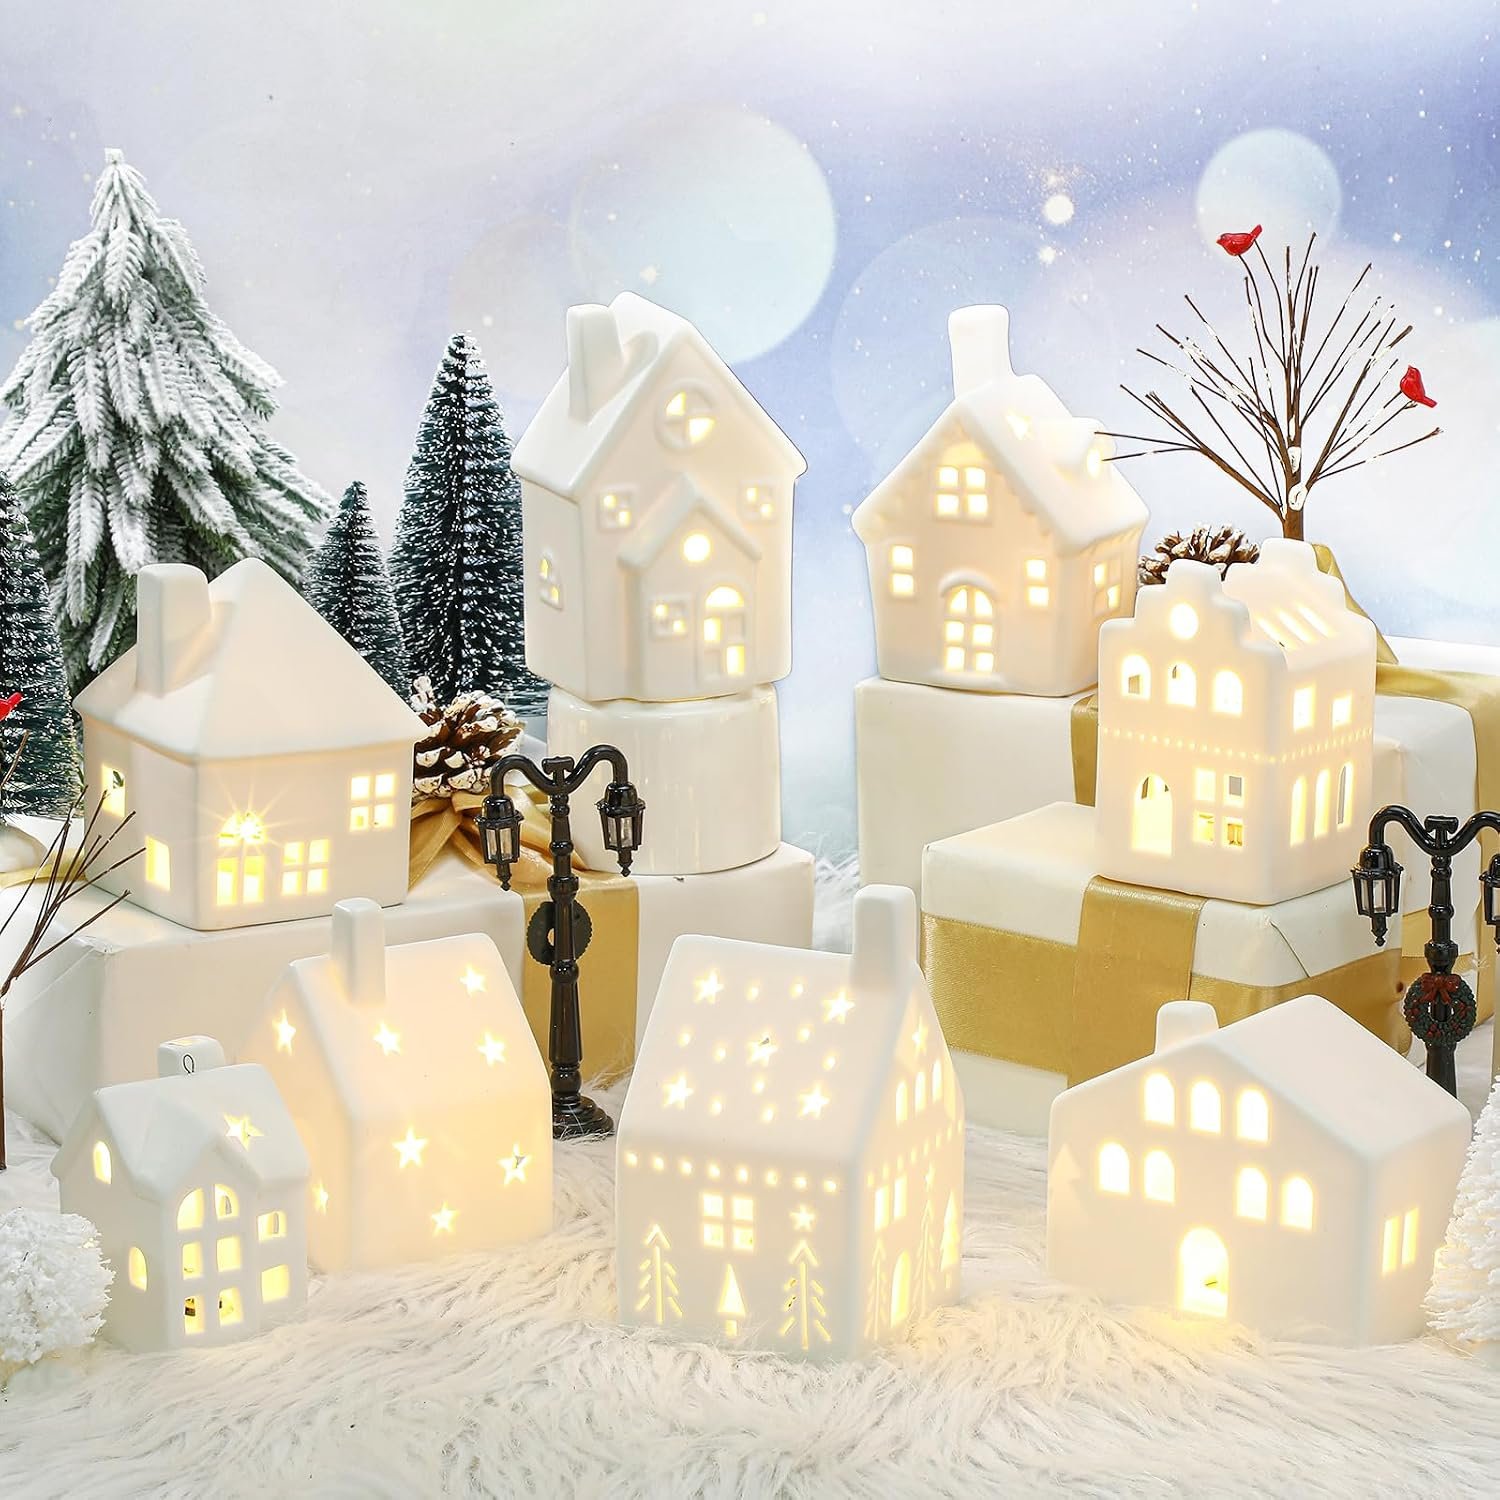
27Christmas Village Under a Glass Cloche
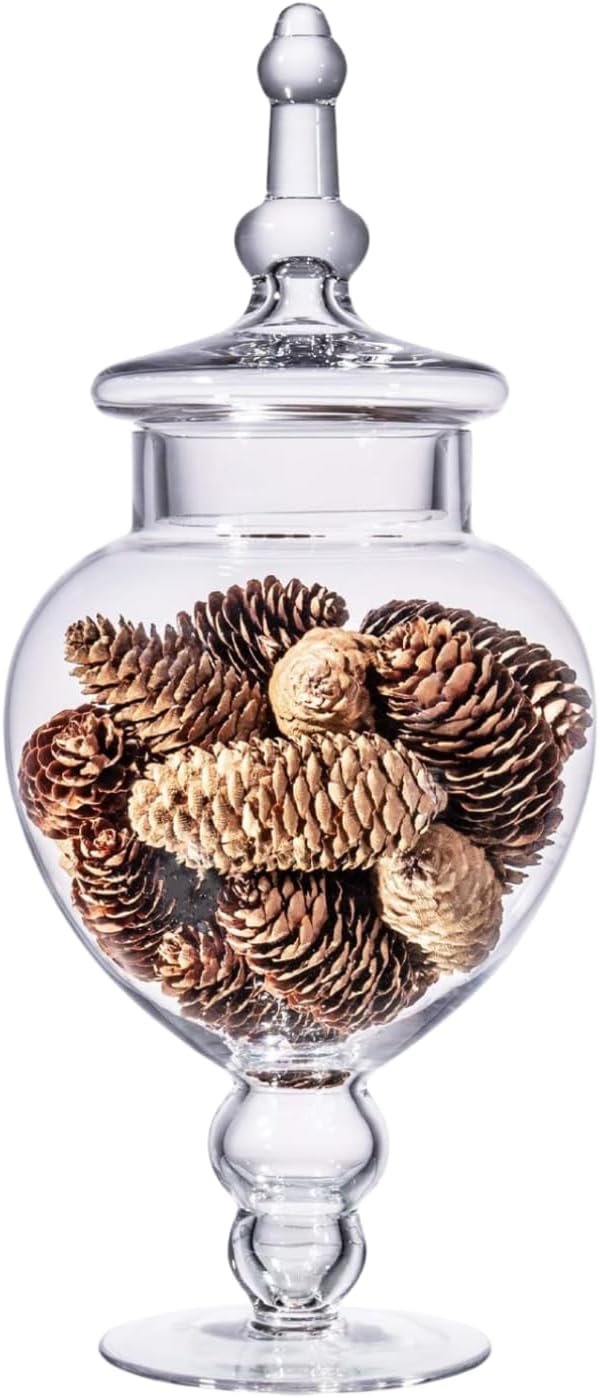
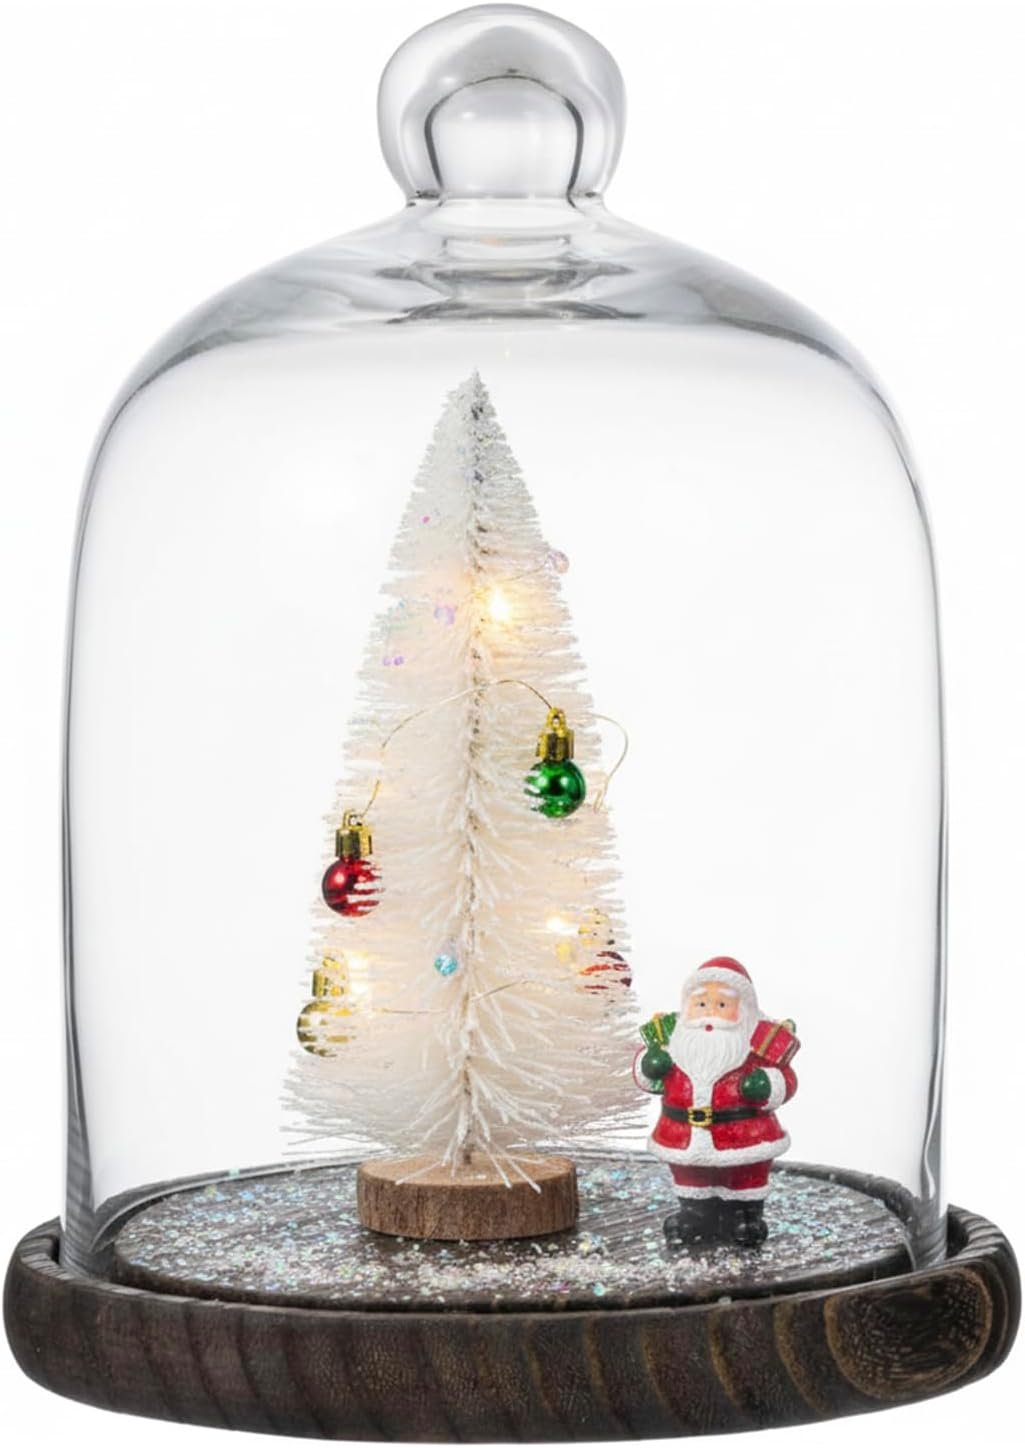
A cloche keeps a miniature village safe from dust and curious hands. Cluster the houses with bottle brush trees and a little faux snow on a wooden base.
Keep the whole display around 12 to 14 inches tall so guests can see around it, and lift the dome by its knob with two hands.

28Group of Glass Cloches
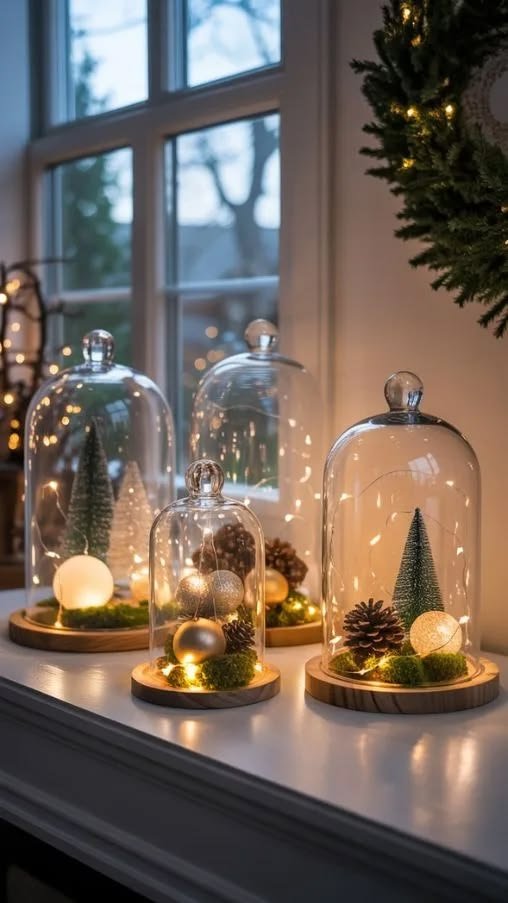
Three cloches of different sizes look better than one big one. Fill each with a small tree, pinecones, a glowing orb or moss.
Use battery micro lights with a timer, since a cord won't fit under the dome. Group them on a windowsill or console in odd numbers.
Common Mistakes (and Fixes)
- Mistake: Using scented candles on a dining table. Fix: Pick unscented candles so the fragrance doesn't fight with the food.
- Mistake: Building the centerpiece tall enough to block faces. Fix: Keep it under 12 inches, or lift the flowers above 30 inches on thin stems.
- Mistake: Making it so wide that platters have nowhere to go. Fix: Hold the centerpiece to about a third of the table width.
- Mistake: Placing real flames next to dry greenery. Fix: Keep a 12-inch gap, or switch to flameless candles near anything natural.
- Mistake: Setting items straight on the tabletop. Fix: Put them on a tray, runner or board so the arrangement has a clear edge.
Pick One and Finish It Early
Twenty-eight centerpieces is far more than one table needs. Choose a style, build it a few days ahead, and leave only the candles and the food for the day itself.
A centerpiece that's done early is the one that actually looks good on Christmas, because nobody is gluing a twig while the guests arrive.
Filed under