
Wrapping paper does most of the work, but the finish decides how a gift looks. A good pattern with a sloppy seam looks cheap, and plain kraft with the right ribbon looks like a boutique.
I gathered 24 wrapping ideas, from classic red and green to kraft, folk prints and soft pinks, and added the small techniques that make each one look neat.
Read the five rules first, then pick a color story for the whole pile.
Five Rules for Gifts That Look Wrapped by a Pro
- Cut the paper to fit with a two-inch overlap. Extra paper makes bulky corners, and too little leaves a gap.
- Put double-sided tape on the seam. It hides the tape and gives you a straight line.
- Crease the edges with a ruler. A sharp fold is what makes a box look tailored.
- Mix patterns by changing the scale, not the color. One stripe, one small print and one large print in the same palette look planned.
- Let the ribbon do one job. A busy paper wants a plain ribbon, and a plain paper can take a bold one.
Classic Red, Green and Gold
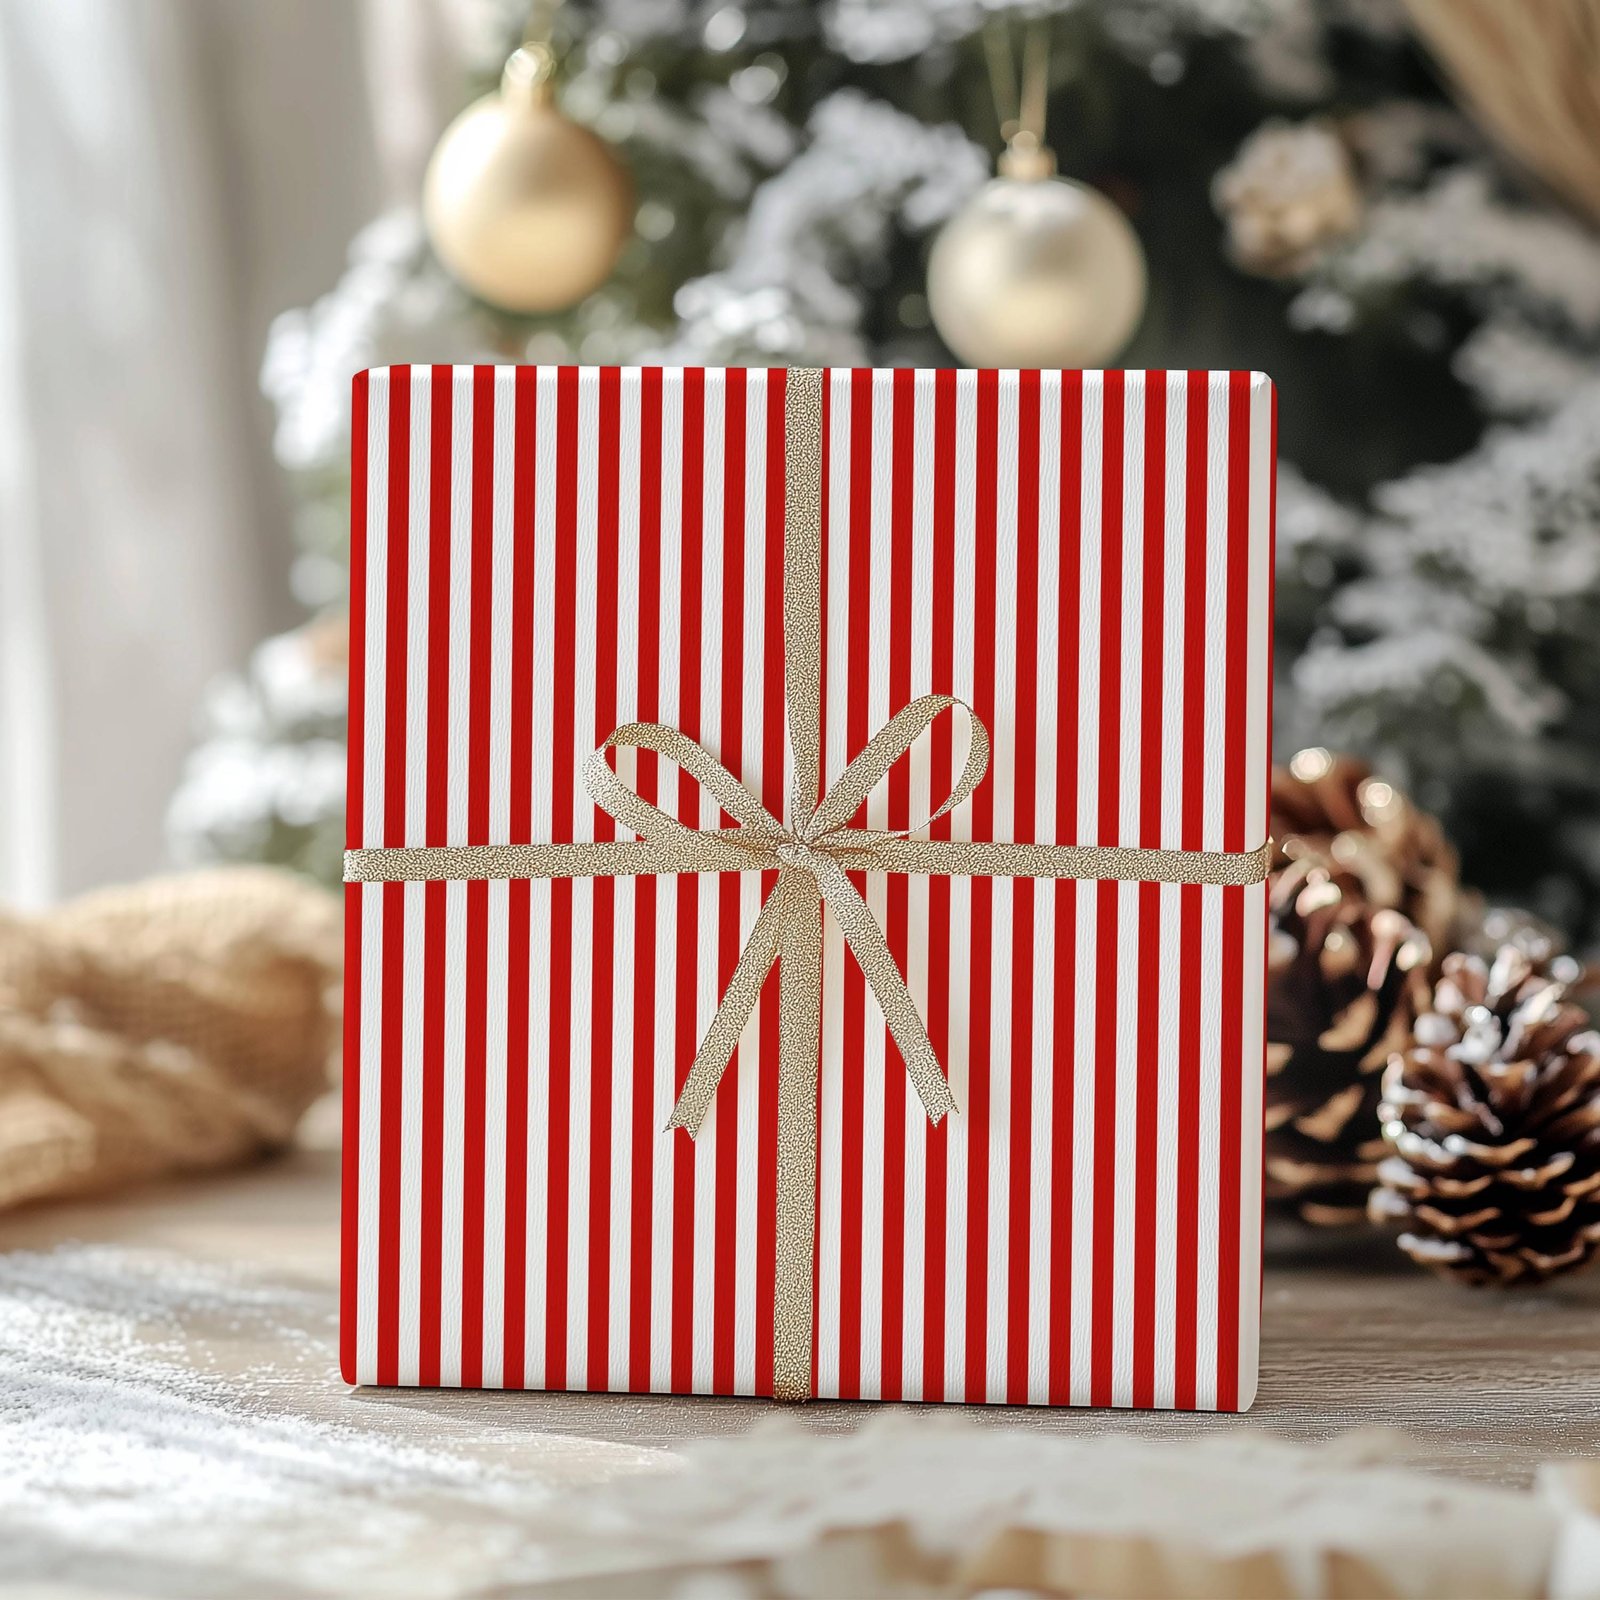
01Candy Stripe Paper with a Thin Gold Ribbon
Stripes show every crooked fold, so save them for boxes with clean edges. Run the stripes the same direction on every side, and line them up with a ruler where the paper meets.
Keep the ribbon thin and metallic. A wide ribbon competes with the pattern.
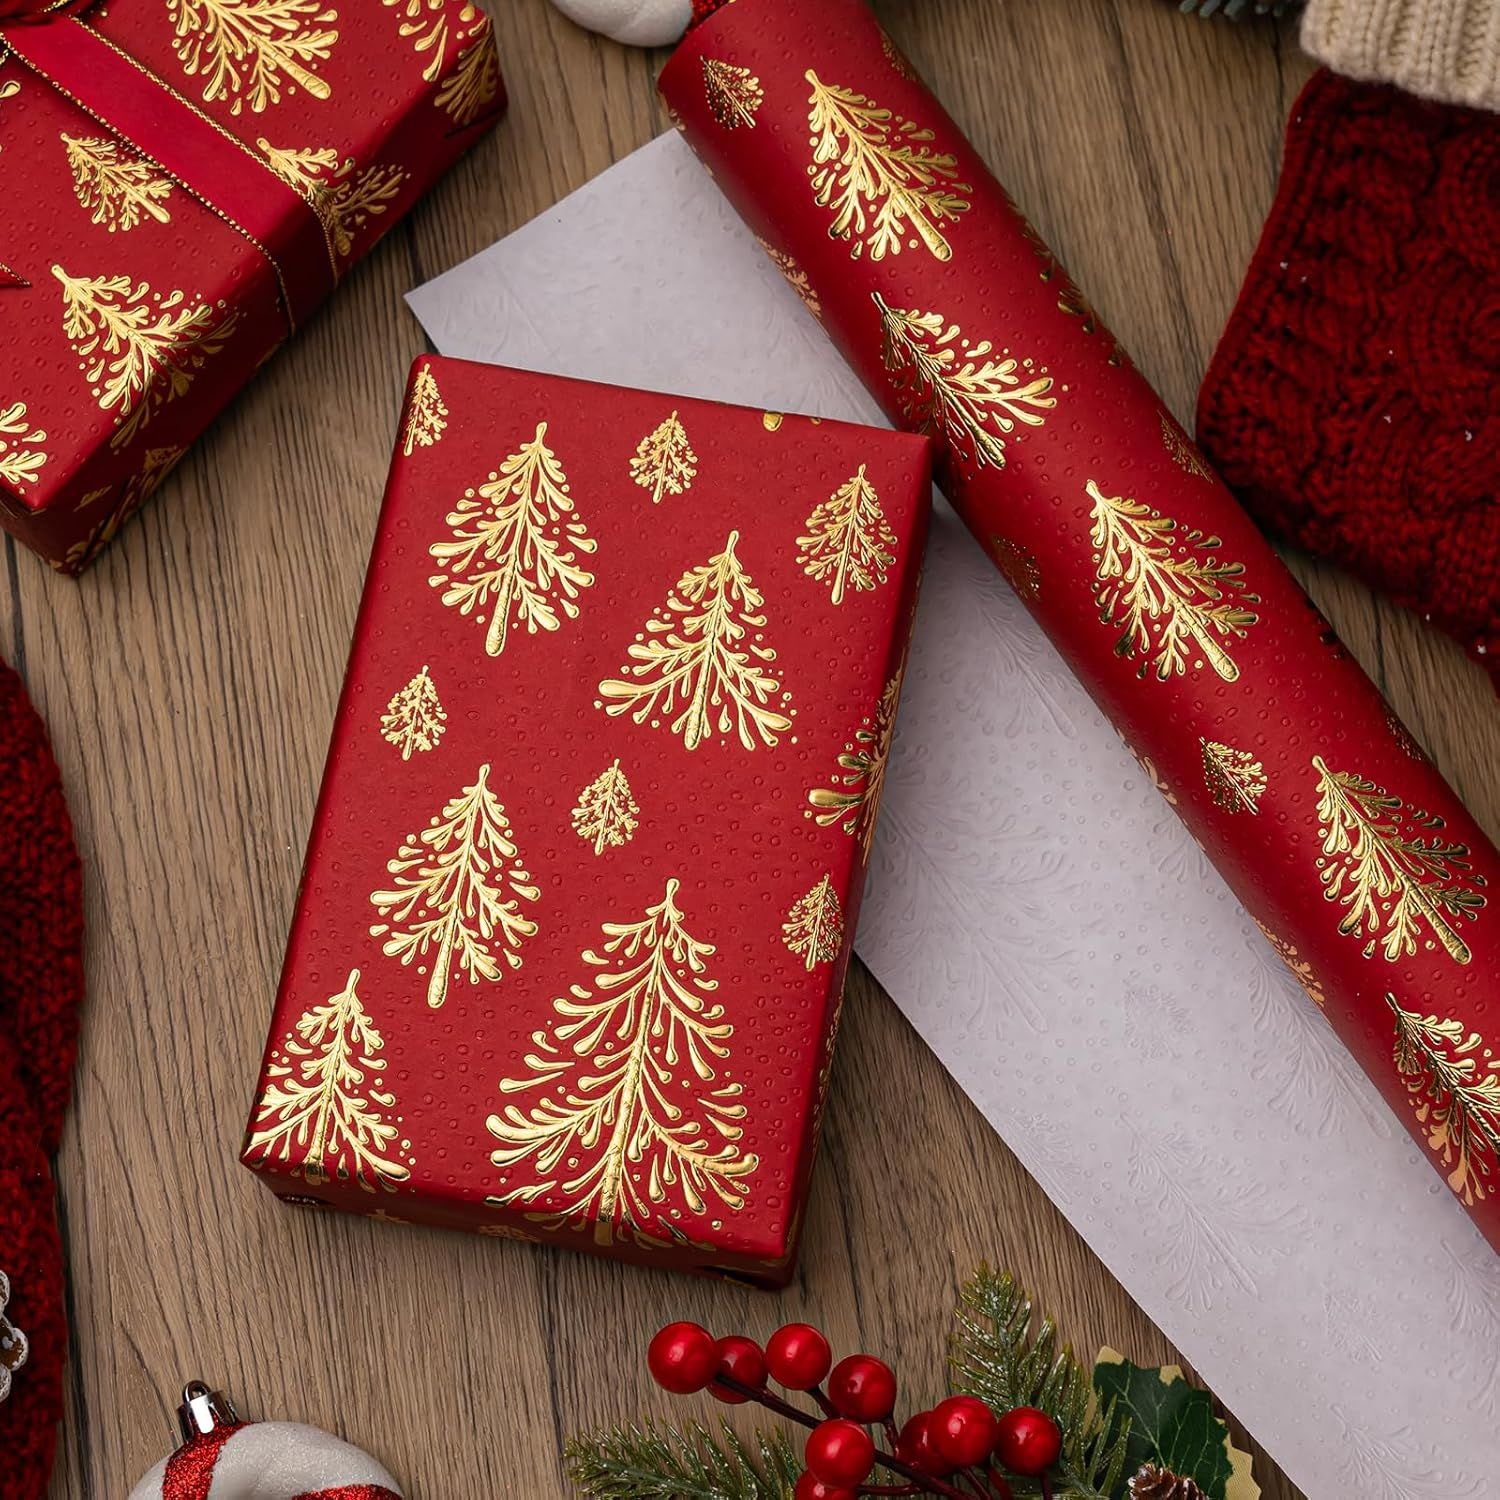
02Red Foil Tree Paper
Foil-stamped paper is already dressed up, so skip the big bow. A simple cross of plain ribbon is enough.
Foil cracks if you crease it hard, so fold lightly and use double-sided tape for the seam.
03Green Tartan Paper with Satin Ribbon
Plaid hides small mistakes because the lines distract the eye, but only if you match them to the box edges. Cut along a line of the pattern for a straight fold.
A satin ribbon in the same green looks rich. A cream ribbon looks lighter and more modern.

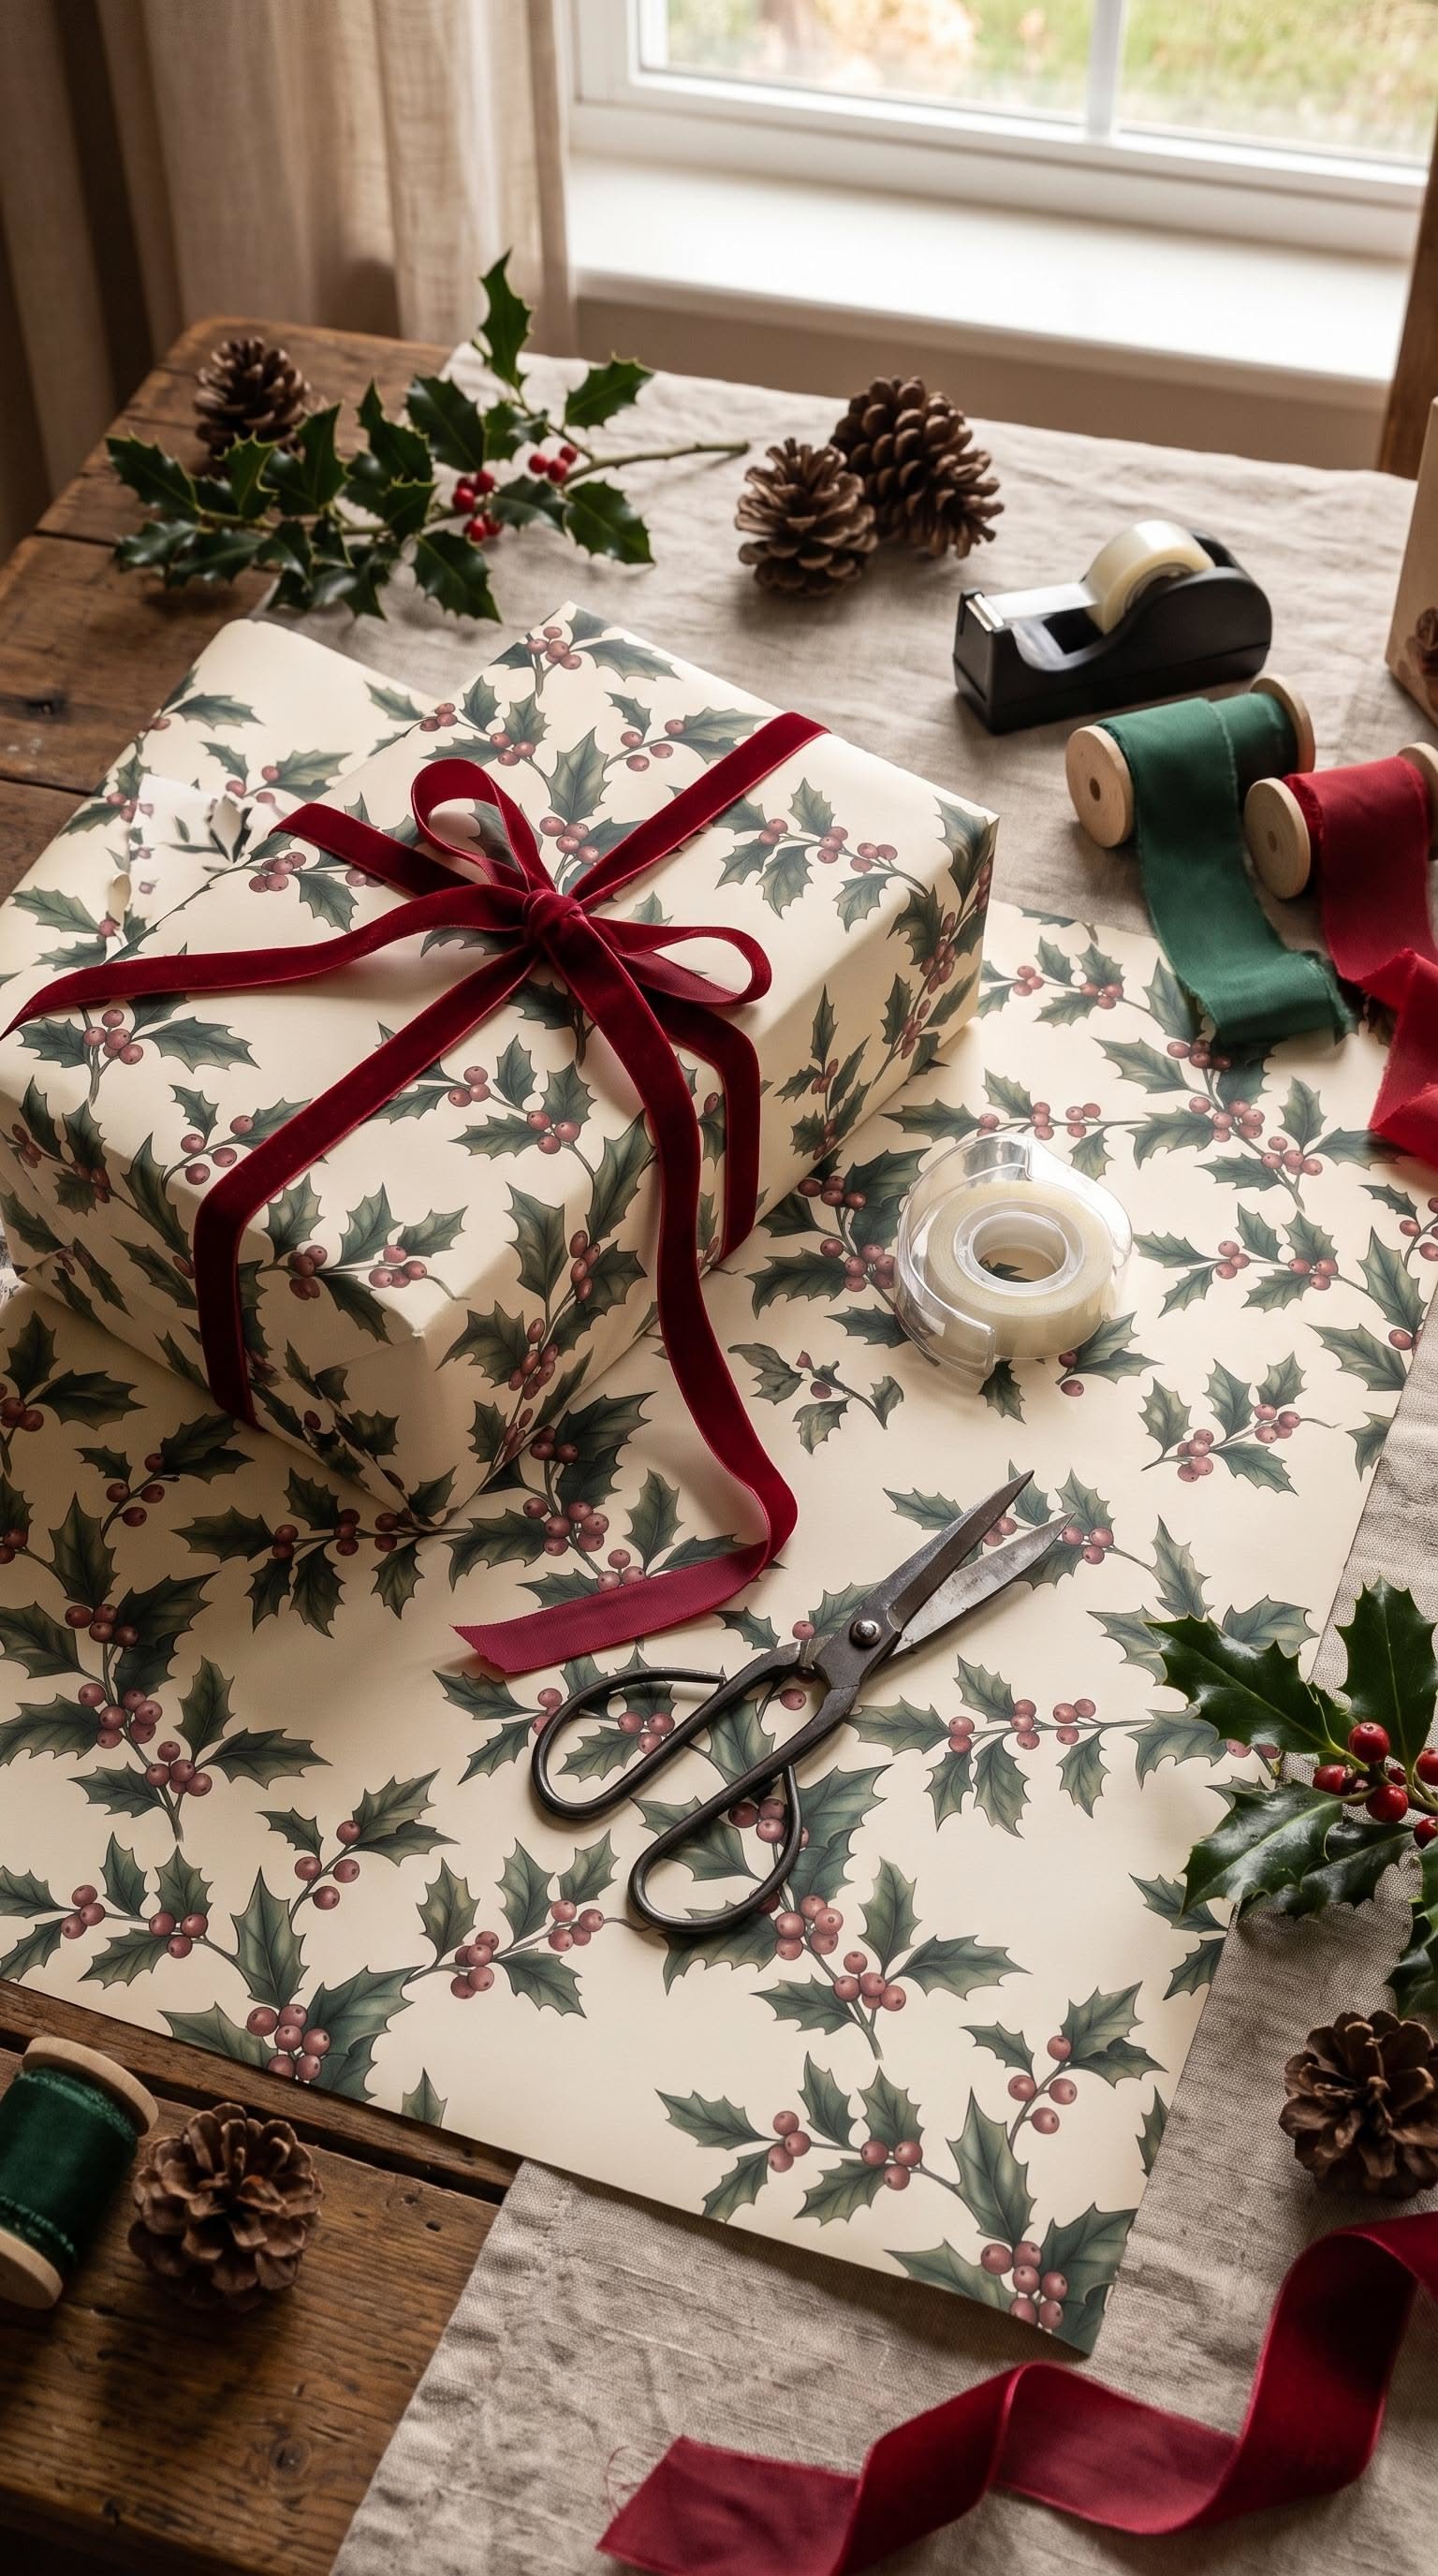
04Holly Print with Dark Green Velvet
A busy print needs a calm ribbon. Dark green velvet about one and a half inches wide ties a holly pattern together without adding more color.
Cut the ribbon ends in a V so they don't fray and hang evenly.

05A Wrapping Table Set Up in Advance
Wrapping goes twice as fast when everything is in one spot. Set out scissors, double-sided tape, ribbon, tags and a ruler on a tray before you start.
Wrap in batches: all the big boxes in one paper, then the small ones in the next. Every time you change paper you lose five minutes.
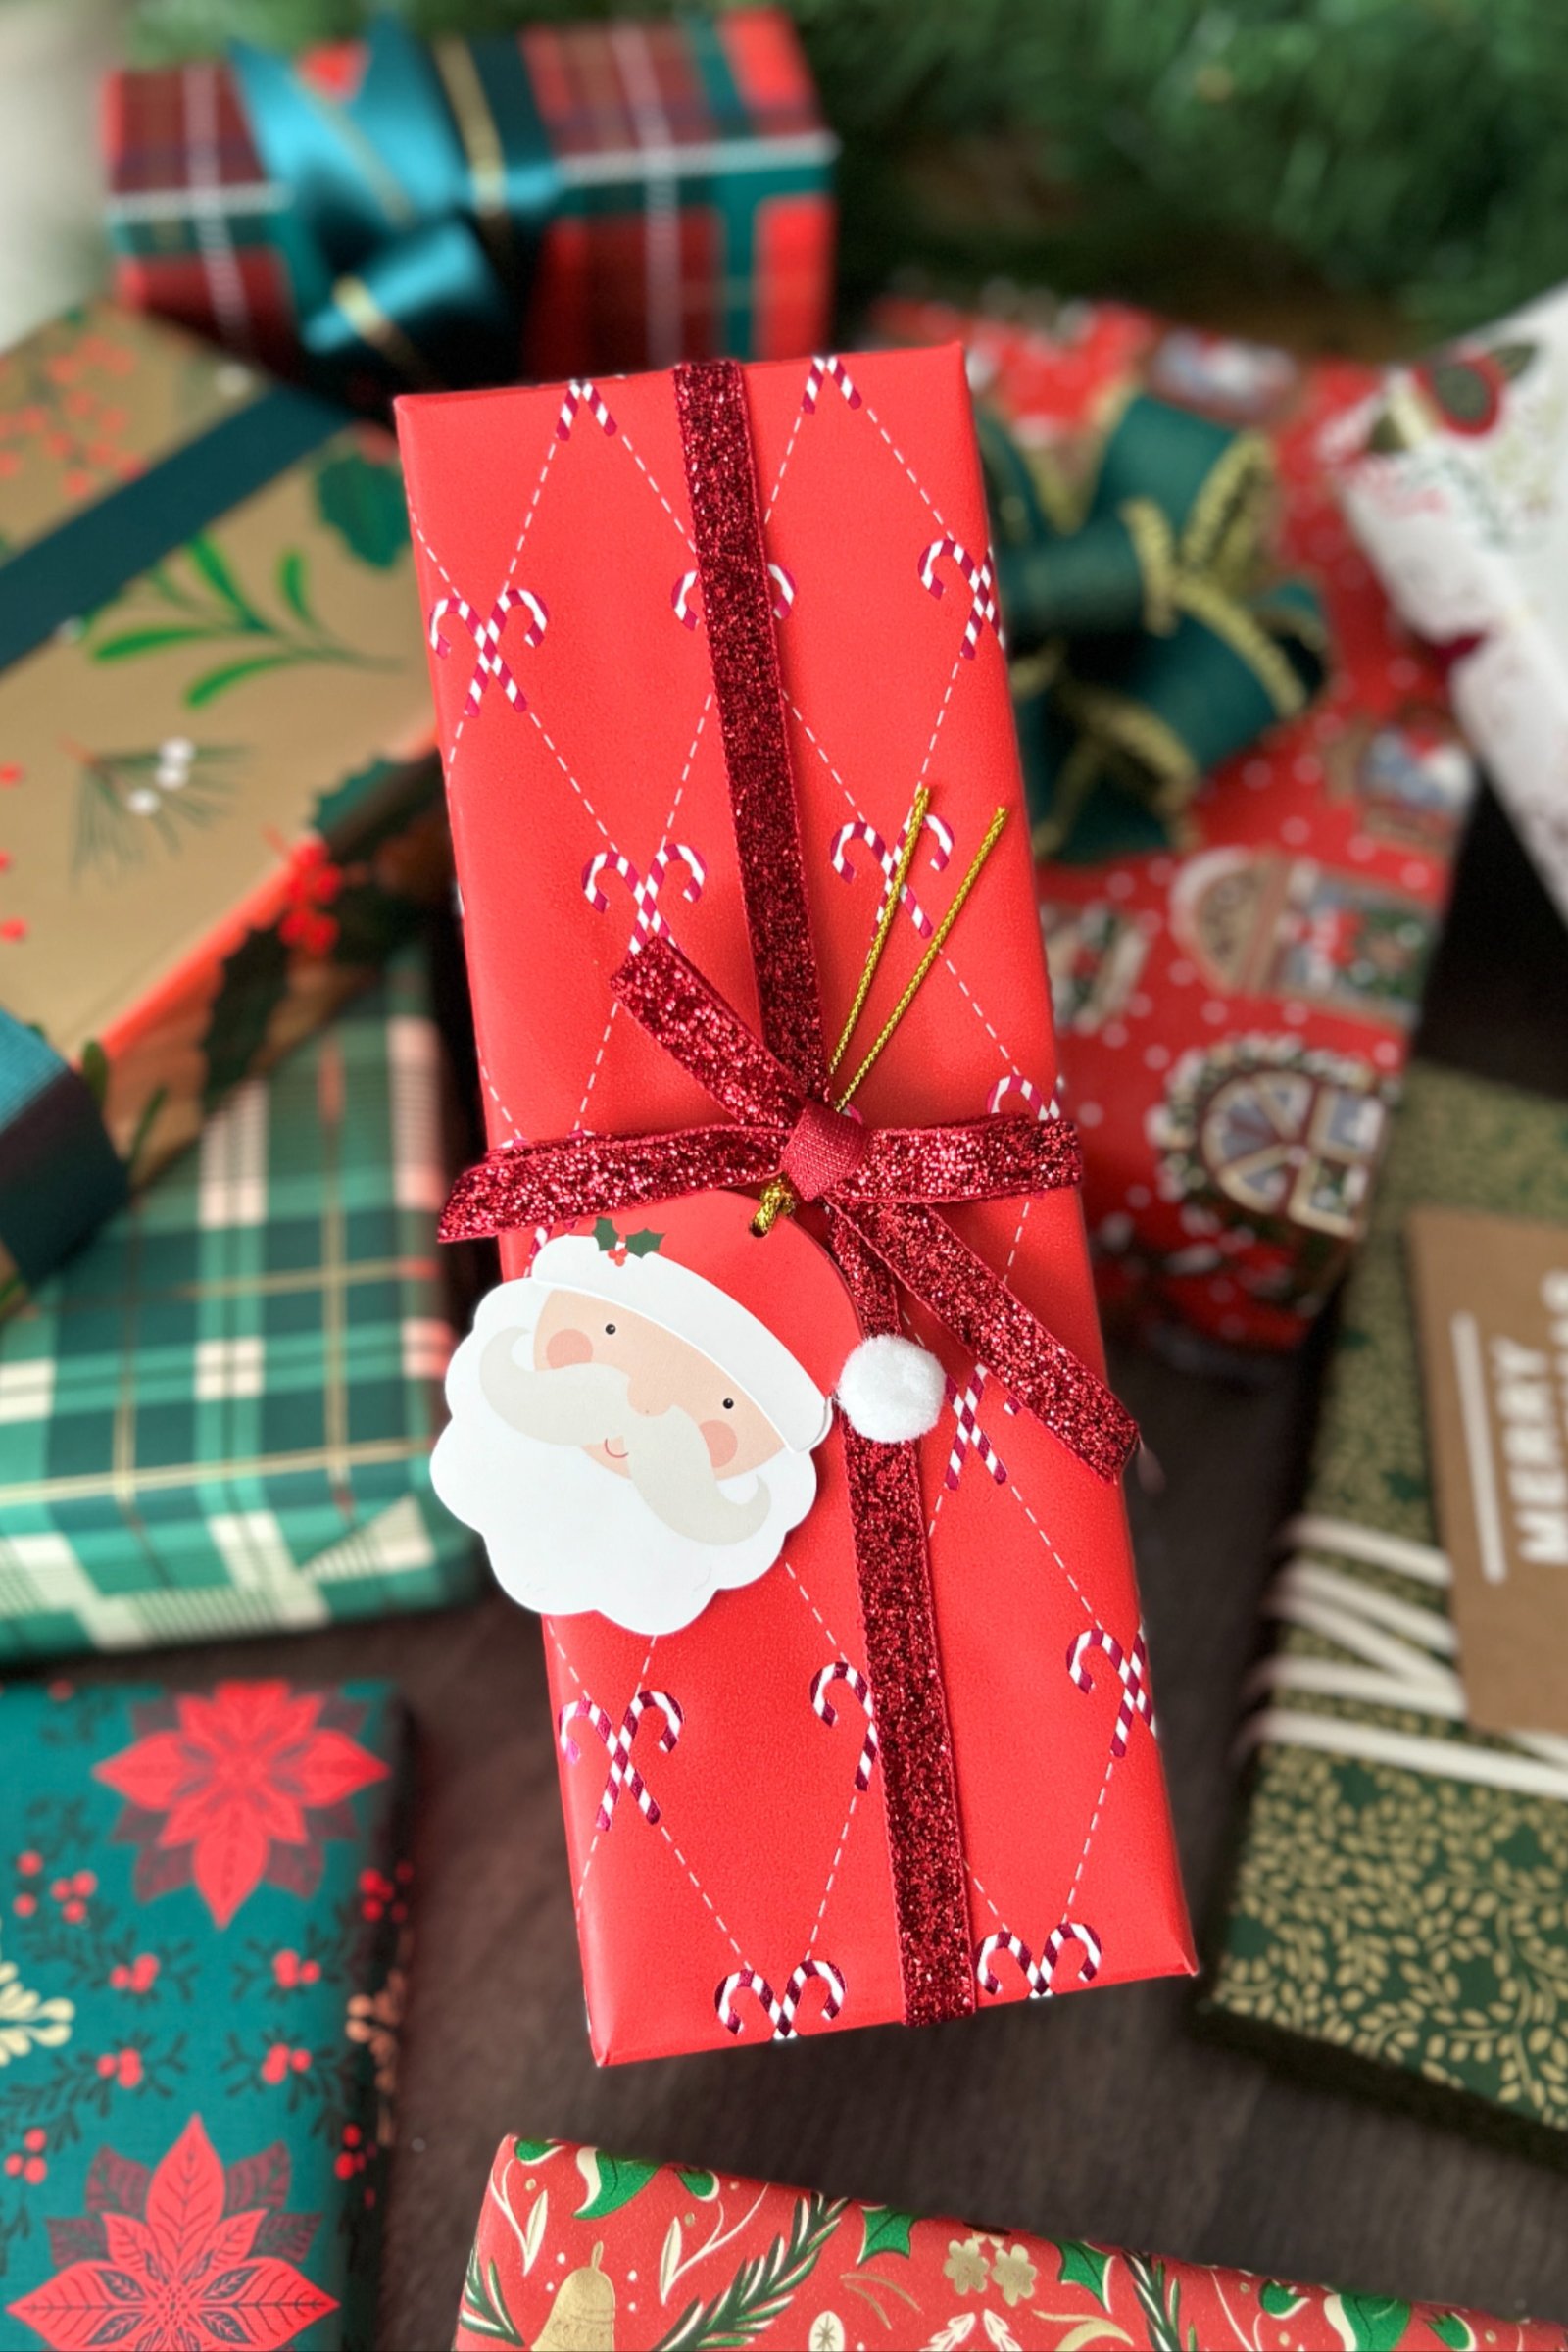
06Retro Candy Cane Paper with a Santa Tag
Bold retro prints need a restrained finish. One glitter ribbon and a single tag are enough.
Pair it with plain red and green gifts in the same pile so the whole stack doesn't compete for attention.
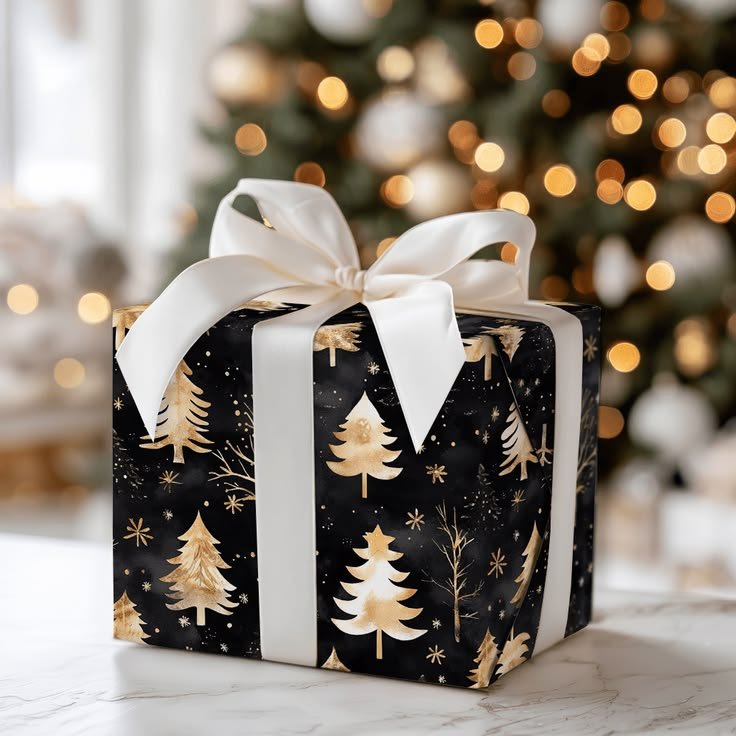
07Black and Gold Tree Paper
Dark paper makes gold look expensive. A wide white satin ribbon gives the contrast that makes the box stand out.
Black paper shows tape and fingerprints, so use double-sided tape and wrap with clean, dry hands.
Blue and Winter Patterns
08Blue Toile with a Navy Ribbon
A single-color toile feels like fine china. Navy ribbon keeps the palette tight, and one ornament tied into the bow replaces a gift tag.
Attach the ornament with a loop of ribbon, not hot glue, so the recipient can hang it later.
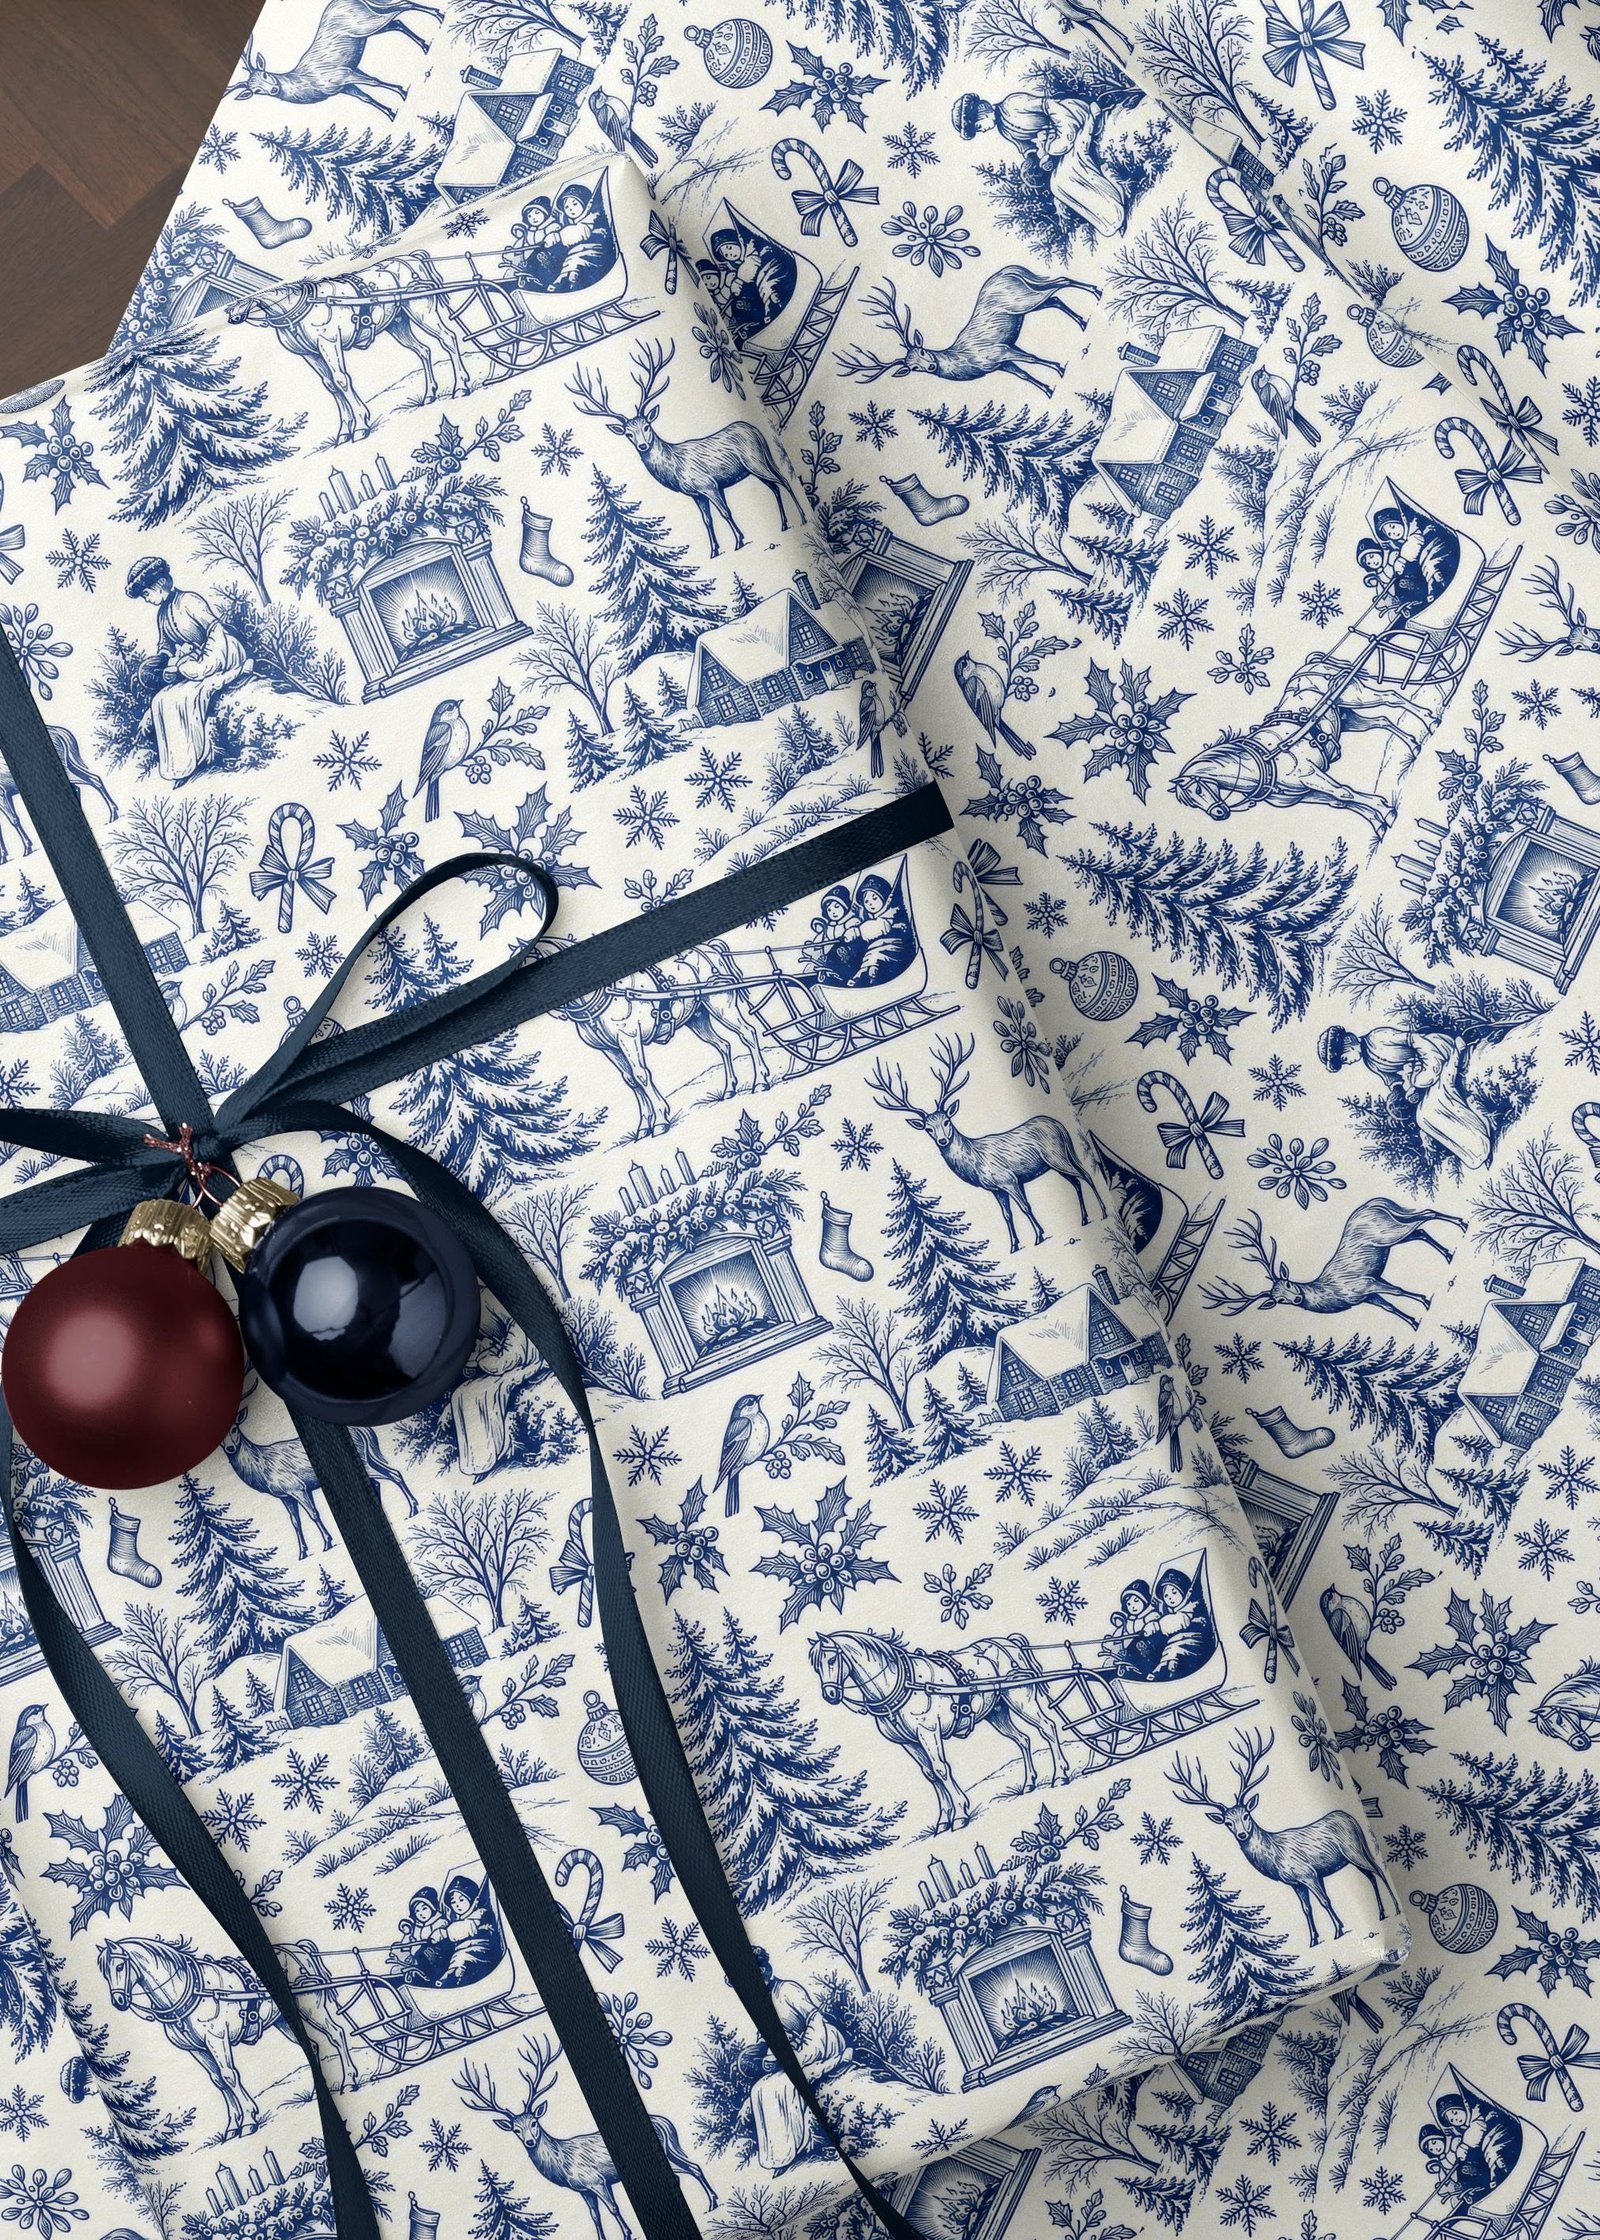
09One Toile Pattern, Several Box Sizes
Wrap a whole pile in one pattern and vary the box sizes. The repetition looks deliberate, and the ribbon color ties everything together.
Add a small tag to each, and keep the bows a similar size so the stack looks balanced.
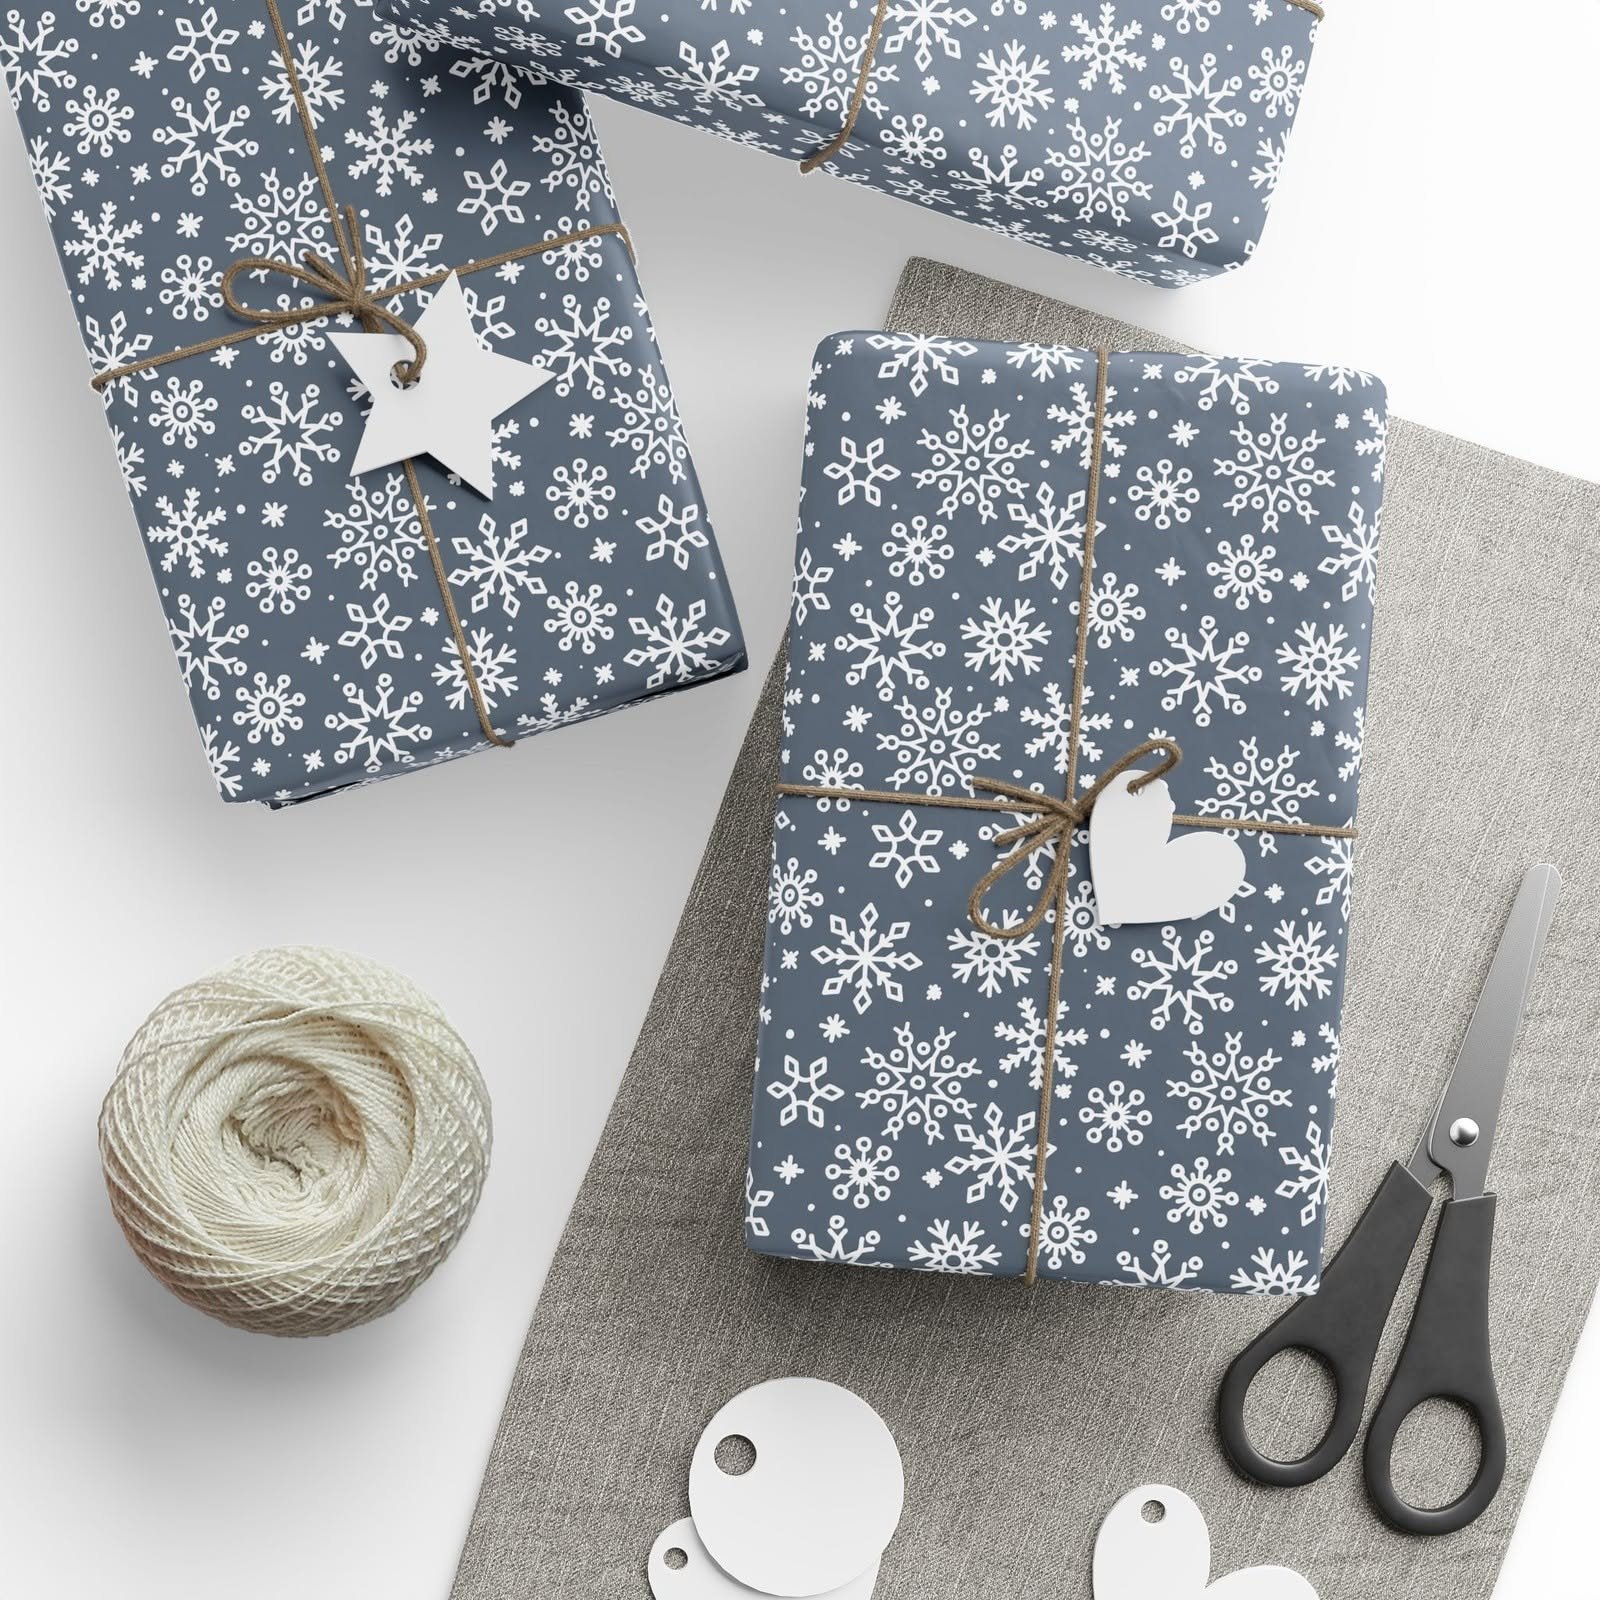
10Snowflake Paper with Star and Heart Tags
White on blue is one of the easiest pairings to coordinate. Add kraft twine and plain white tags and you're done.
Cut tags from cardstock with a punch and write names with a white gel pen so they stay readable.
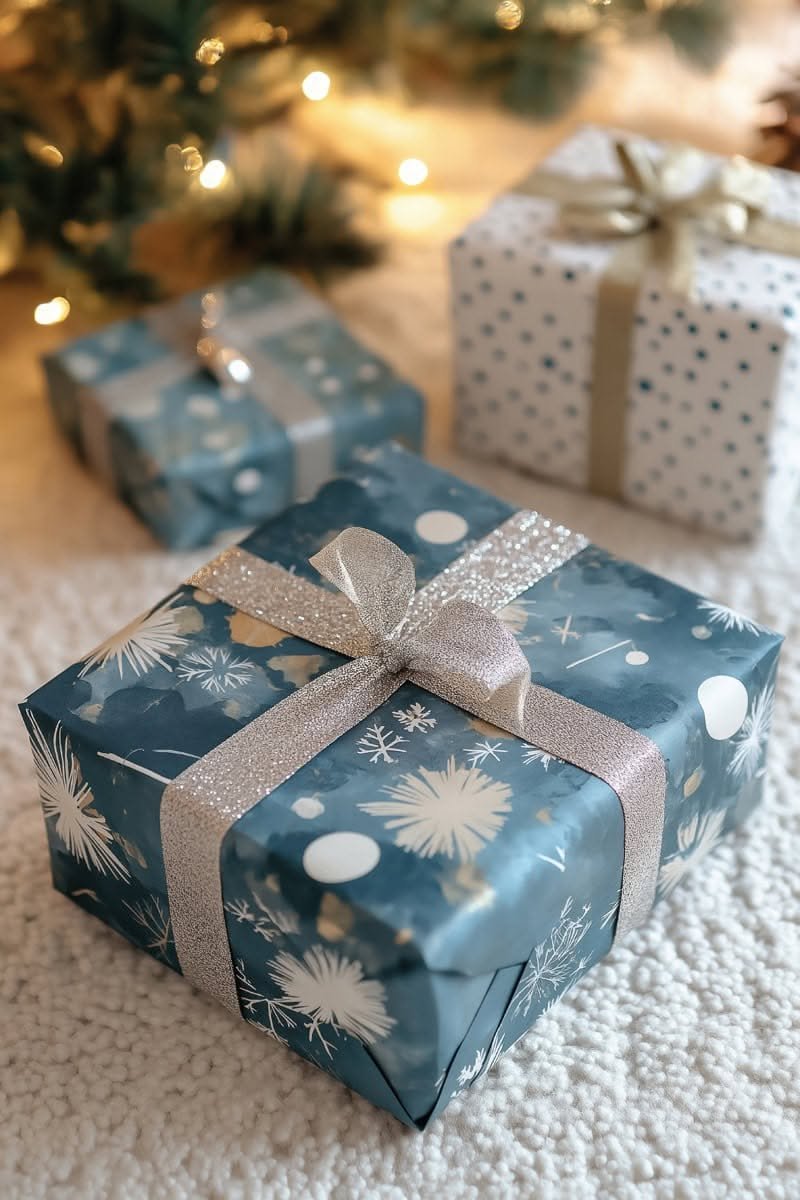
11Blue and Silver Metallic Wrap
Metallic papers catch light, and they also show every fingerprint, so handle them by the edges.
Choose a wired ribbon so the bow keeps its shape. Tape the bow to the box underneath, because glitter ribbon slides.
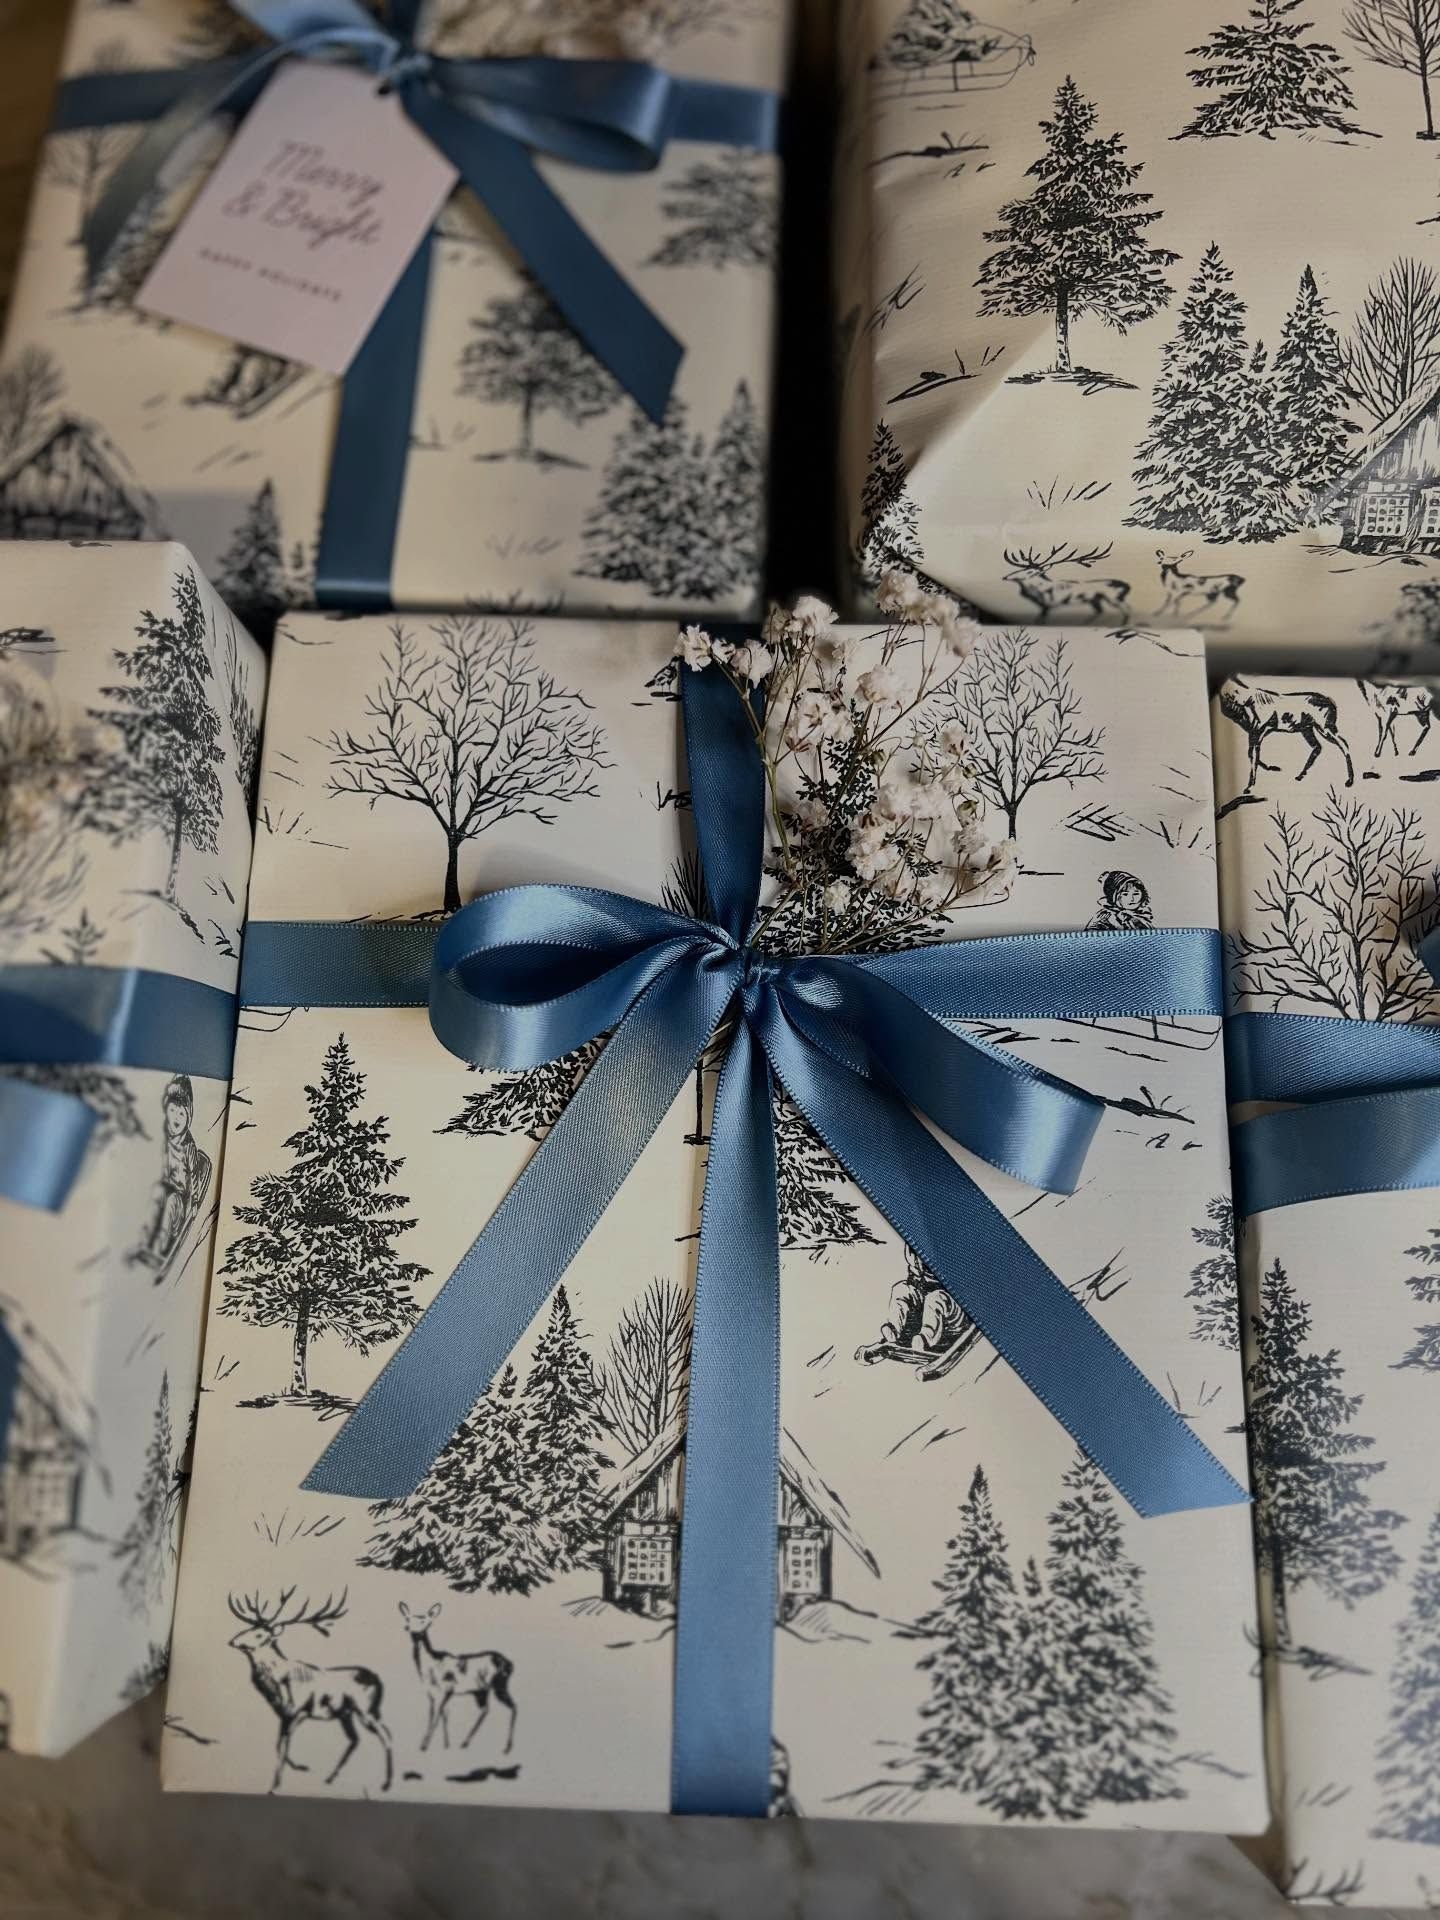
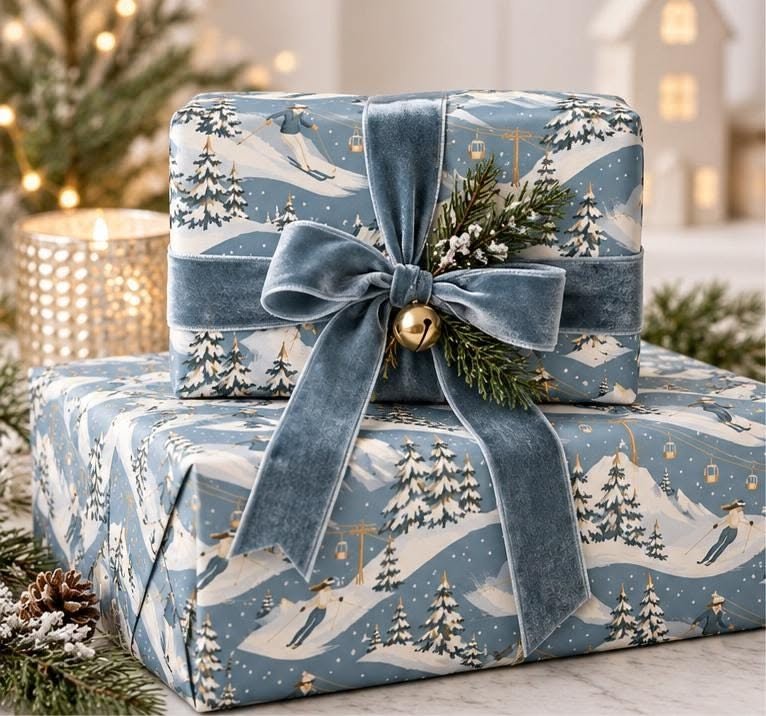
12Ski Scene Paper with a Velvet Bow
A scenic paper tells a story, so keep the decoration light. One velvet ribbon and a sprig of greenery is enough.
Tie a small jingle bell into the bow for sound, and press the bow flat if the gifts will be stacked.
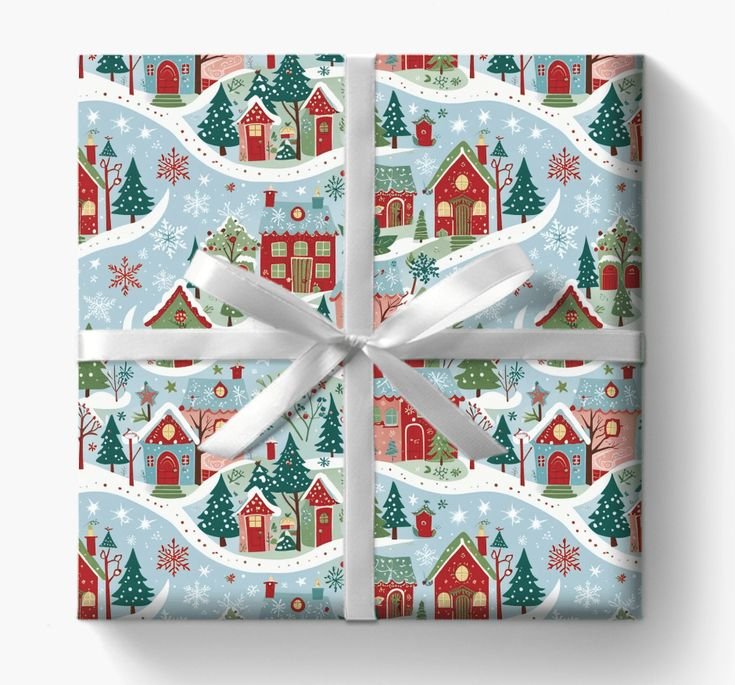
13Village Print for Kids' Gifts
Bright, busy prints suit children's gifts. Use a plain white ribbon so the pattern stays the focus.
Match the print scale to the box. Small boxes look better in small patterns, and big prints work on large gifts.
Scandinavian and Folk Prints
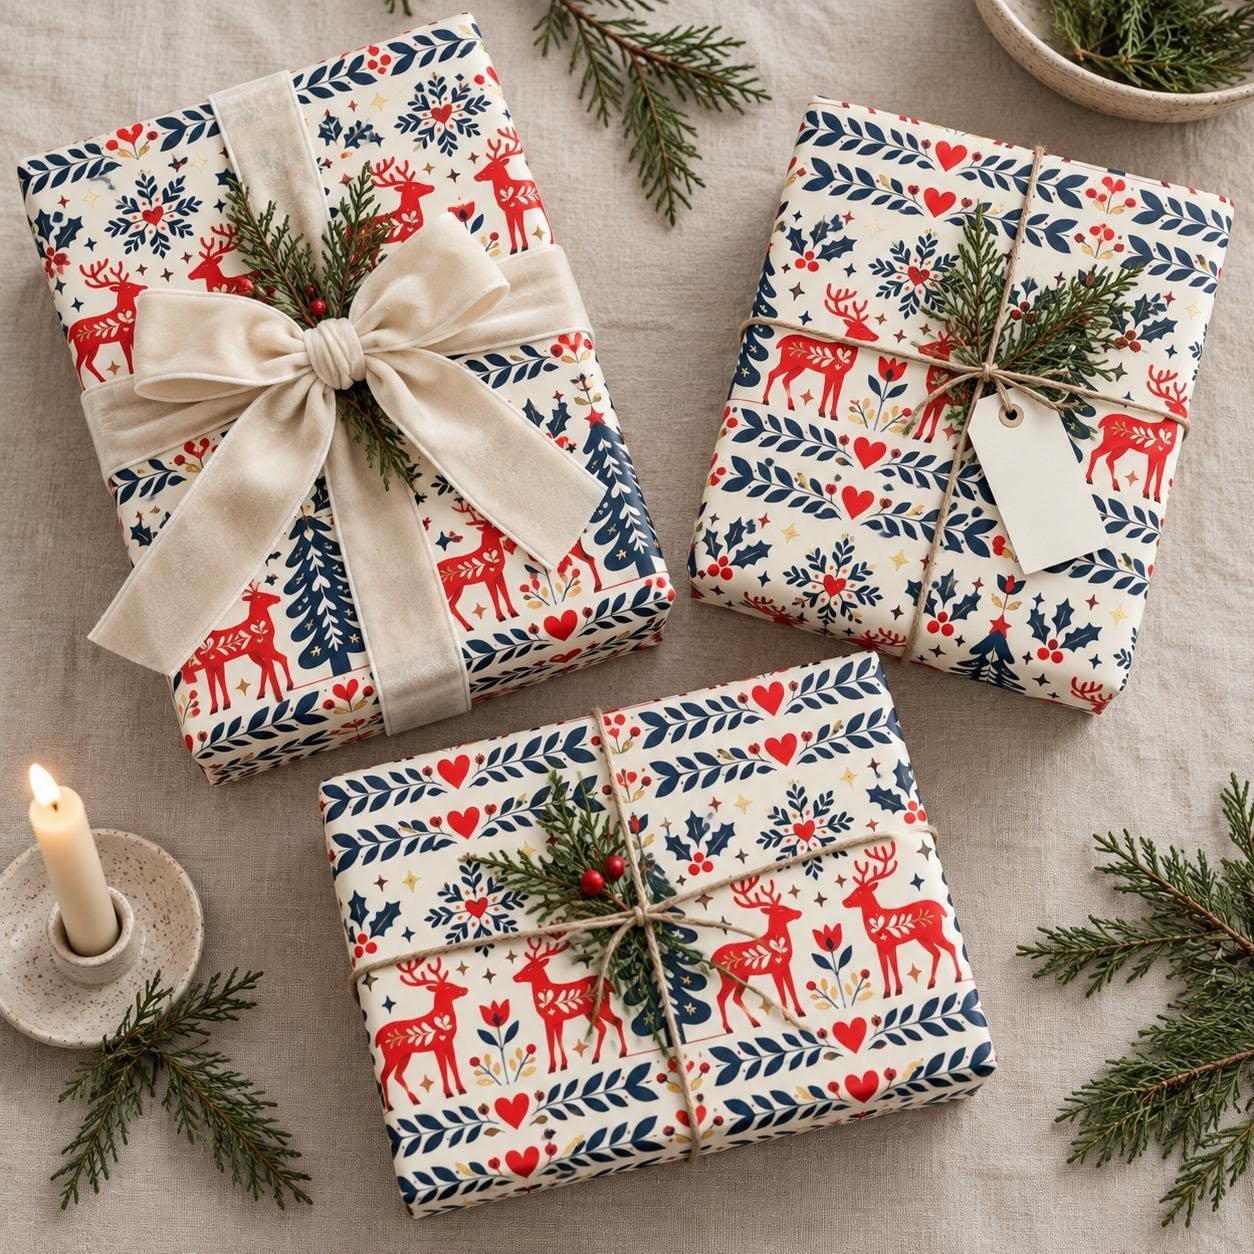
14Scandinavian Reindeer Paper with Cream Velvet
Folk prints are busy, so a neutral ribbon is the secret. Cream velvet ties them together and lets the pattern stay clear.
Fresh greenery looks lovely, but use it only when gifts go under the tree within a day or two. Needles drop as they dry.
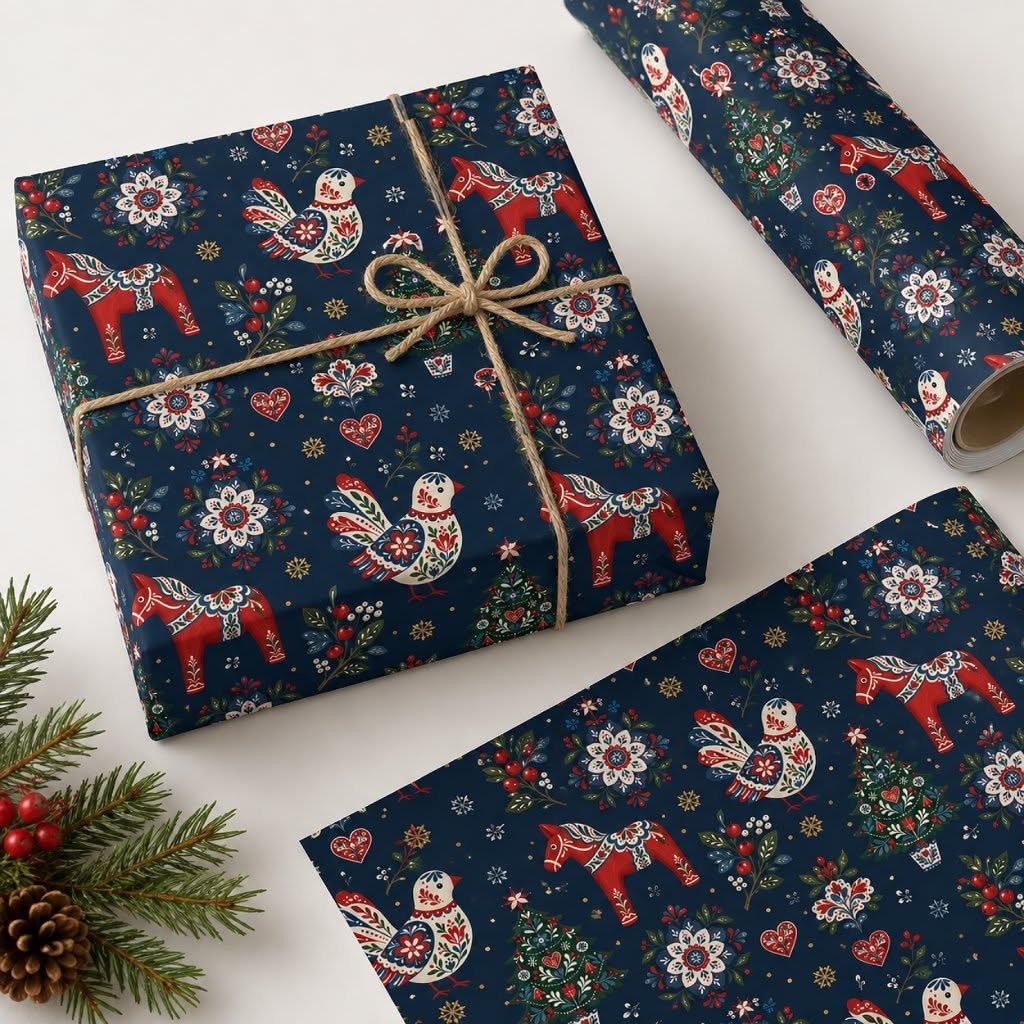
15Navy Folk Paper with Jute Twine
Twine adds texture without adding color, which is why it suits patterned paper. Wrap it twice around the box and tie a small bow on top.
Press a drop of glue under the knot if the twine slips on glossy paper.
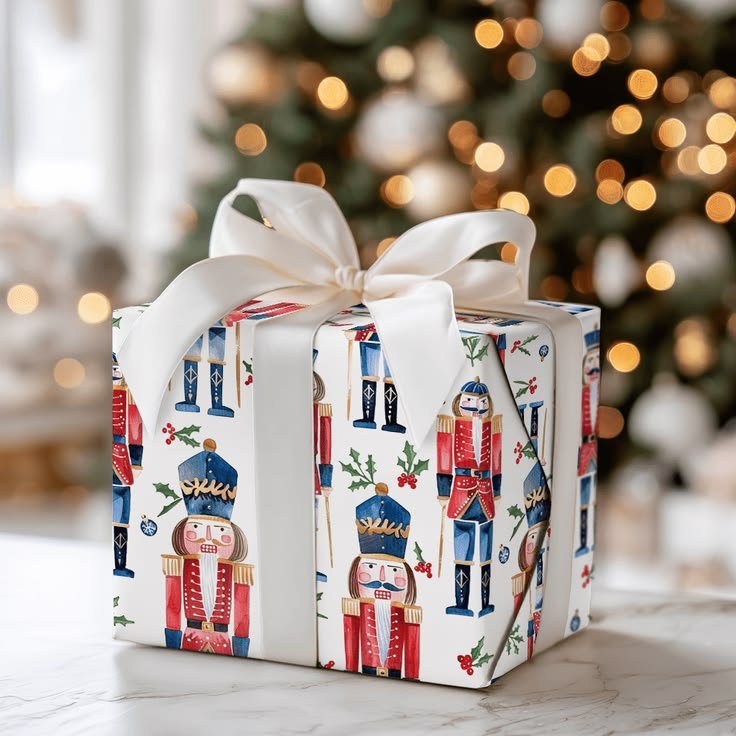
16Nutcracker Paper with a White Satin Bow
Character prints suit children and hostess gifts. A white satin bow adds polish without competing with the figures.
Satin slides, so tape the ribbon under the knot before you tie the bow.
Kraft, Burlap and Natural Wraps
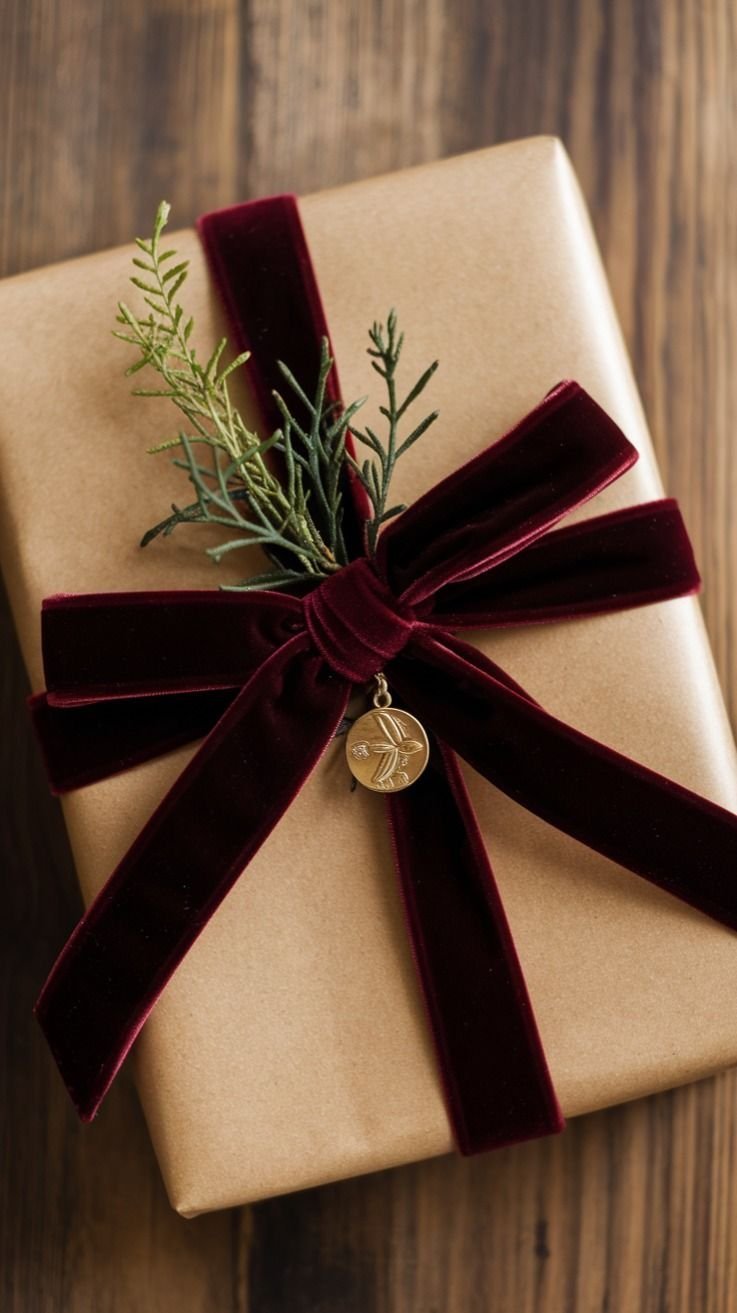
17Kraft Paper with a Velvet Bow
Kraft paper plus one rich ribbon is the classic budget wrap. Choose velvet about one and a half inches wide and tie a double bow.
To measure, wrap the ribbon once around the box in each direction, then add 12 inches for the bow.
18Subtle Tree Paper with Layered Ribbons
Neutral on neutral looks rich when you layer ribbons. Put a wide satin ribbon under a narrow gold one and tie them together.
Keep both ribbons in the same warm tone, and trim the ends at an angle.

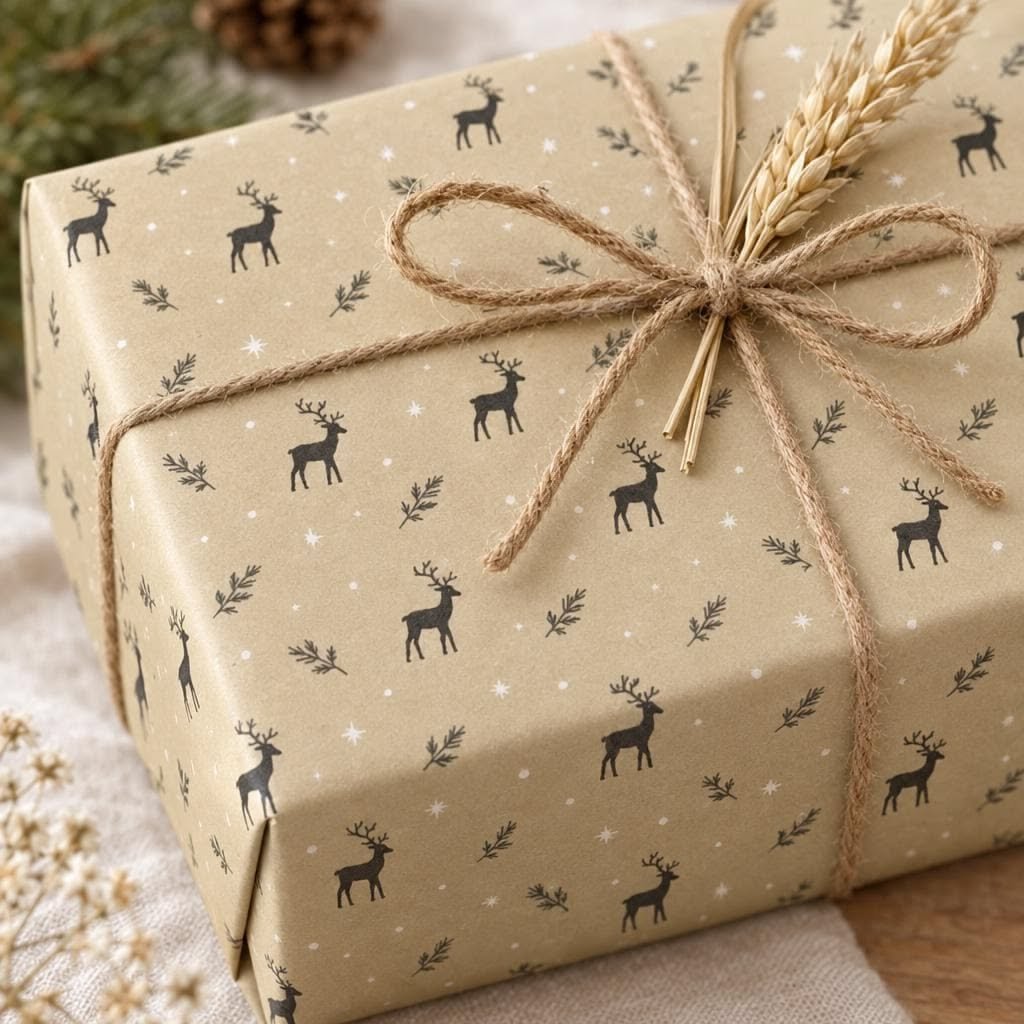
19Reindeer Kraft Paper with Twine and Wheat
Natural touches can replace the bow. Tuck a small bundle of dried wheat or grass under the twine and the box looks styled.
Dried stems shed, so secure them with the knot and wrap gifts close to when you give them.
20Hand-Stamped Kraft Paper
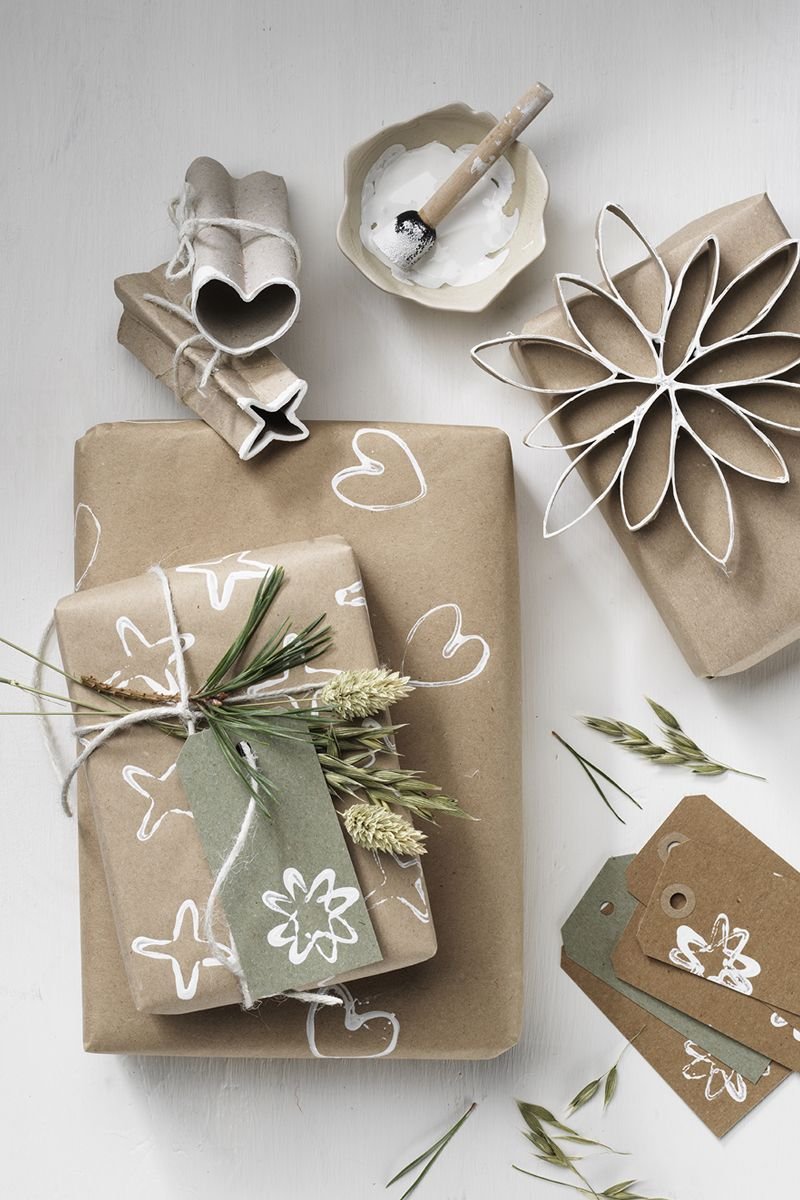
Make your own paper in ten minutes. Pinch a toilet paper roll into a heart or petal, dip it in white acrylic paint and press it onto kraft.
Let the sheets dry for 20 minutes before wrapping, then add a sprig and a kraft tag.
21Burlap Wraps with Orange Ribbon
Burlap sheds and fights creases, so tape the corners from the inside and hold the edges with fabric glue.
Orange ribbon and a pine sprig bring warmth. Use wired ribbon so the bows stay full.

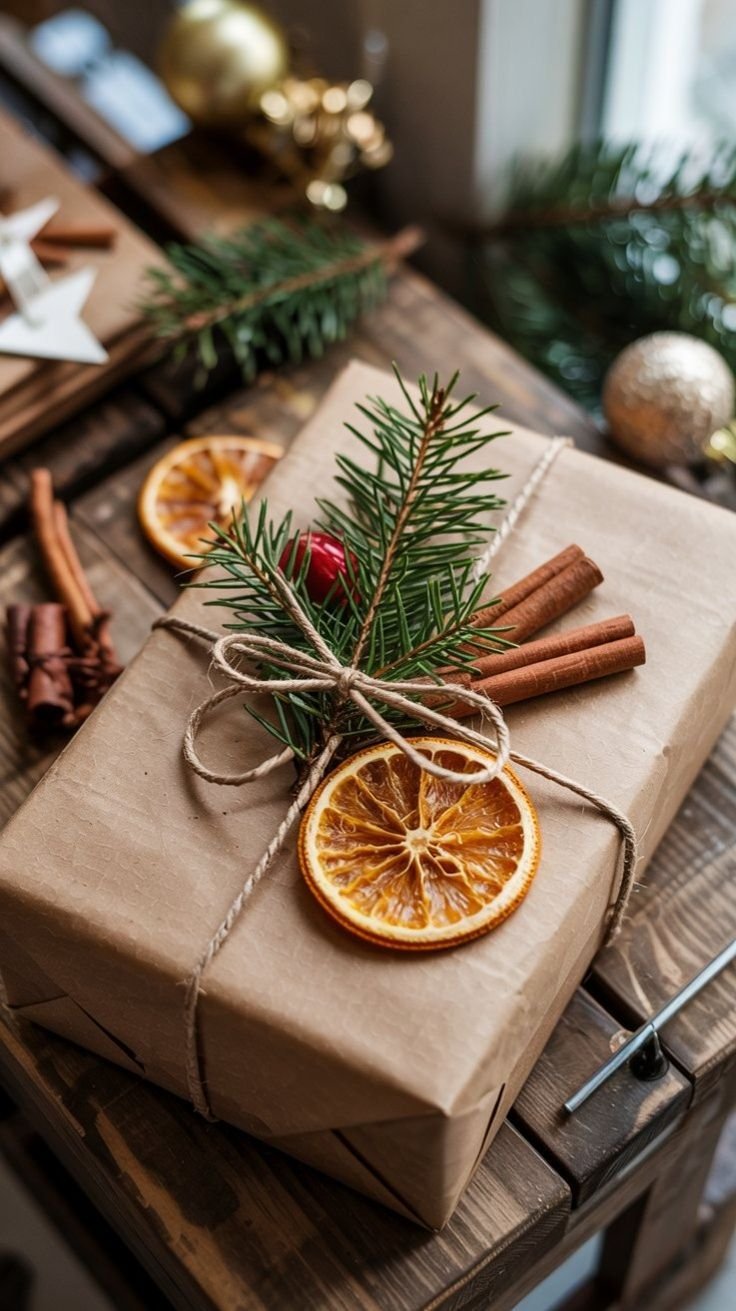
22Kraft with Dried Orange and Cinnamon
Dried orange slices make a tag that smells good. Slice them a quarter inch thick and bake at 200°F for three to four hours, then cool fully.
Tuck a slice and a cinnamon stick under the twine. They last a season and the gift smells like Christmas.
Pink and Burgundy
23Pink Stripes with Burgundy Velvet
Pink and burgundy is a softer alternative to red and green. Choose striped paper with one velvet ribbon and a matching tag.
Seal cut velvet ends with a dab of clear fray-stop liquid so the edges stay neat.
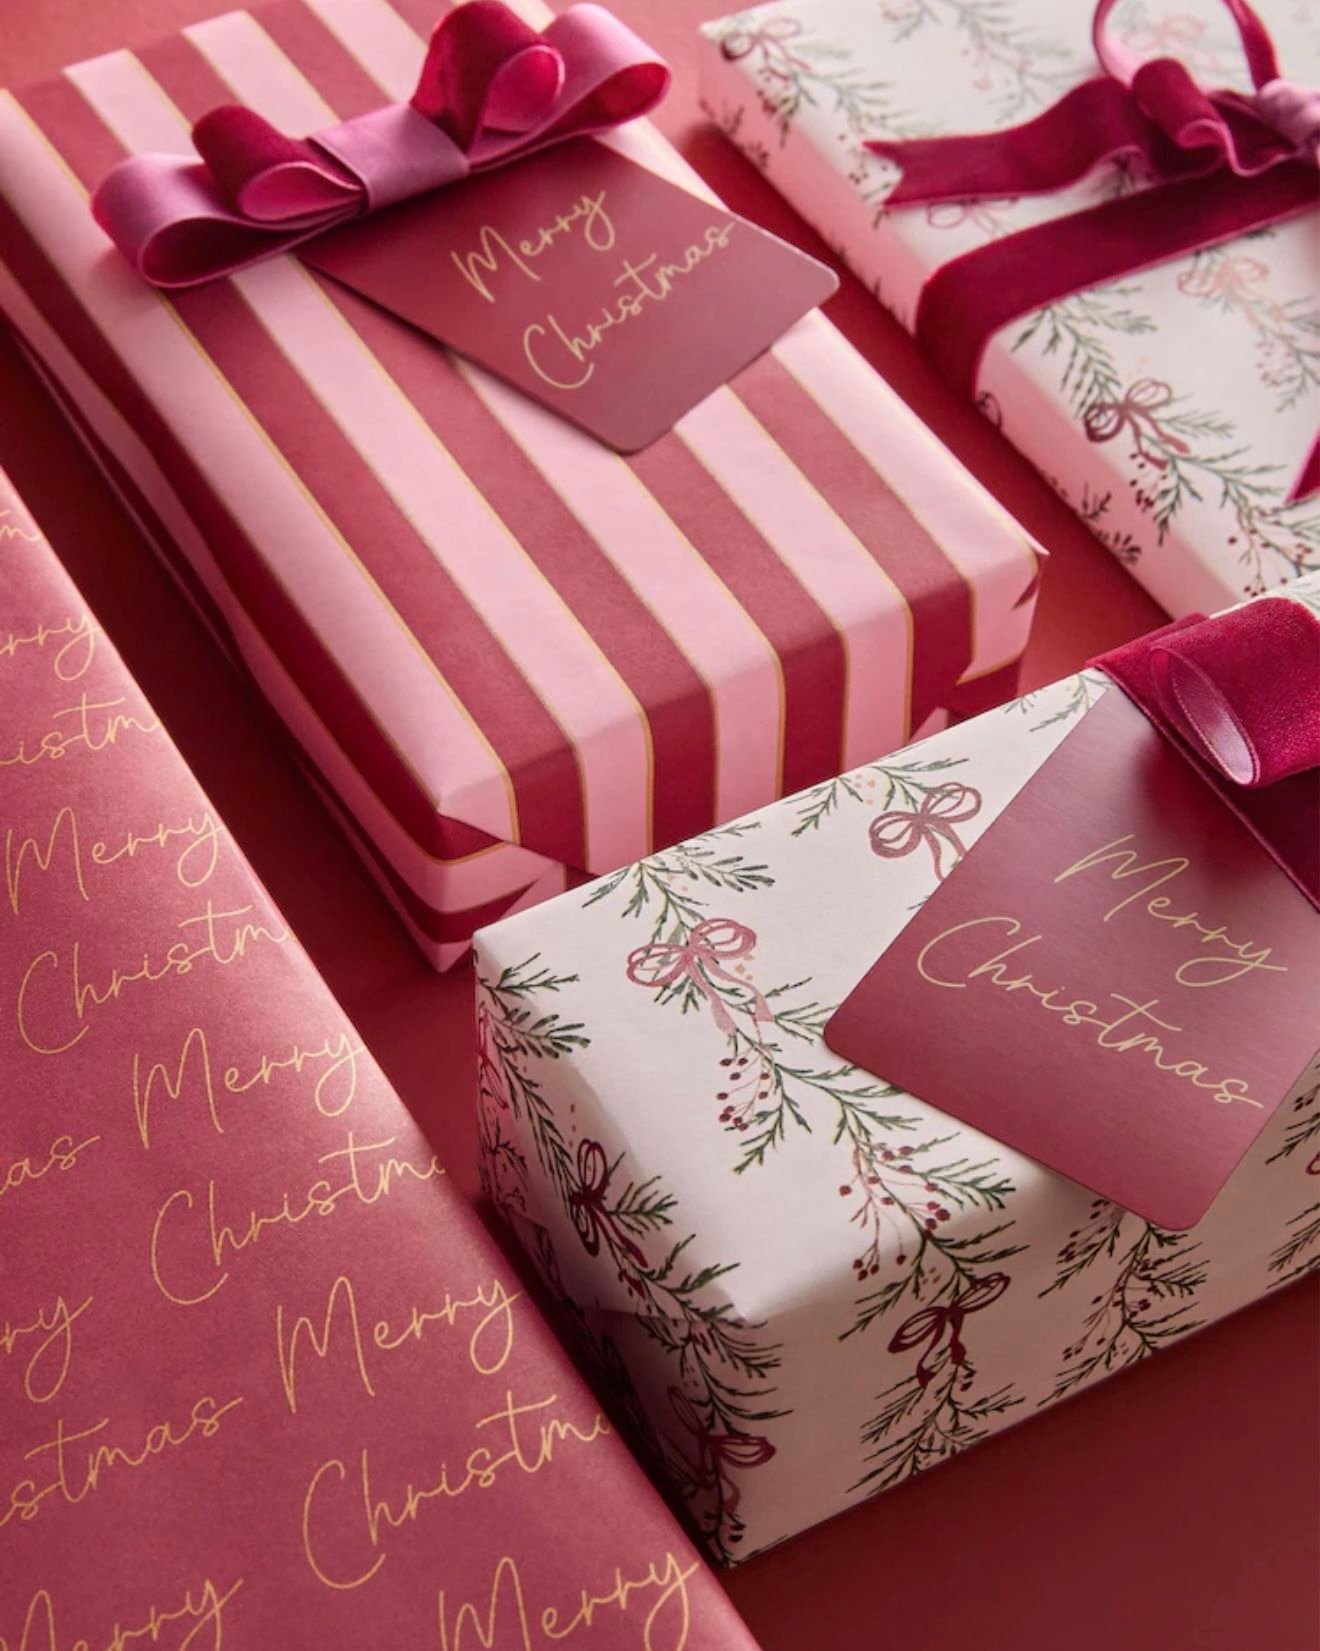
24Mixed Pink Patterns in One Palette
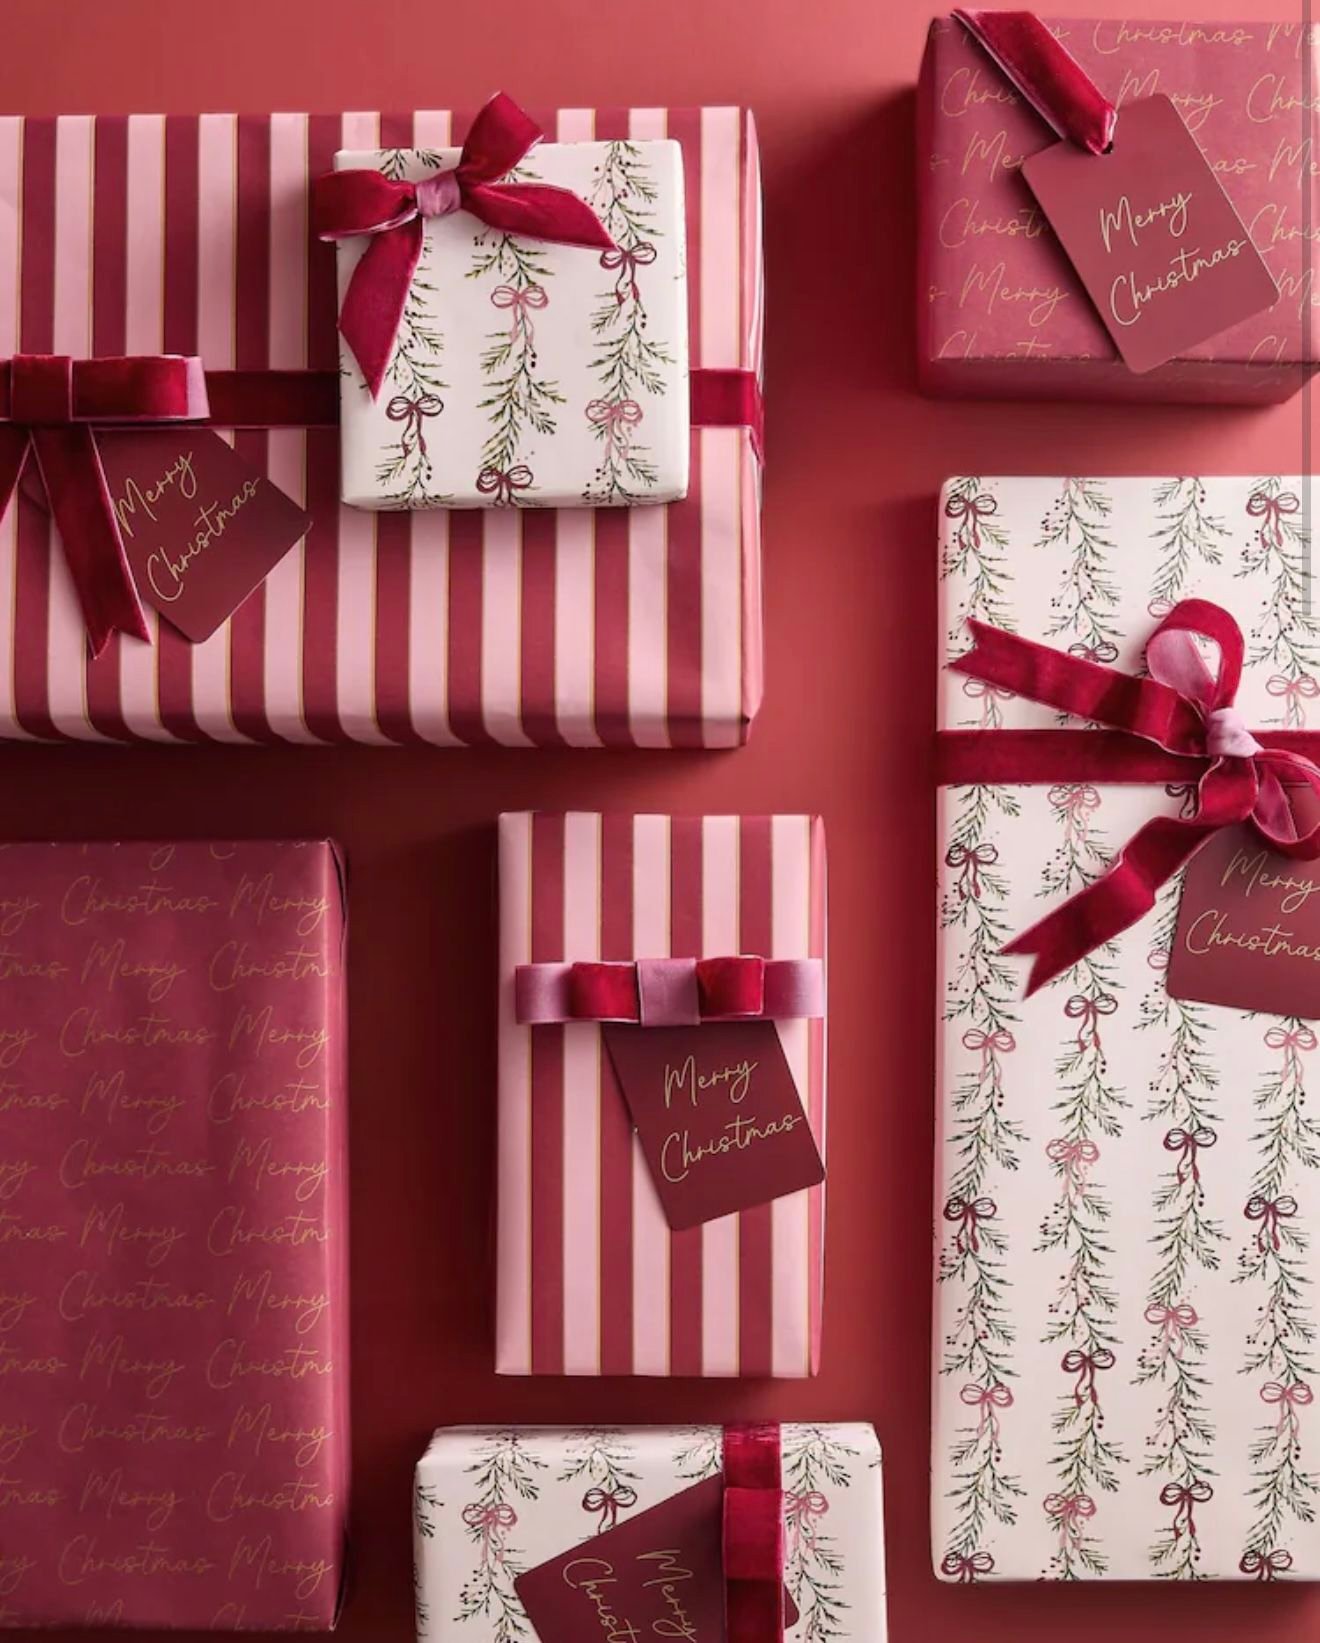
Mixing patterns works when you keep the color family and change the scale. Pair one stripe, one small floral and one script print.
Use the same ribbon on every box so the mix reads as a set.
Common Mistakes (and Fixes)
- Mistake: Using too much paper. Fix: Trim the ends so each flap is about a third of the box's side.
- Mistake: Letting tape show on the surface. Fix: Use double-sided tape on seams and flaps.
- Mistake: Choosing a thin ribbon for a large box. Fix: Go wider as the box grows, with about an inch and a half for a big gift.
- Mistake: Gluing real greenery on gifts weeks ahead. Fix: Add fresh sprigs the day before, or use faux ones that keep.
- Mistake: Pressing hot glue onto paper. Fix: Use glue dots or double-sided tape, which don't wrinkle the sheet.
Pick a Color Story and Wrap in One Sitting
Twenty-four ideas is a menu, not a list to finish. Pick one or two color stories, buy matching ribbon and tags, and wrap the whole pile in a single evening.
Gifts that match look intentional under the tree, even when the boxes inside are mismatched.
Filed under